Christmas in our home

Welcome to our home – during Christmas time! Spicing up our home in November (I start early) is a top priority to me and it’s the key thing in bringing me that Christmas spirit. I thought it would be fun to share some photos of our decorations. Maybe you can get into the spirit as well? Besides, I always love seeing other peoples’ homes.

This might just be the first time I actually share photos of our home. I always compare our home and my photos to all these amazing home bloggers with their impeccable interior design and decorations.  And I know – these are professionals and it’s their job. Still I find myself comparing and feeling like our style is not good enough. I guess you won’t find our home in a magazine, but it’s a really special place for us nevertheless. And I’ve promised to stop comparing myself to others, so this is me trying to do that. (Recently I’ve even shared some messy photos of our home on IG, just to remind everyone – myself included – that mess is normal. We do live here after all. Plus I’m seven months pregnant and yes it does affect my motivation to keep everything tip top.)

Christmas in our home

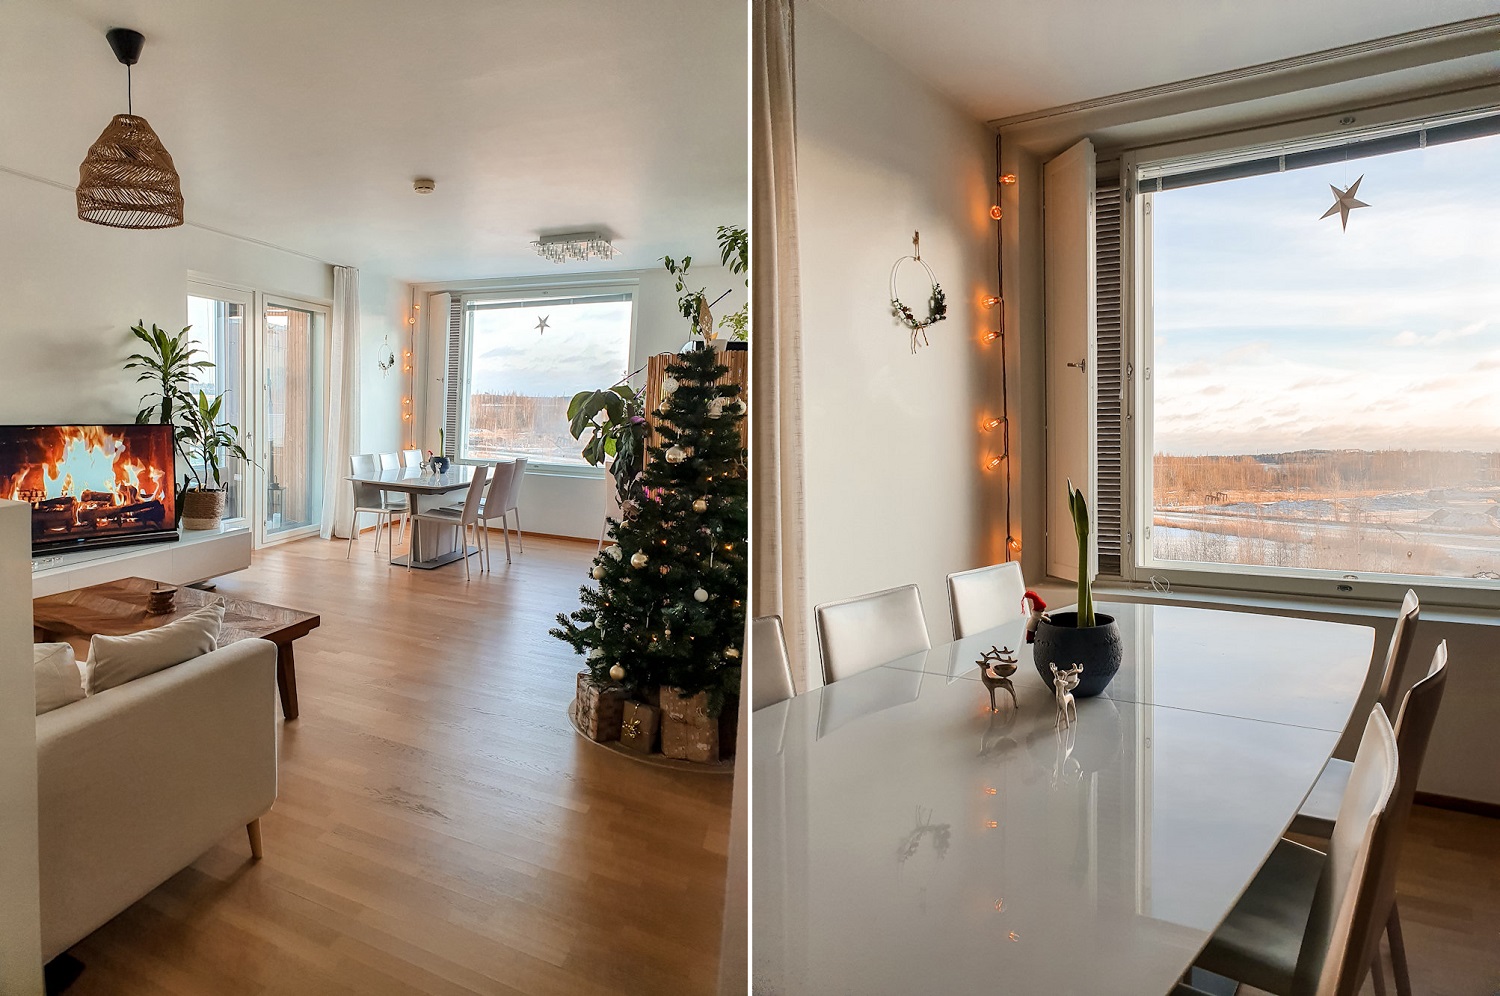
We have two trees: big and small. The small table tree was the first Christmas tree I bought for our home. It was back when we lived in a small one-room flat and it was the only thing that fit. It’s still important to me and I love to have it in our bedroom. It was also actually the last one in the store that I bought it from. I was lucky to snatch it. The little tree reminds me of the moment I started to build Christmas traditions with Risto. However or wherever I spend it, I get to share it with him.

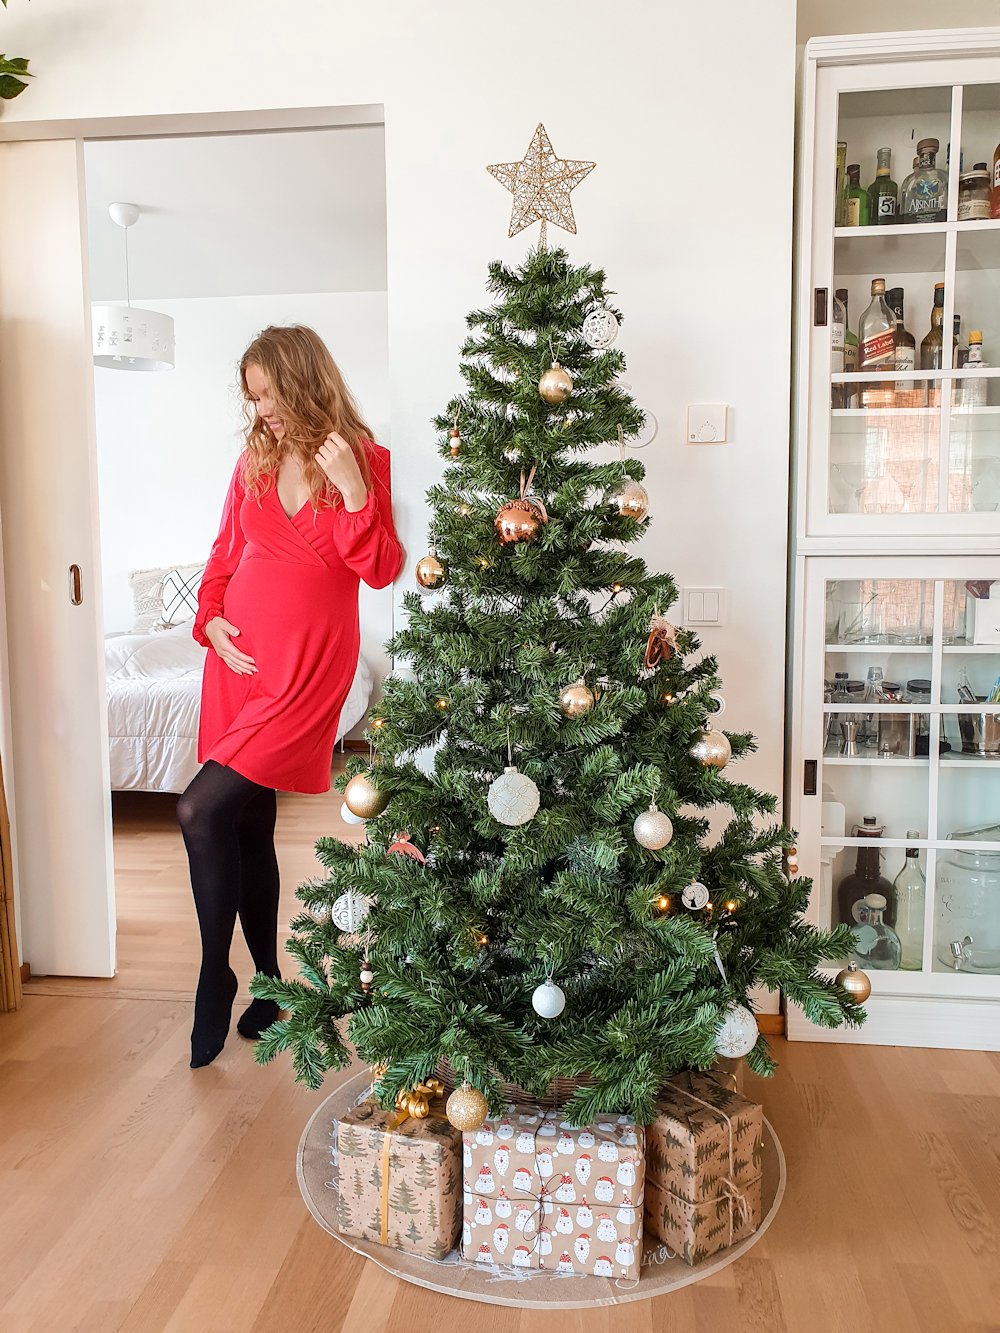
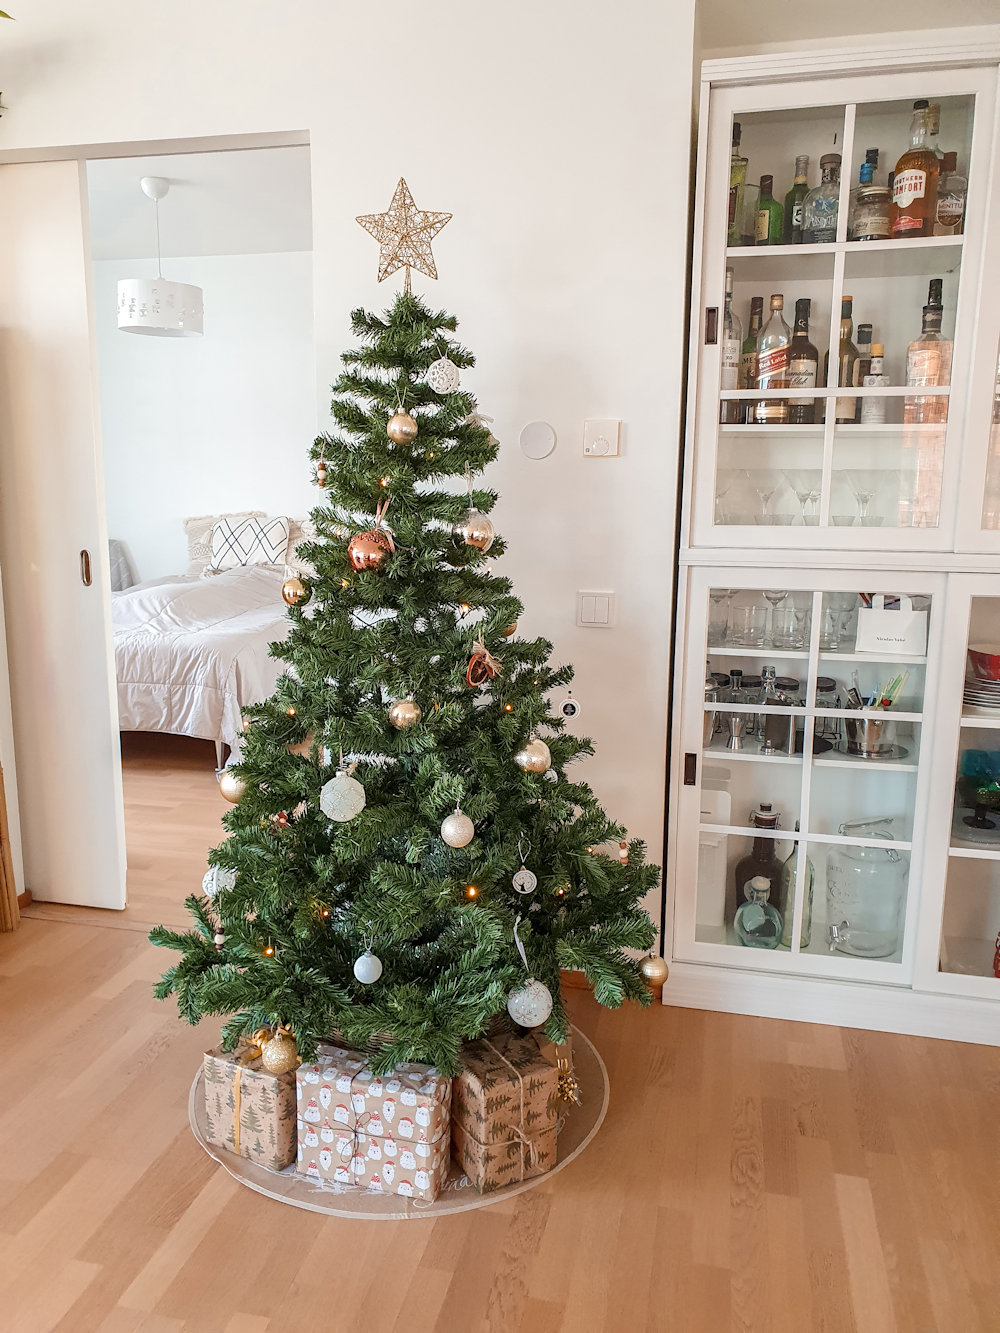
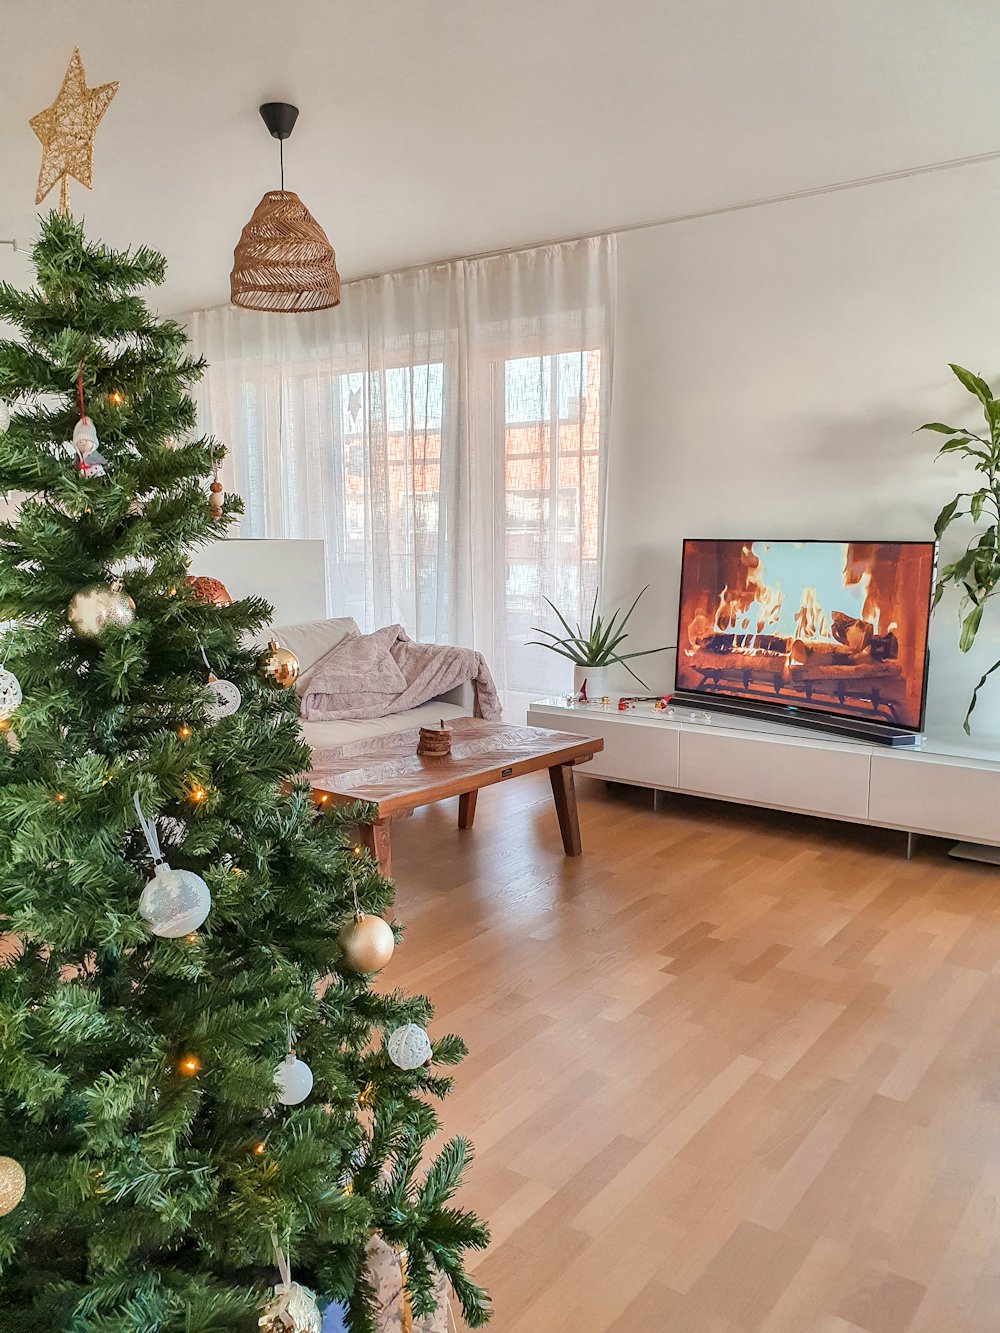
When it comes to the big tree, I’m actually dreaming of a bigger one. I’m thinking that for our next, bigger apartment, I’m getting a bigger tree with snowy branches. As for the decorations, I went for gold, bronze and white tones. Funny how I used to love silver and now can’t stand it. (I’ve still saved all my silver baubles, because I have learned not to trust my own taste. It changes.)

Our small table Christmas tree and our advent calendar. I saved last year’s Rituals’ Advent Calendar and filled it with chocolate. No regrets there!

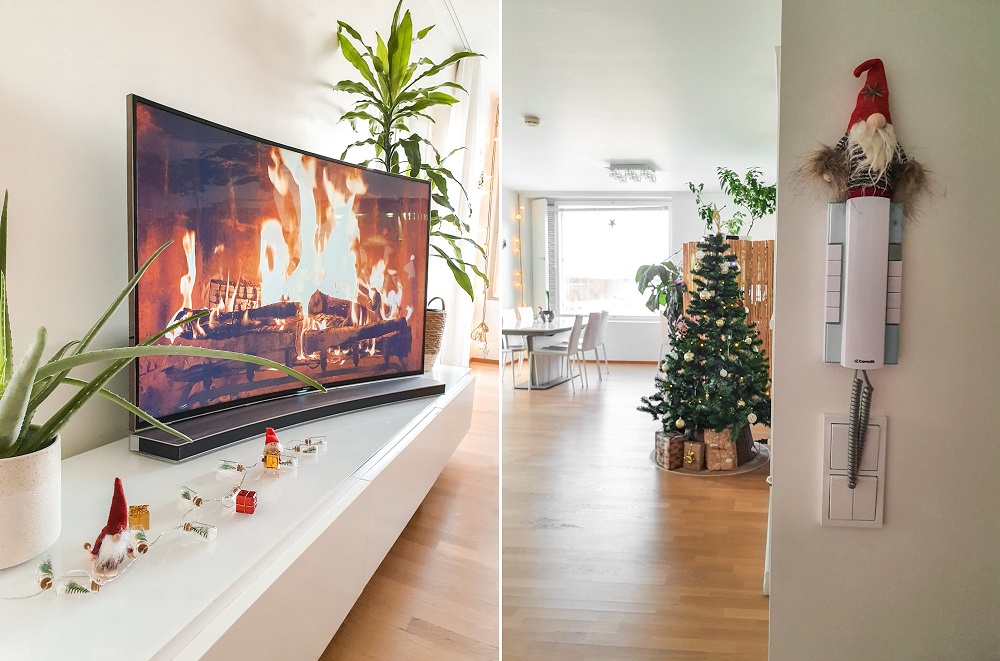
The most wonderful time of the year

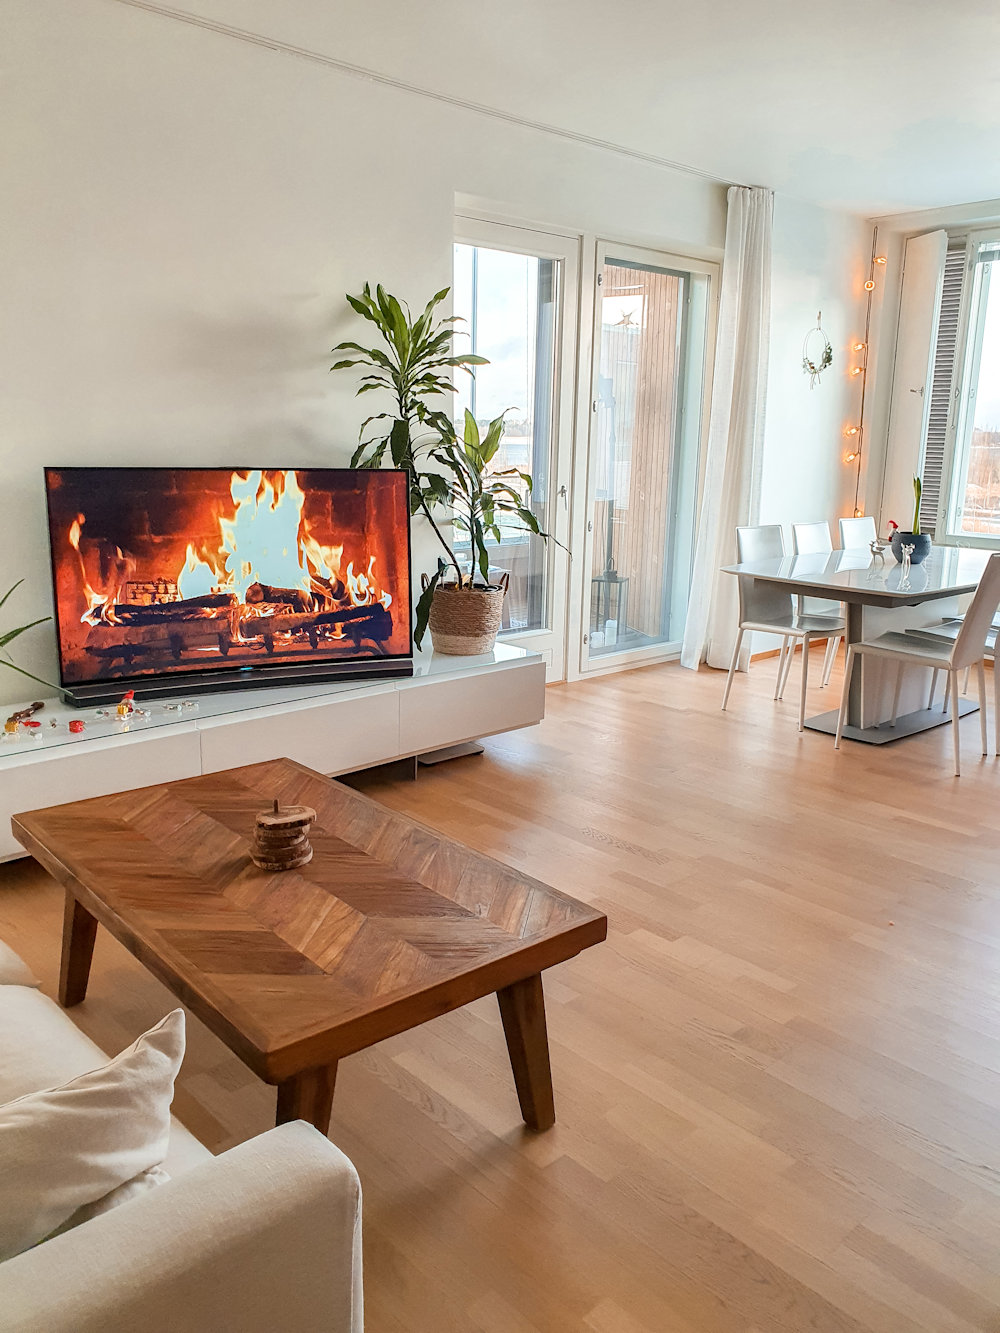
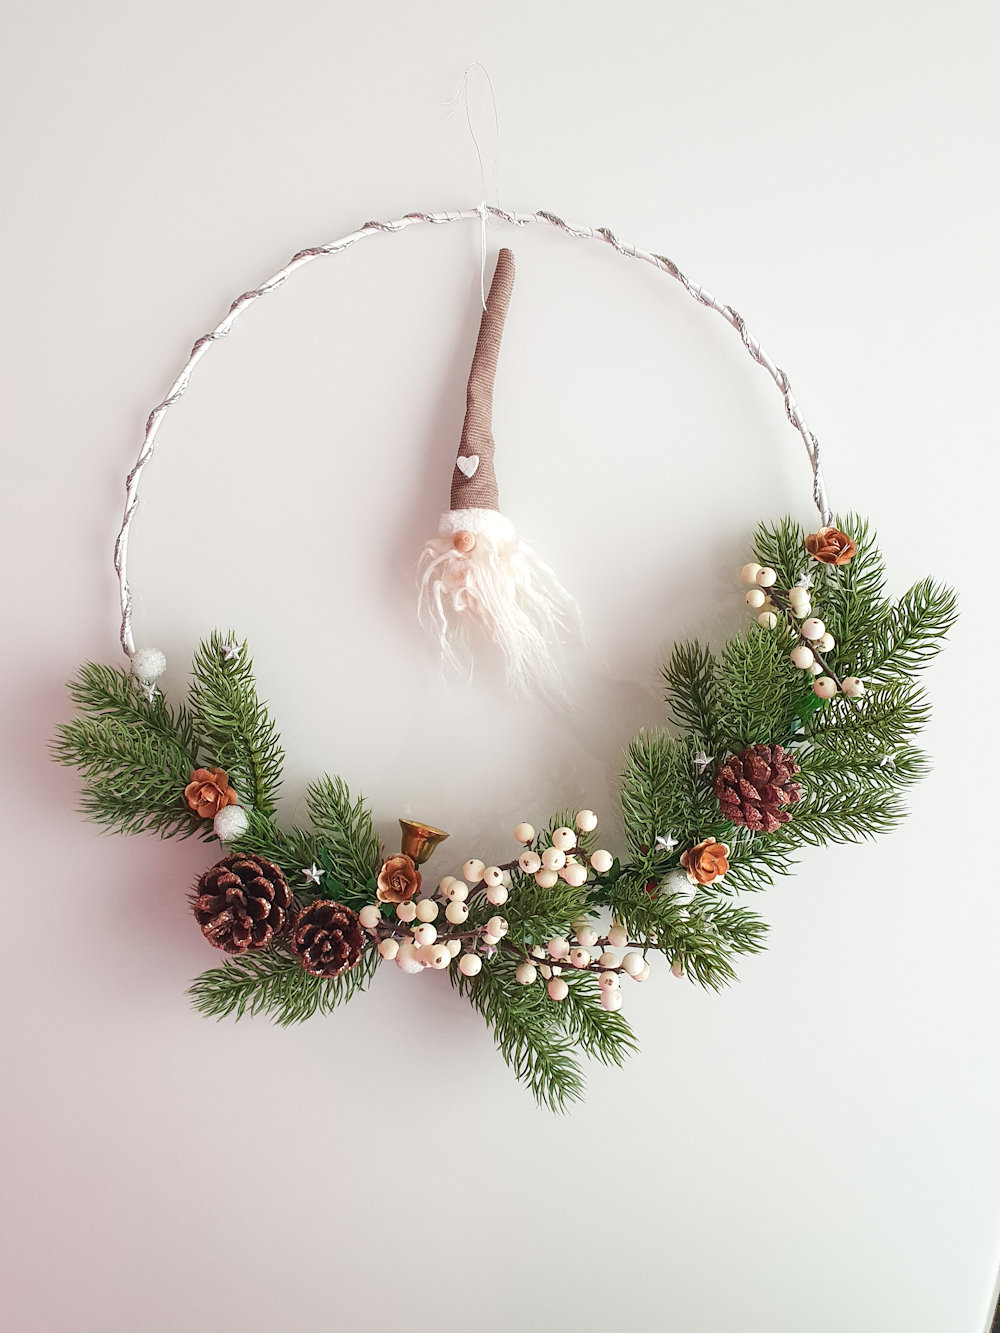
As for the other decorations, I have added an elf or some light strips here and there. For our windows I have two small white stars hanging. (Also on my list is to buy a huge lighted star.)

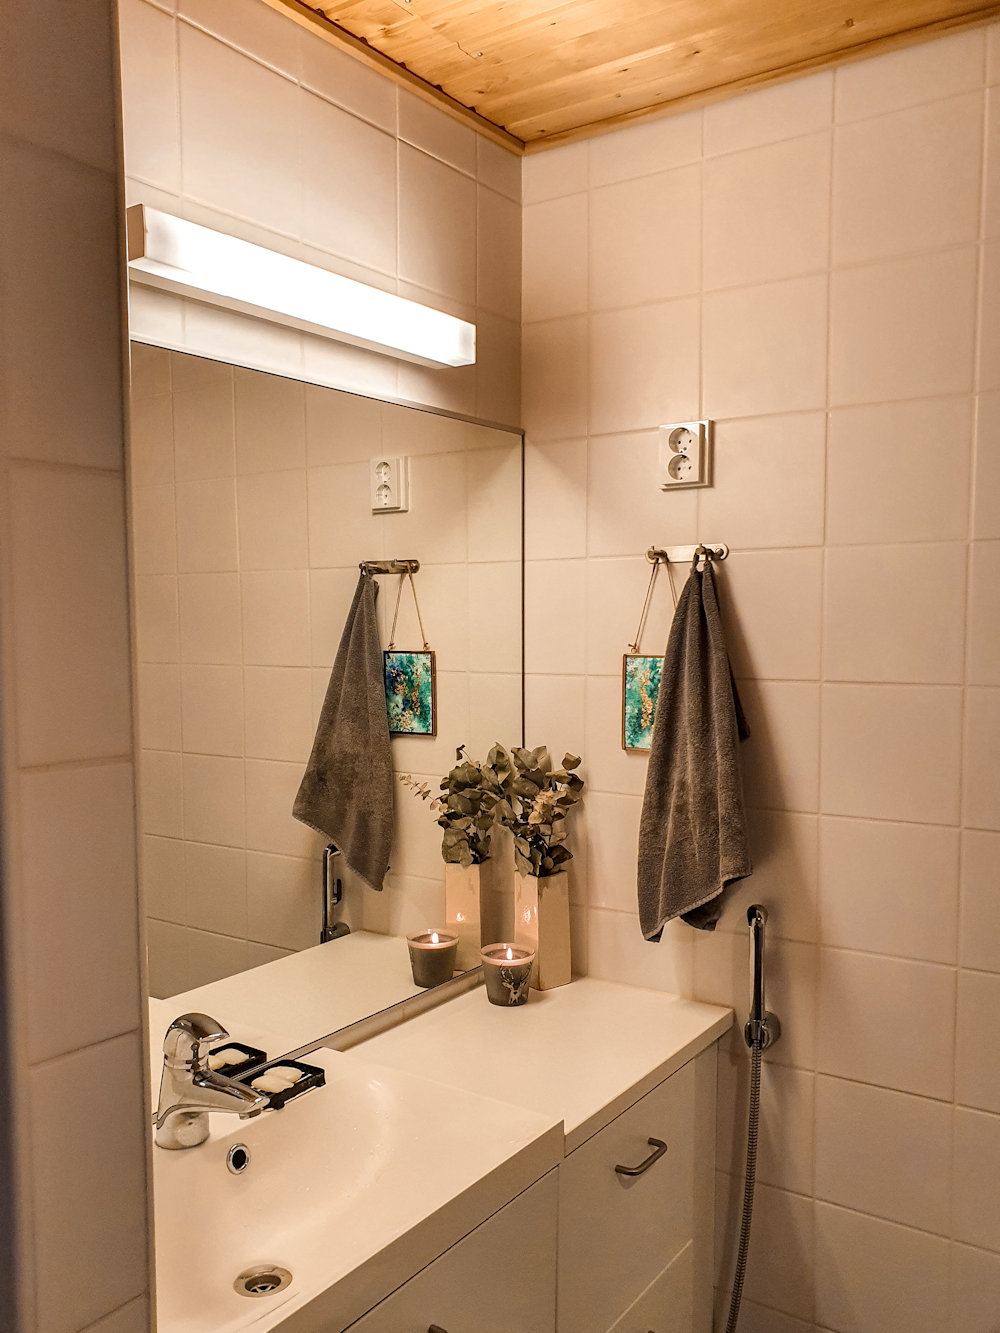
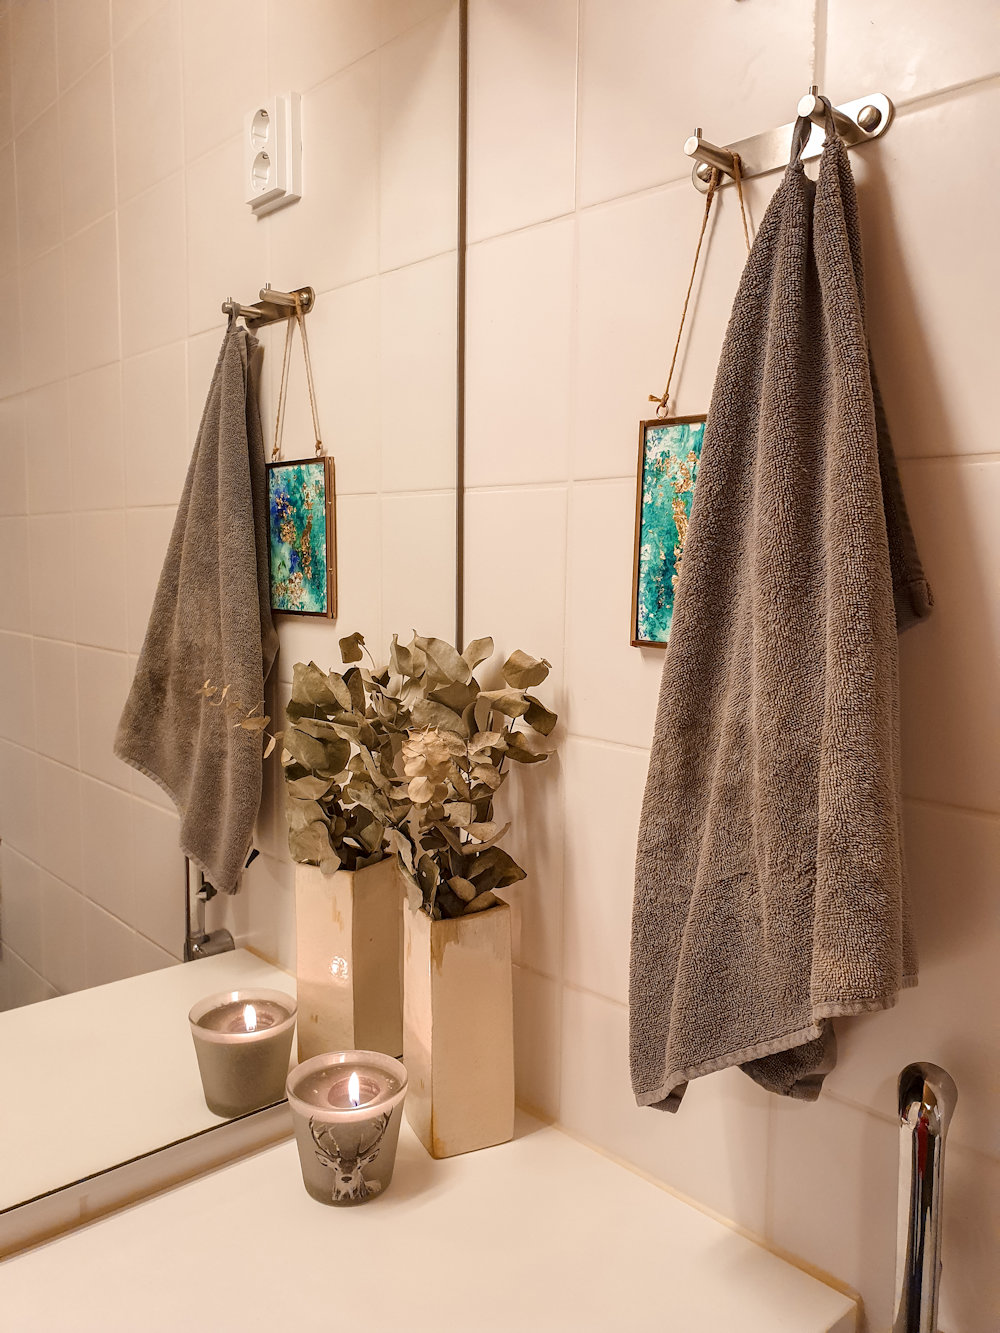
In our bathroom I just have a wintery candle. It’s funny how the tables have turned in our relationship. I used to be the one all crazy about Christmas, but this year Risto asked about decorations in the bathroom. “Surely the Christmas decorations can’t stop at bathroom? Are you gonna add something there? Maybe an elf or two?”

The dried eucalyptus I have in the vase stays there all year round.

Photo from last year (when I could still fit into that pyjama). But the Christmas beddings are still relevant! I got them from my sister and every Christmas I make sure to wake up from them.

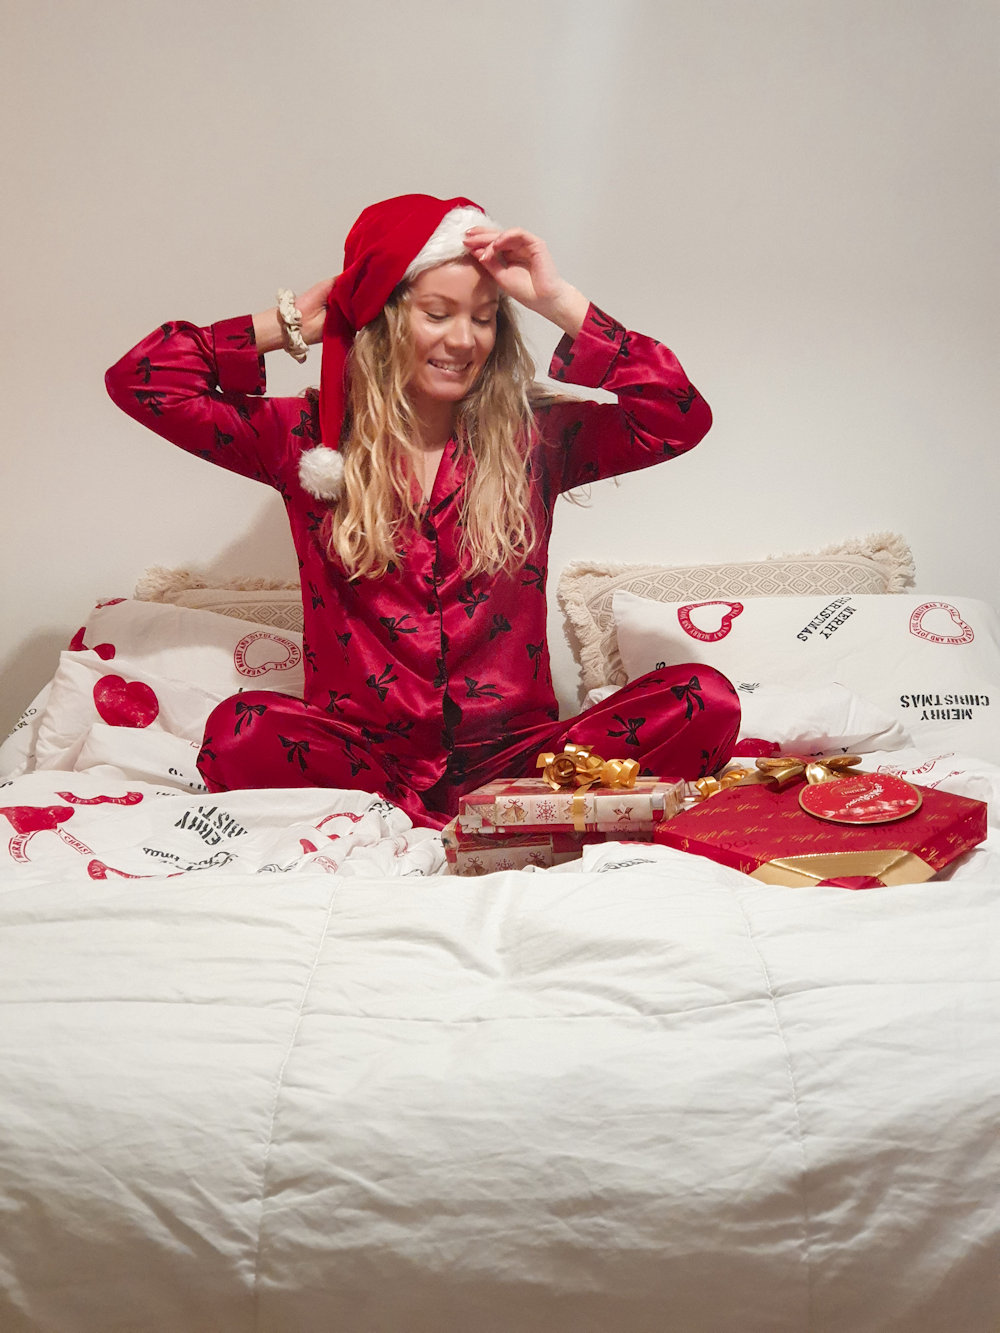
I always look forward to Christmas. It’s a time for me to stop, reflect the year and really relax. Take some time to myself – and my family. This year I feel an extra need for the relaxation. It feels lovely being able to enjoy this pregnancy in December. Quite many Christmases I dreamed about it, after all. It’s not long until I’ll step away from work to the baby bubble and things will be really different. But for now, I’ll enjoy the most wonderful time of the year.

P.S. How convenient, that after taking these photos we actually totally changed everything by switching the dining room and living room area vice versa? I actually love our home even more like that. Maybe, just maybe I’ll feel inspired to share photos of our normal home after Christmas. Maybe I could then share the bedroom/nursery as well.

Do you decorate your home for Christmas?

I also want to wish you a very Merry Christmas!


Sparkly makeup for the festive season

Ad: nobe
*adlink


My favorite season is here! To celebrate this dark yet lovely time, I created a sparkly look that goes for any Christmas parties as well as the New Year’s Eve.

The sparkly eyeshadow I used on the lid is super easy to use and it looks gorgeous. Or if you’re not into sparkle, you can also leave the eye makeup totally matte. You see, I actually used a matte eye shadow palette, which is more versatile than it sounds. But more on the products at the end of this post, let’s get to the tutorial.

Sparkly party makeup for the festive season

A beautiful base makes beautiful makeup – here’s my tips for achieving an even yet radiant party base.

Hydration & subtle glow to the skin

Winter tends to dry out the skin a bit, so to avoid looking dry or cakey, try adding some glow to the foundation. I mixed a small pump of *Vita Liberata’s beauty blur primer (I have the shade Latte Light) to my foundation to achieve that overall subtle glow on the skin. This trick works for me really well in winter – the extra hydration this primer brings to my skin is also much appreciated.

Face lift with a blush

I used my fingers to apply a touch of *Dr. Paw Paw’s Orange Tinted Balm on the highest points of my cheeks. I blended the blush high towards my temples. This lifts up the face and also brings the focus to the eye makeup. Cream products in general are great for winter and for parties. A cream blush actually lasts really well on the cheeks too.

Festive eye makeup tutorial  – step by step photos

  1. Clean base. Use an eyeshadow primer to avoid creasing. If you don’t have one, apply concealer and and a skin-colored matte eyeshadow to set it.
  2. Start to shade your eye with a light color. The right placement for the color depends on your eye shape. On my deep set eyes I lift it quite high so that it’s visible and hides the hooded lid. Don’t forget your bottom lid. Blend the eyeshadow seamlessly to your skin.
  3. Deepen that shading even more with a darker color. I chose a warm orangey color.
  4. Take a dark brown color and deepen that shading one more time. I focused it in the outer corner and lifted the outer corner in a V-shape, going up and outwards from my eye. To get it just right, make sure to look at your eye from different angles or different mirrors. The shading should start from your lash line and blend towards the tail of your brow.
  5. Add a lid color – though this is optional – because there’s a sparkly liquid topper coming on the lid next. However, I added a bit of warmth to the lid with an orange.
  6. Add your sparkly lid color on the lid. Focus it on the center of the lid and blend carefully towards the shading. I also applied it on the inner corners.
  7. Line your eyes and add mascara.
  8. Add false lashes and you’re done!

I used House of Lashes individual lashes (Patrick Ta She Doesn’t Need Much).

Milani Holographic Eye Topper Luster Light

Milani Holographic Eye Topper Luster Light

The sparkly liquid eyeshadow photographs surprisingly well, but obviously it’s even more beautiful in real life. *Milani’s Holographic Topper in Luster Light is such a perfect product to use on the lid. It’s super sparkly and reflective – and it looks multidimensional thanks to the holographic glow. I found it easiest to just pat on the lid with my finger, but you could also use a flat brush. There’s some play time with it before it dries down, but once it dries on the lid, it’s not sticky and it lasts the whole night, if you need it to.

Milani Ungilded Most Loved Mattes Palette Swatches

Milani Gilded Most Loved Mattes Eyeshadow Palette

Everyone needs matte eyeshadows for shading and creating the base for the eye makeup. I use matte eyeshadows basically in all of my looks. *Milani’s Ungilded Most Loved Mattes Palette contains all the colors I could possibly want and need. The colors are easy to blend and there’s a nice variation of light, medium, dark, warm and cooler tones.

I like to wear metallic or shimmer eyeshadows on my lid. This palette also inspires me to use all the single eye shadows I have in my drawer. (Such as that Milani Holographic Eye Topper.)

Milani Amore Matte Satin Lipstick Satin

The perfect red matte lip: Milani Amore Satin Matte Lip Creme Satin

Looking for the perfect red, that makes your skin glow and teeth look white? *Milani’s Amore Satin Matte Lip Creme in the shade Satin works for everyone. It’s not overly cool, but it’s still leaning more towards cool. I like the applicator and the consistency. It has a satin finish as promised, that feels comfortable even on someone who usually steers away from matte lipsticks. I’ve even been wearing this on office days just at home.

EGLIPS Water Glaze Tint

Another option for matte lips: EGLIPS Water Glaze Tint

If you don’t want to go full red or full matte, you could also try a lip tint. *EGLIPS Water Glaze Tint feels hydrating and watery (almost like a gel) on the lips and it still has a nice pigment. This I’ve been also wearing on days when I don’t feel like applying a lipstick, but would still like some color. Very comfortable on the lips.

Easy & long lasting nail stickers from Dashing Diva

Would you believe I’m wearing nail stickers in the photos? It was my first time trying Dashing Diva’s stickers and I’m sold. They are easy to use, they last nicely and best of all, no nail polish or nail remover smell needed. I already ordered other shades. These are a great idea for a party!

*Dashing Diva nail stickers

Last year there weren’t really any parties, so this year I’m really excited for all end of the year festivities (even if they’re small gatherings). What about you, any parties coming up?

Scroll to top