Fall makeup tutorial using Vice 4 palette coming your way!
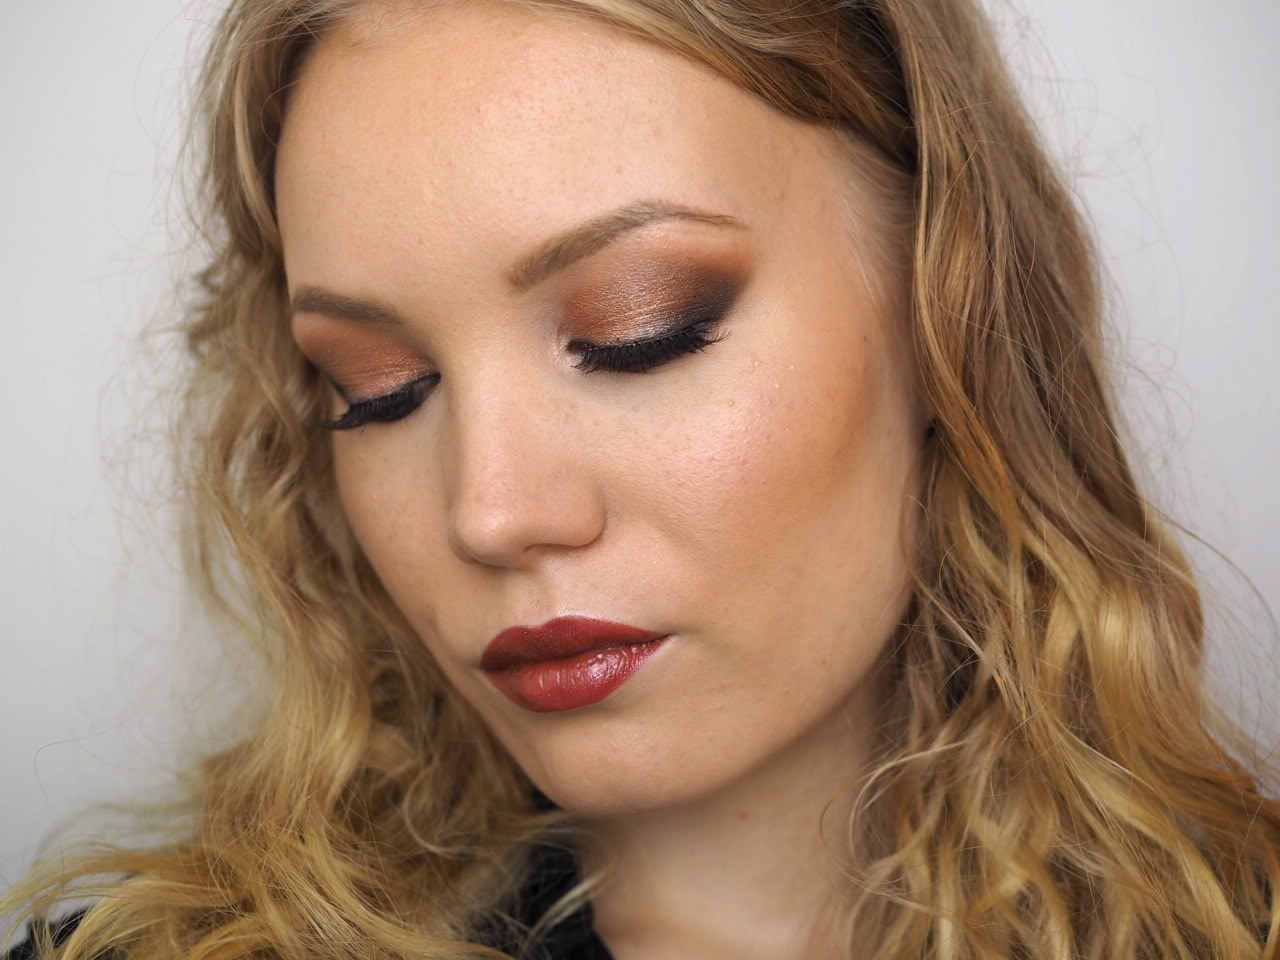
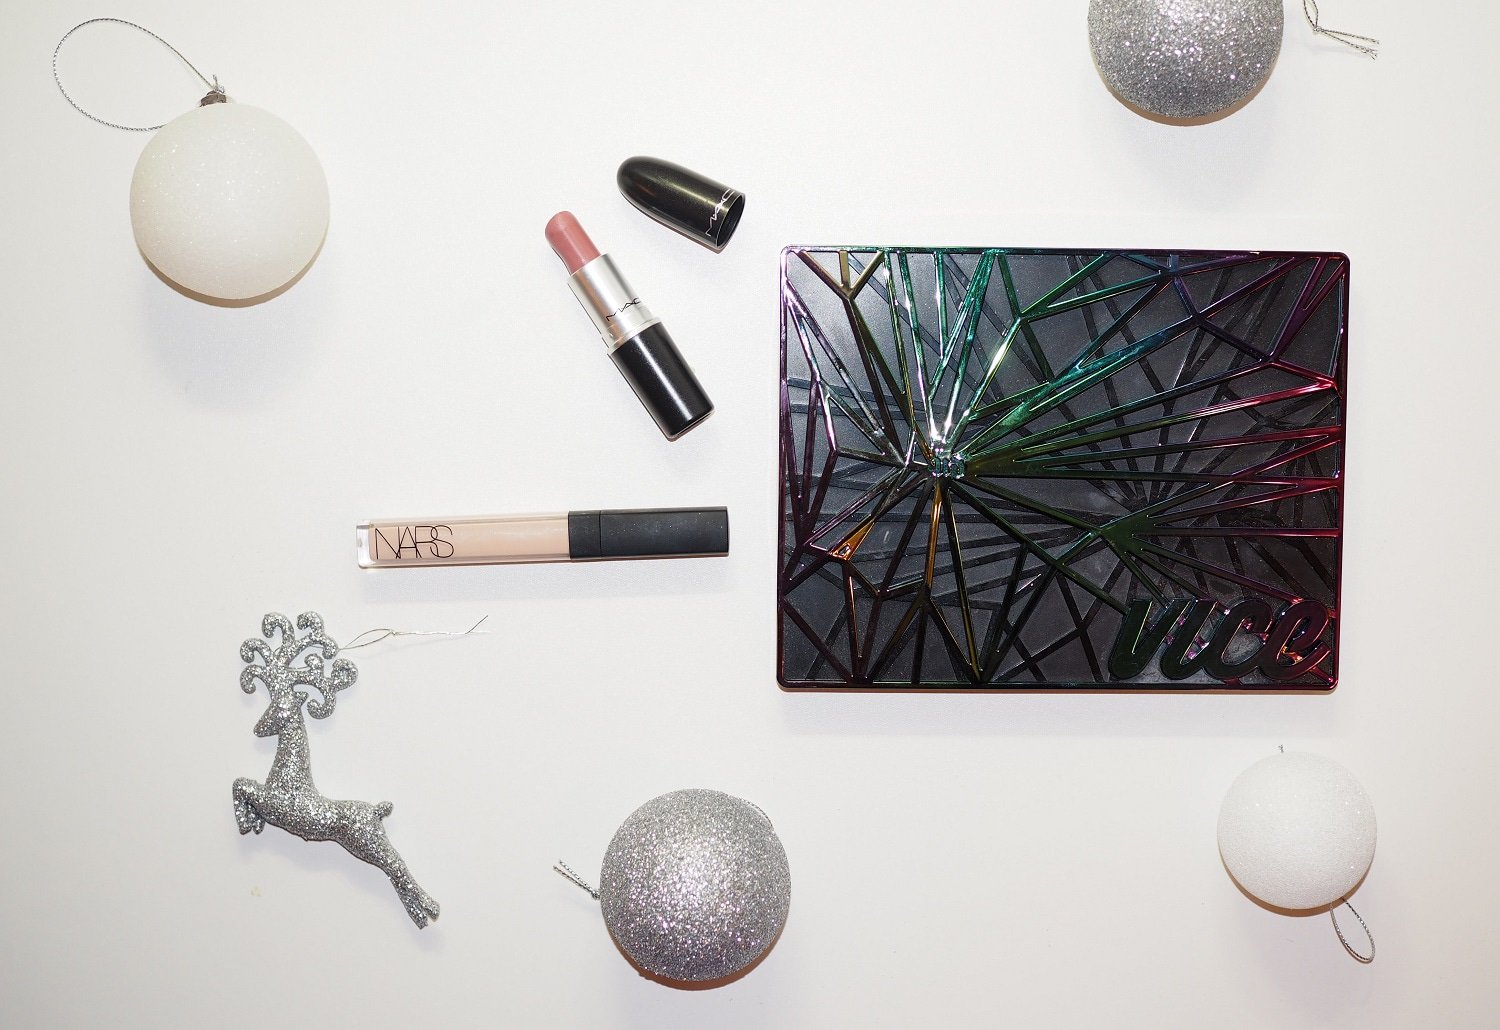
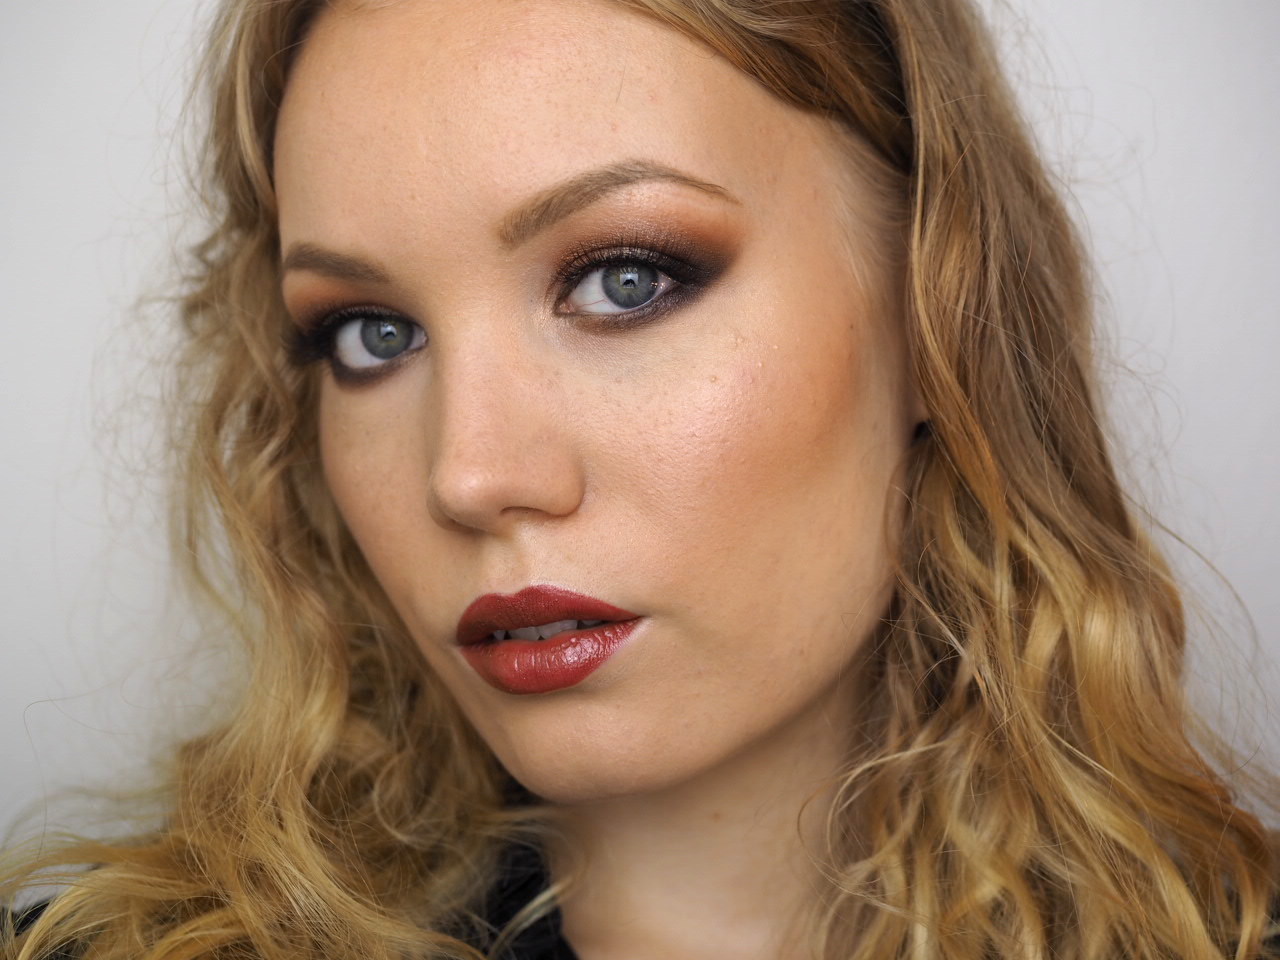
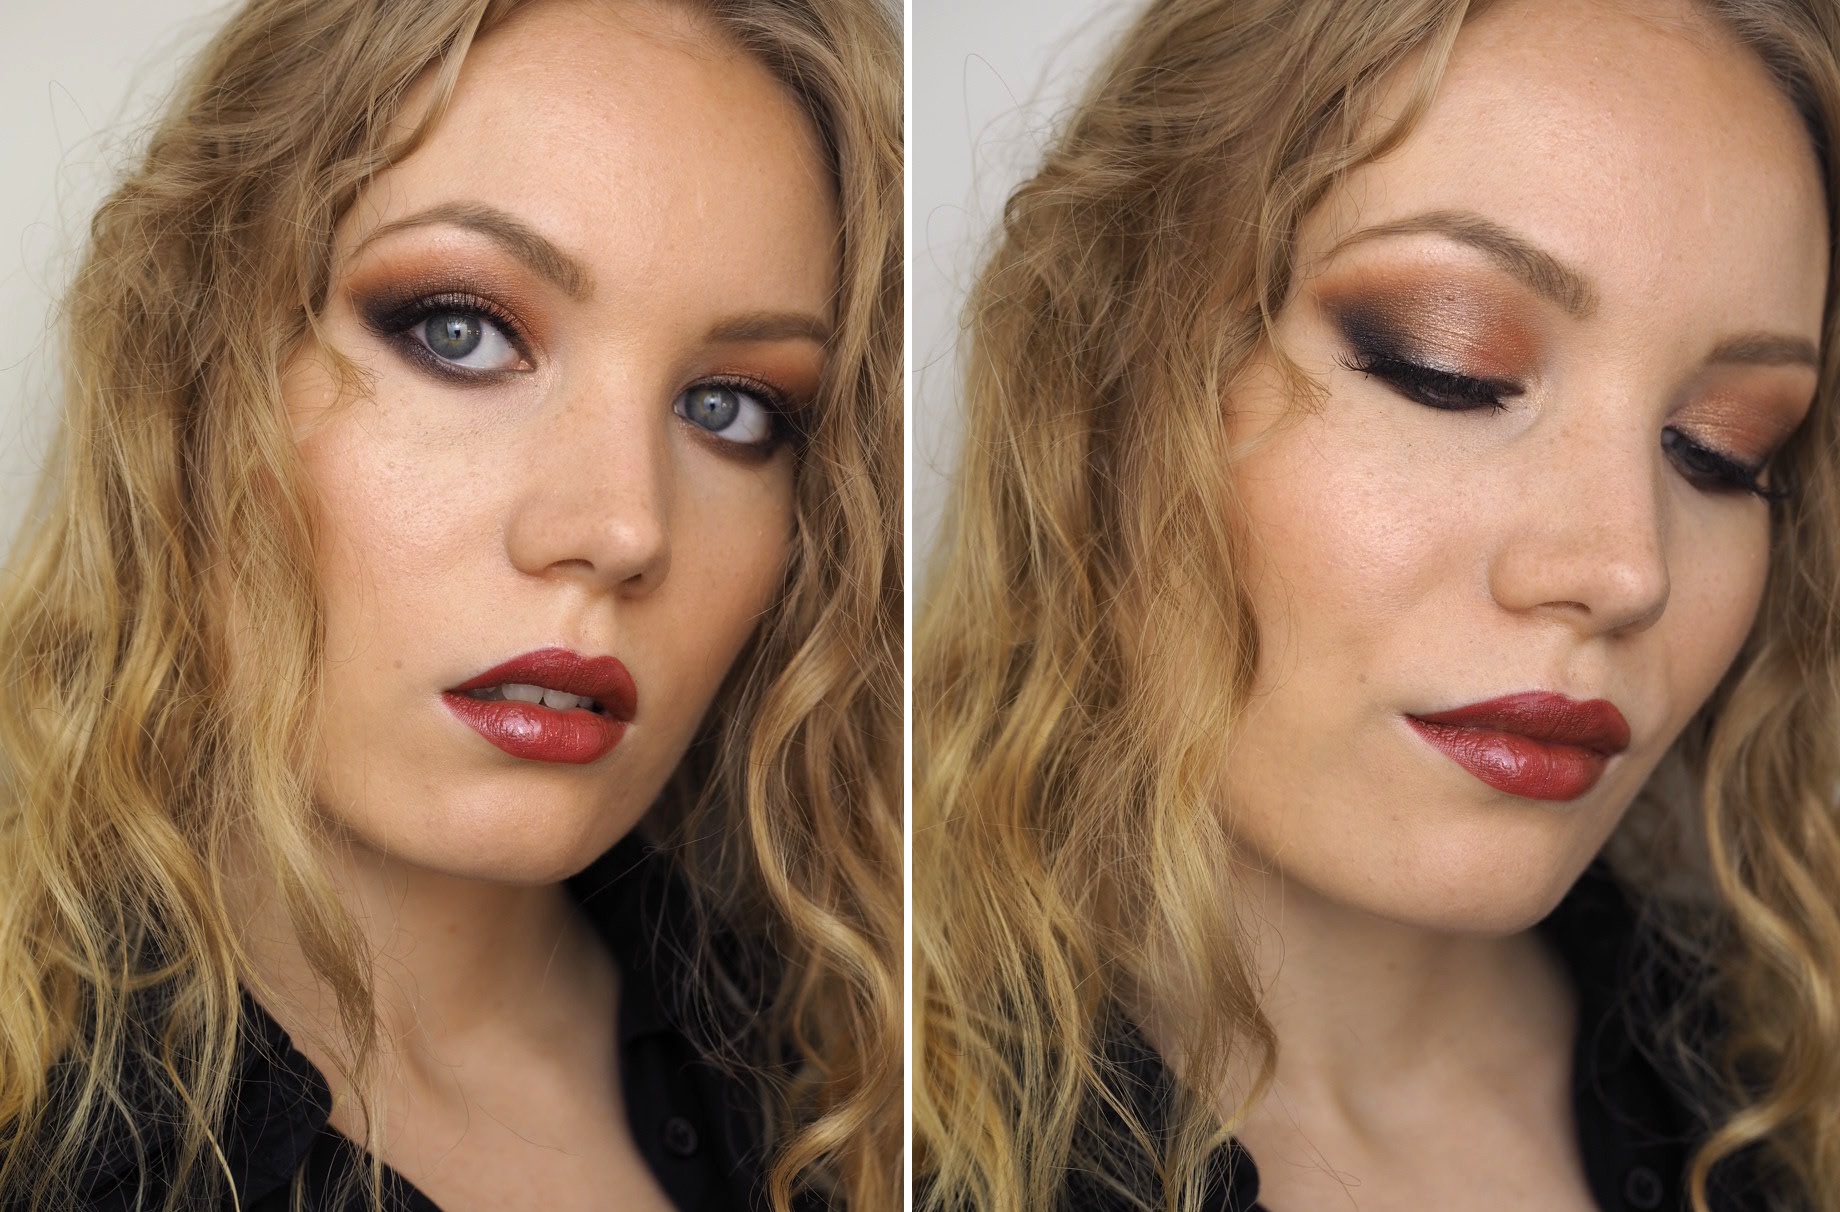
I’ve been using my Vice 4 palette a lot lately and I realized it’s quite the palette for fall and winter. In this burnt orange smokey eye look I used Bitter, Delete, Flame and Deadbeat from the palette. The star of the show is definitely Flame, that beautiful shimmery orange color, which I used all over the lid.
For once, I decided that more is more. So this look ended up quite dark and dramatic. But I kinda love it. If you want to tone this look down, skip the black eyeshadow and do a thinner liner.
I also have another tutorial using the palette here!
Fall makeup tutorial using Vice 4 palette

- Start by drawing a straight line from your lower lashline all the way to your crease area with ‘Bitter’. Create the shape for your eyeshadow with this color. Once you’re done, blend longer than you’d like. This look is supposed to be smokey, so don’t worry about blending the orange color too far or too low on your lower lashline.
- Darken the outer corner of your eye with ‘Delete’. Blend well.
- Add ‘Flame’ all over your lid. Pat it on to get the best pigment.
- Line your eyes with a black pencil. Line your lower lashline as well, and connect the liner in the outer corner. Blend the pencil with a small brush and make it nice and soft. I only brought the pencil about 1/3 of my lower lashline, and then blended the color, so it looks nice and soft.
- Add ‘Deadbeat’ right where you lined your eyes and blend it to make it even softer and so that the colors blend seamlessly together.
- Add some inner corner highlight (I used MAC’s Soft&Gentle). Then apply mascara and possibly some lashes. Done!
I could have added bigger lashes (those would suit this look), but I just wan’t mentally prepared for that fight. Lightweight lashes are easier to apply! I like Eylure’s lashes.
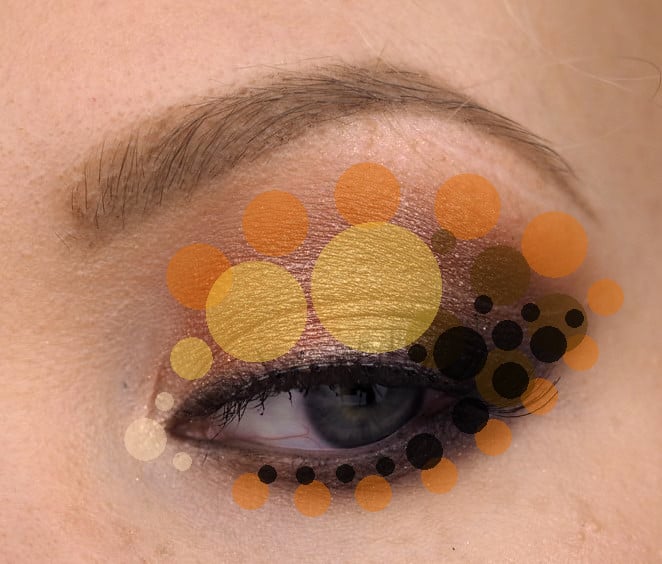
Color placement.
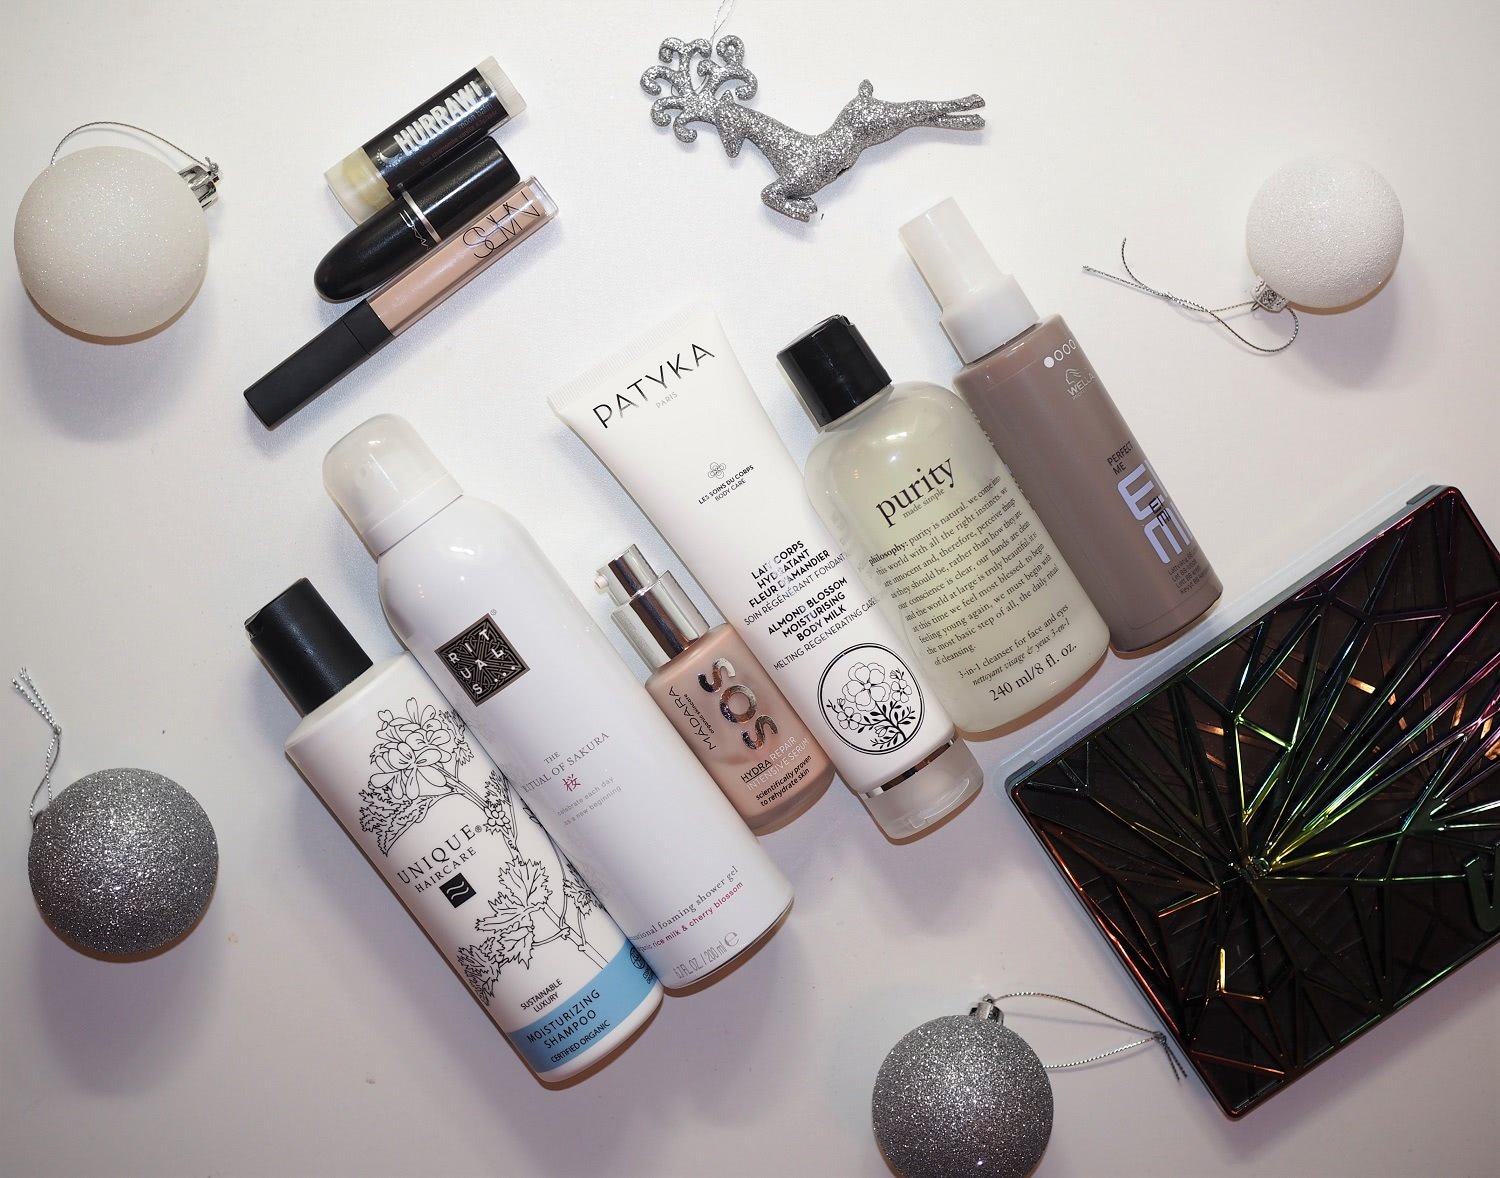
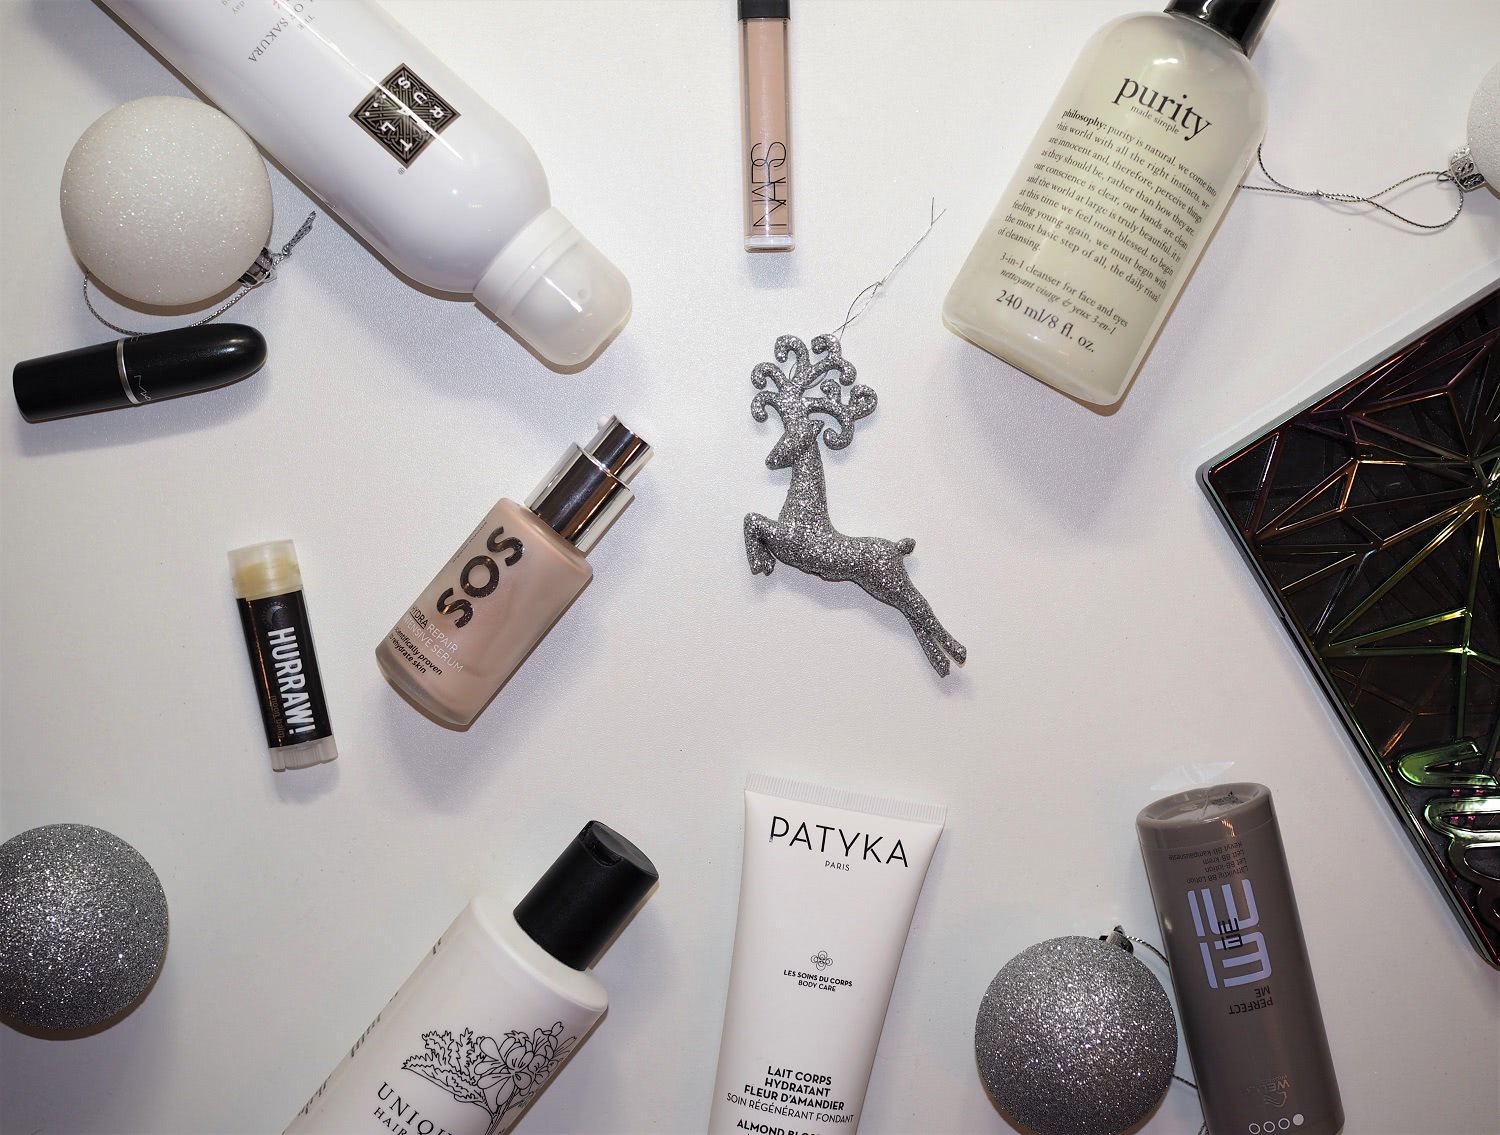
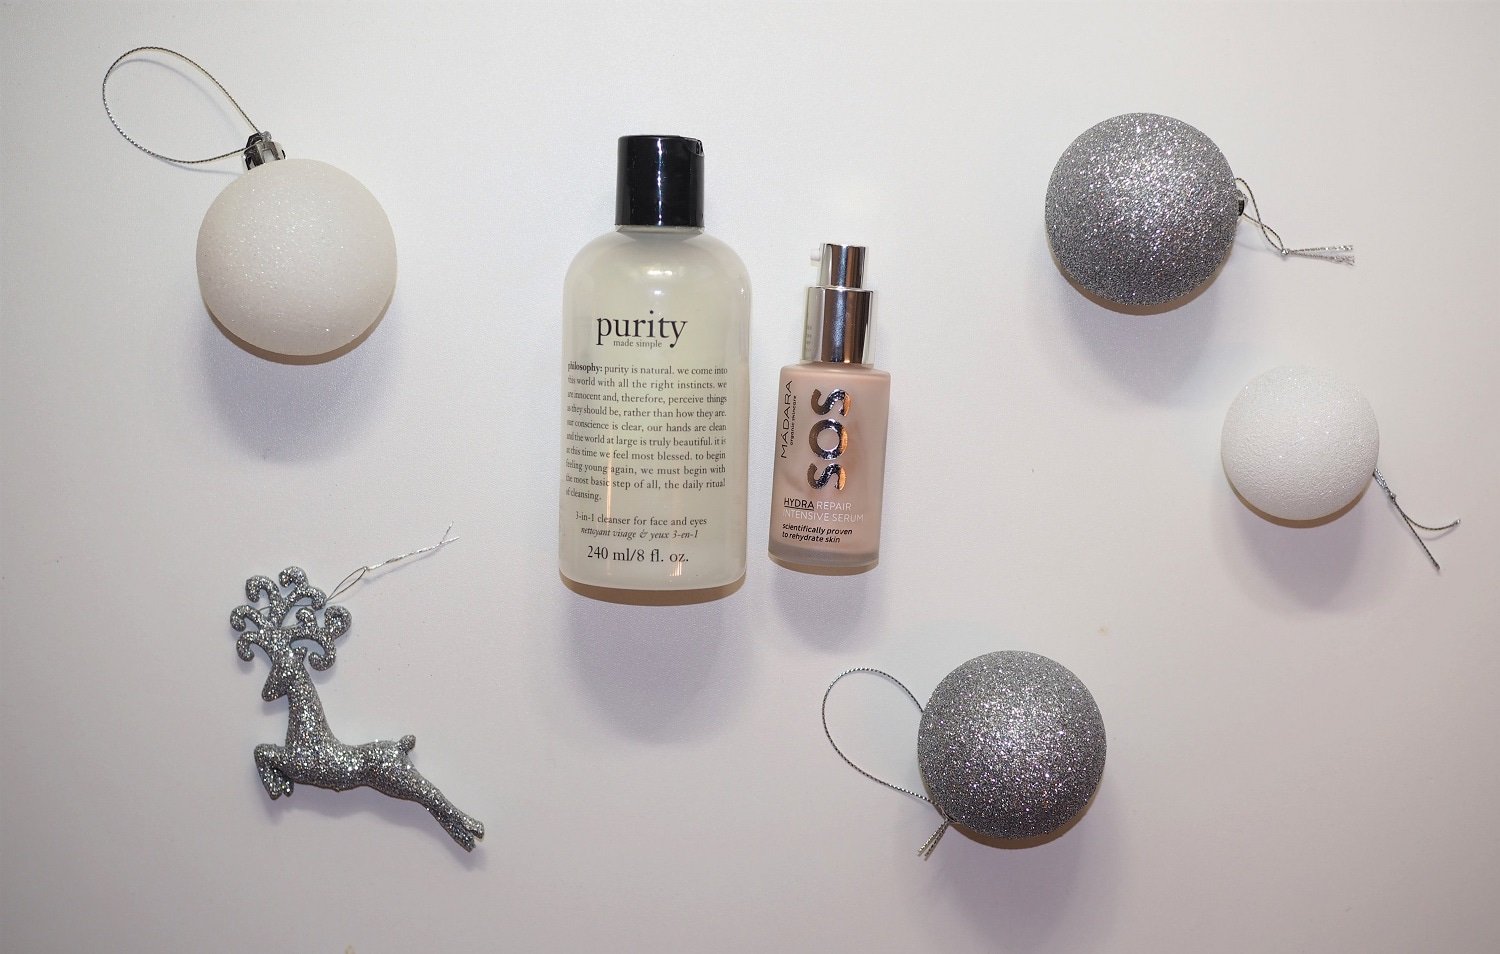
PRODUCTS
TonyMoly Silky Smooth Balm
Estee Lauder Double Wear Light, 3 & Rimmel Lasting Finish Nude Foundation, Ivory
Innisfree no-sebum mineral powder
Catrice Liquid Camouflage High Coverage Concealer, 15
Maybelline Fit Me Concealer, 15
Maybelline Master Fix Baking Powder
Hoola Benefit
Jane Iredale Flawless Blush*
MAC Mineralize Skinfinish, Soft & Gentle
mad4eyebrow Natural Eyebrow filler, Blond
Holika Holika Wonder Drawing Skinny Eyebrow, 02
Urban Decay Primer Potion
Urban Decay Vice 4 palette
Alima Pure Natural Definition Eye Pencil, Ink
IsaDora Insane Volume Lash Styler Mascara
Eylure 080 lashes
Jane Iredale Lip Fixation, Content*