*adlink
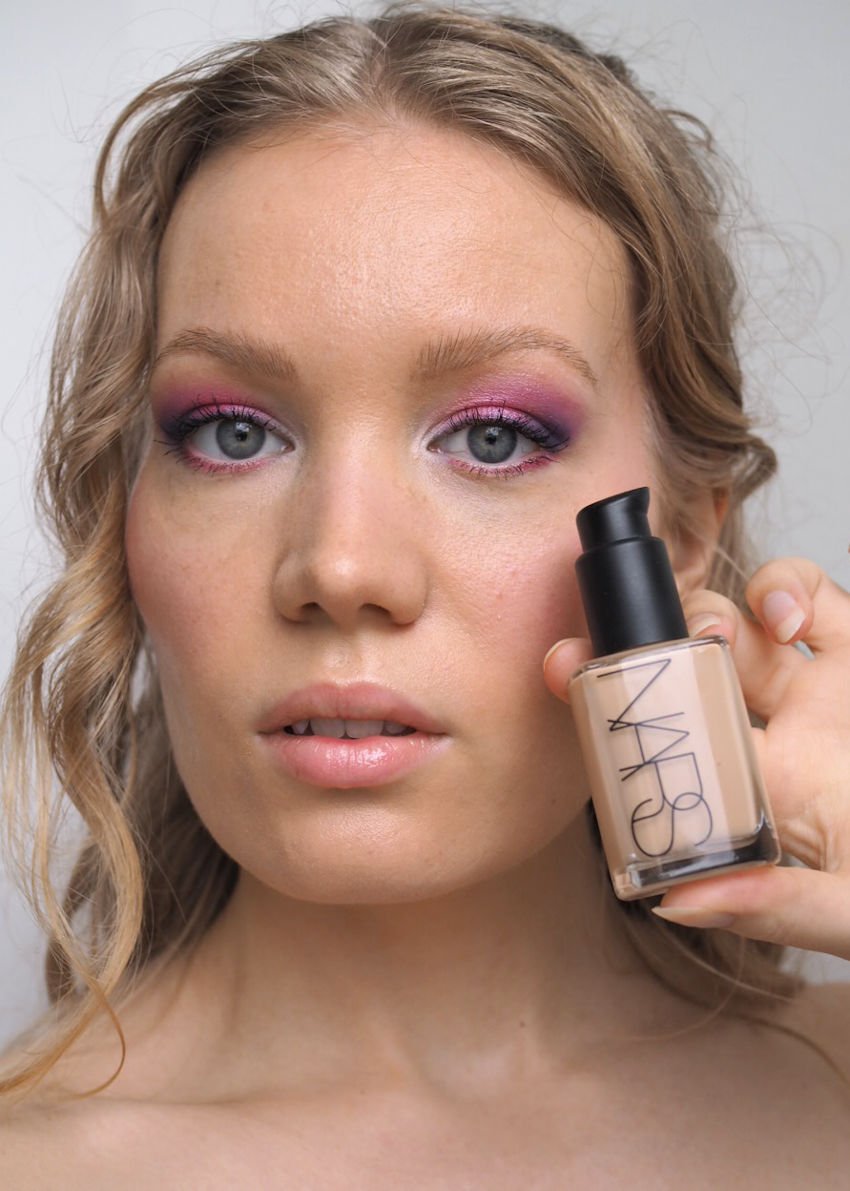
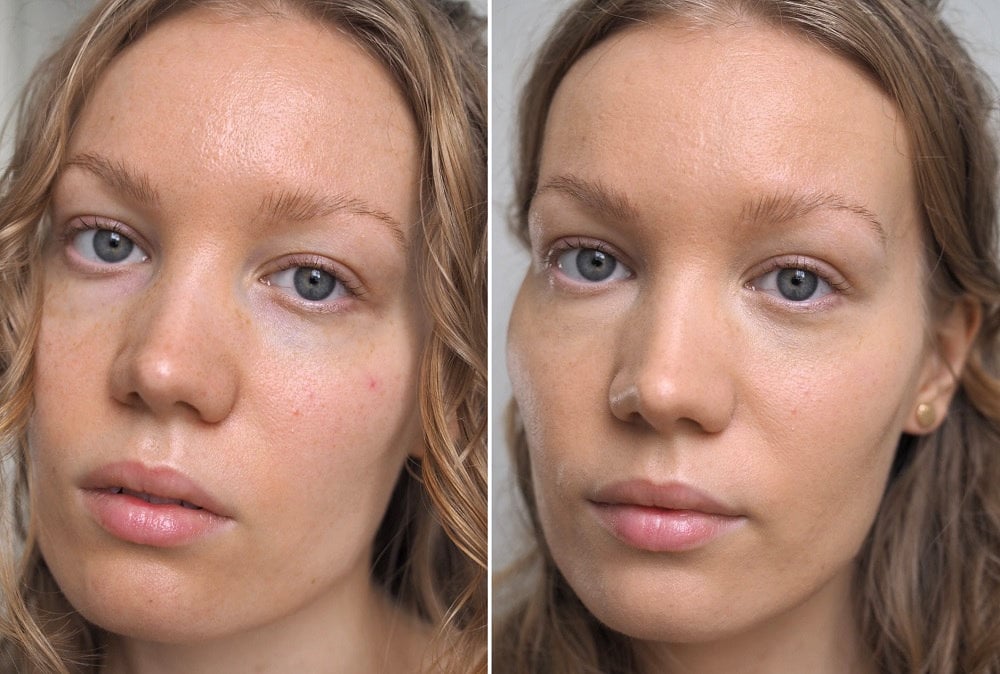
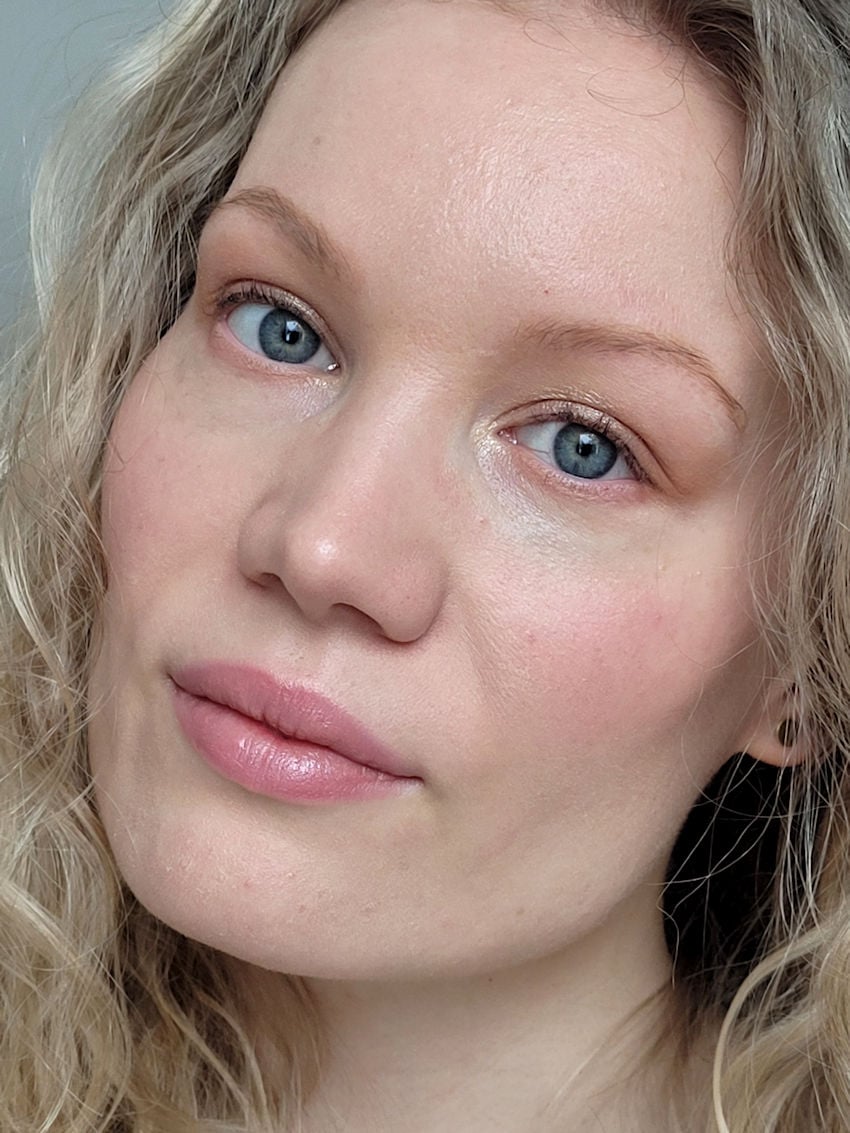
Lumene’s Natural Glow Foundation is one of their most popular products and for a good reason: it’s an affordable foundation that evens out the complexion leaving – as promised – a beautiful glow on the face.
I love foundations, but I’m quite picky on them. Several boxes need to be checked for me for them to make it on my beauty blog. However, I have reached for Lumene’s foundation so many times now, I have to admit: I do love this foundation. I’m a busy bee nowadays and my makeup needs to happen fast. This I can just apply with my fingers so it saves me time and effort.
Lumene Natural Glow Foundation review
Lumene is a Finnish brand that all Finns know. I would think most women at least have used a product from them. It’s funny, but I feel a sense of pride every time I see Lumene mentioned in a review or in a video abroad.
Three out of four makeup customers of mine bring a bottle of Lumene foundation with them. Several of my friends have said they wear this particular foundation. To be perfectly honest – for me it wasn’t love at first sight with this foundation. I’m pretty sure my skincare products at the time didn’t mix that well with some ingredients, because I couldn’t make it work. But then one day I tried it again and I was amazed.
And now I use it too.
Natural-looking foundation, that gives glow
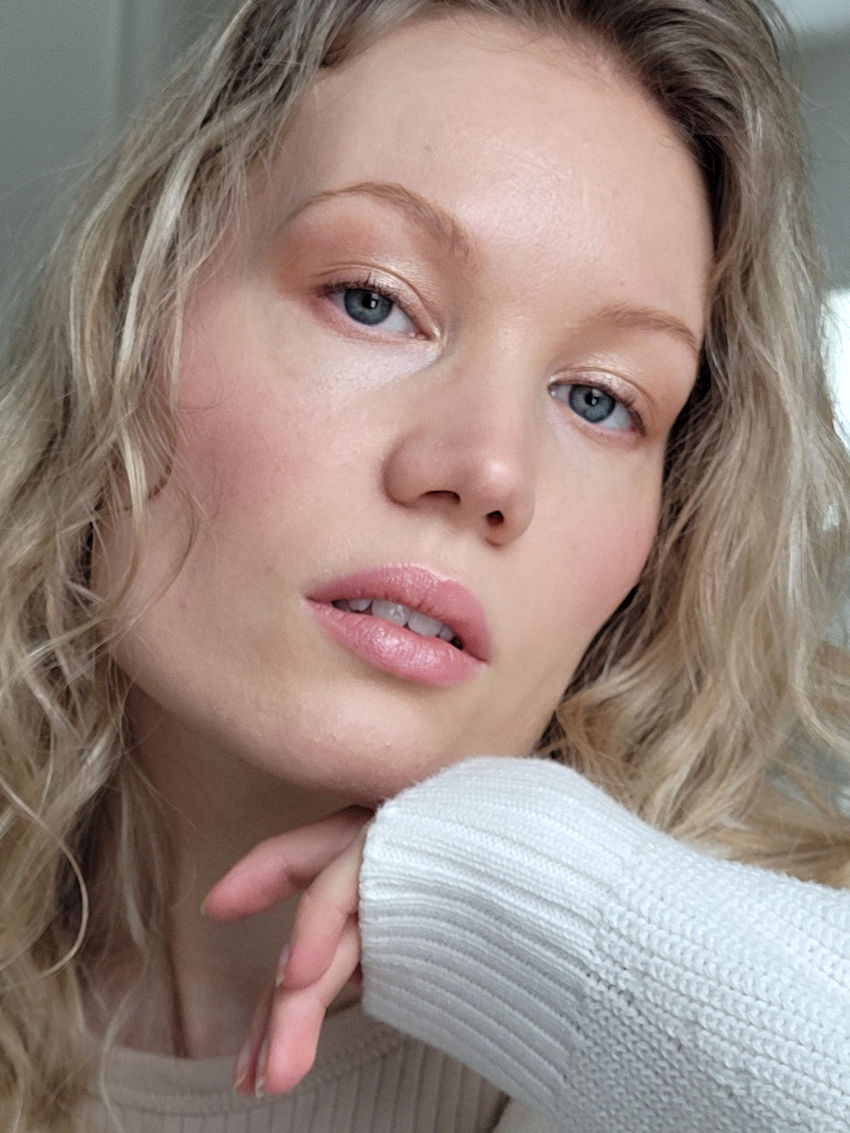
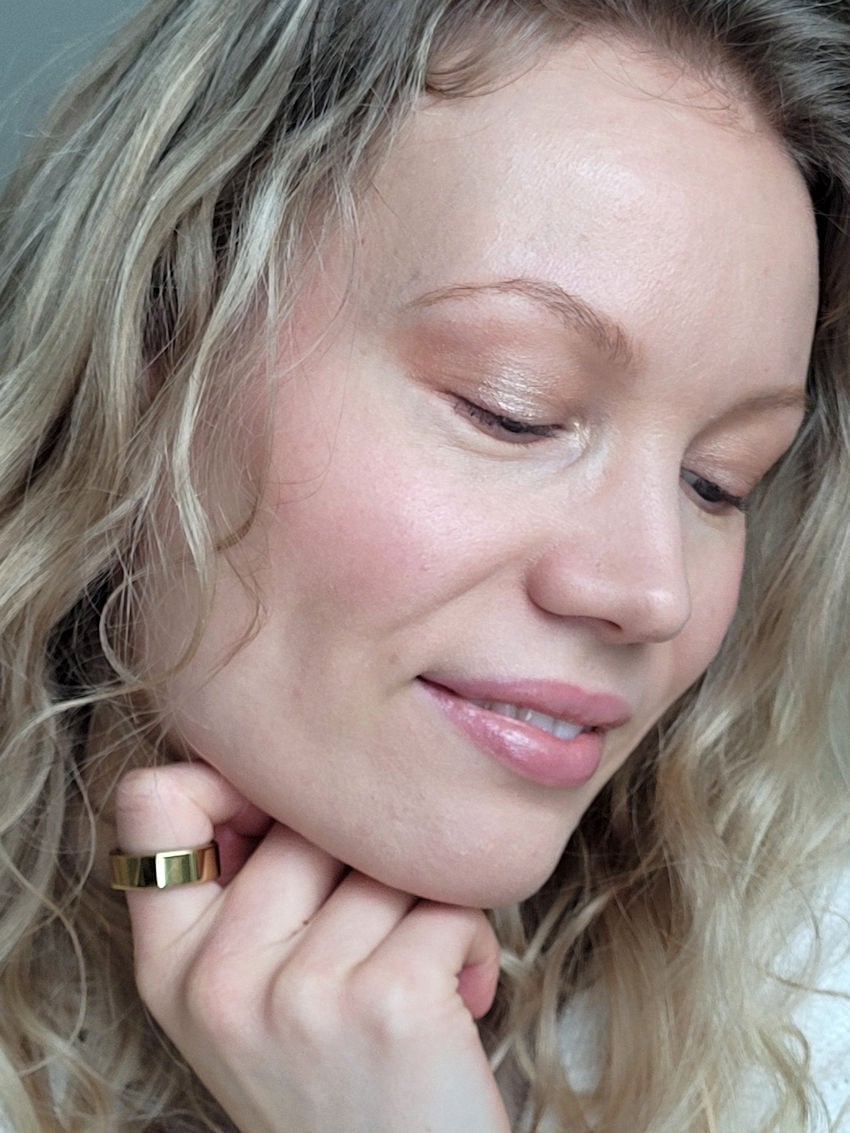
What I like most about this foundation is the gorgeous packaging, easy-to-apply consistency and a natural look and feel on the skin. Most of the time I apply it with my fingers, but it also works with a beautyblender. Brush I rarely use, just out of habit.
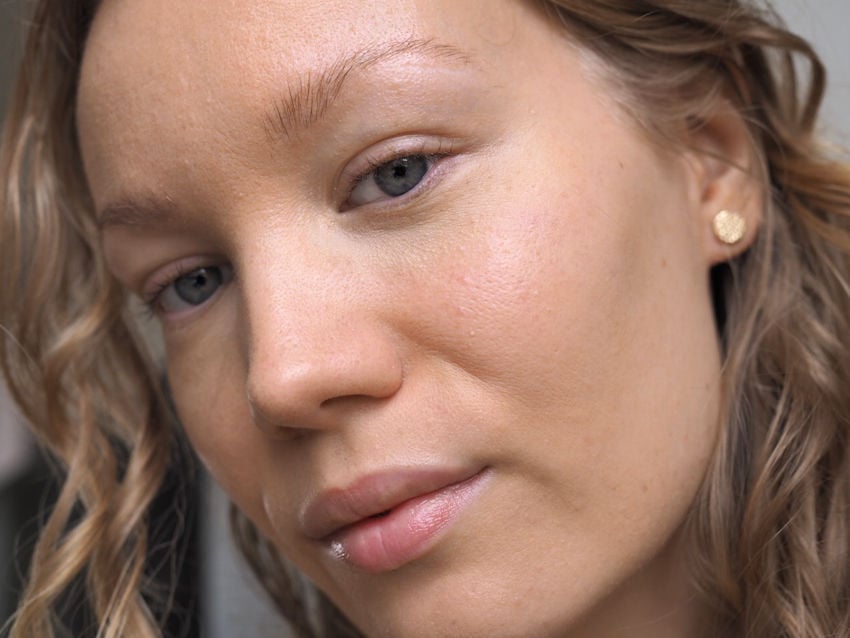
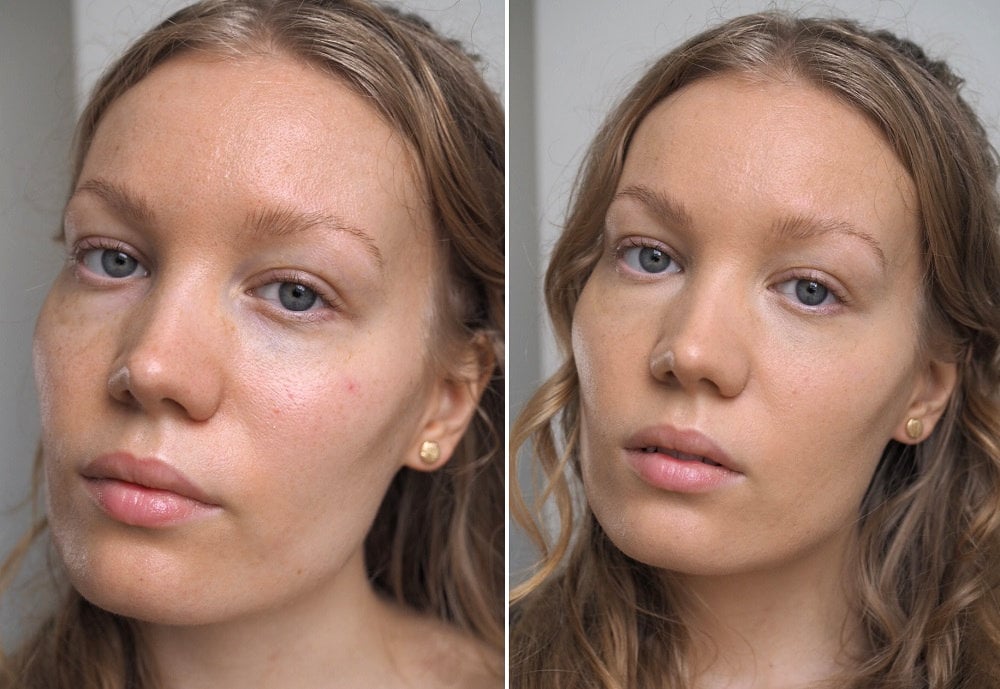
The foundation evens out my complexion by hiding small imperfections or redness – yet it’s glowy and light enough so that my skin still looks like my skin. The texture is smooth, creamy and buildable. Though I don’t think you need that much product, because a little goes a long way with this one.
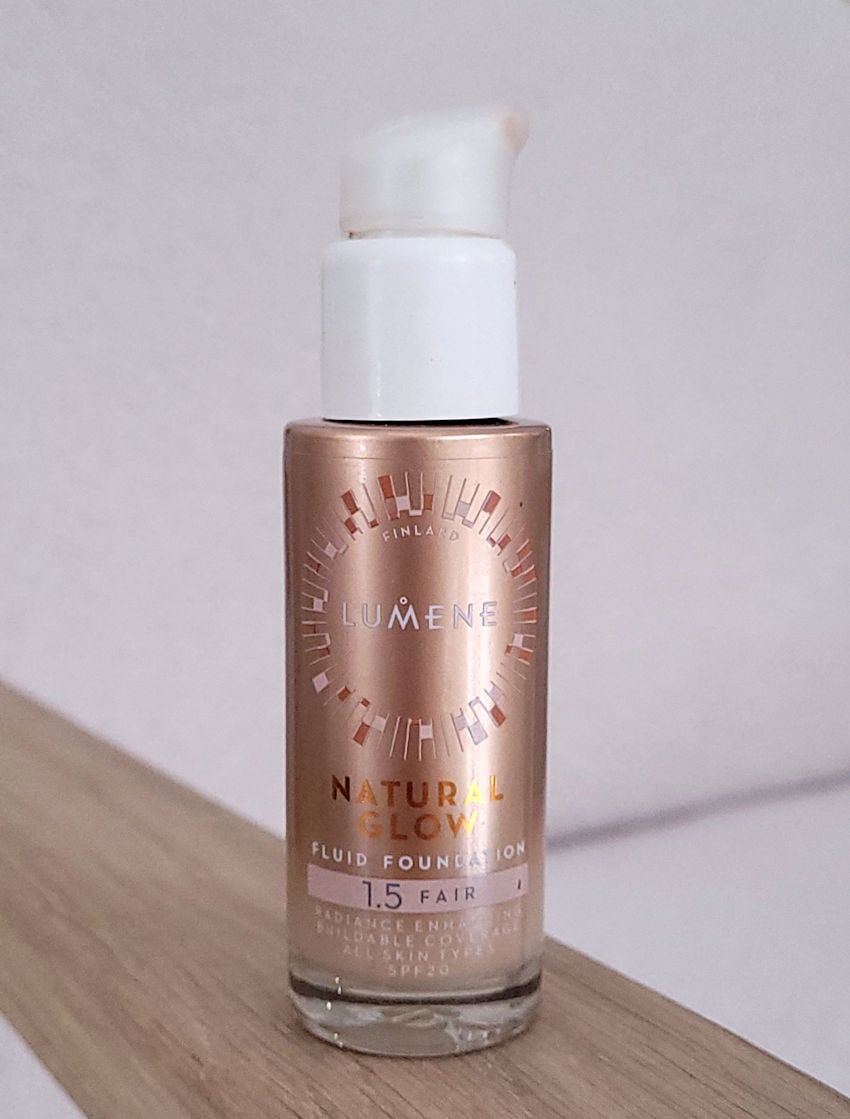
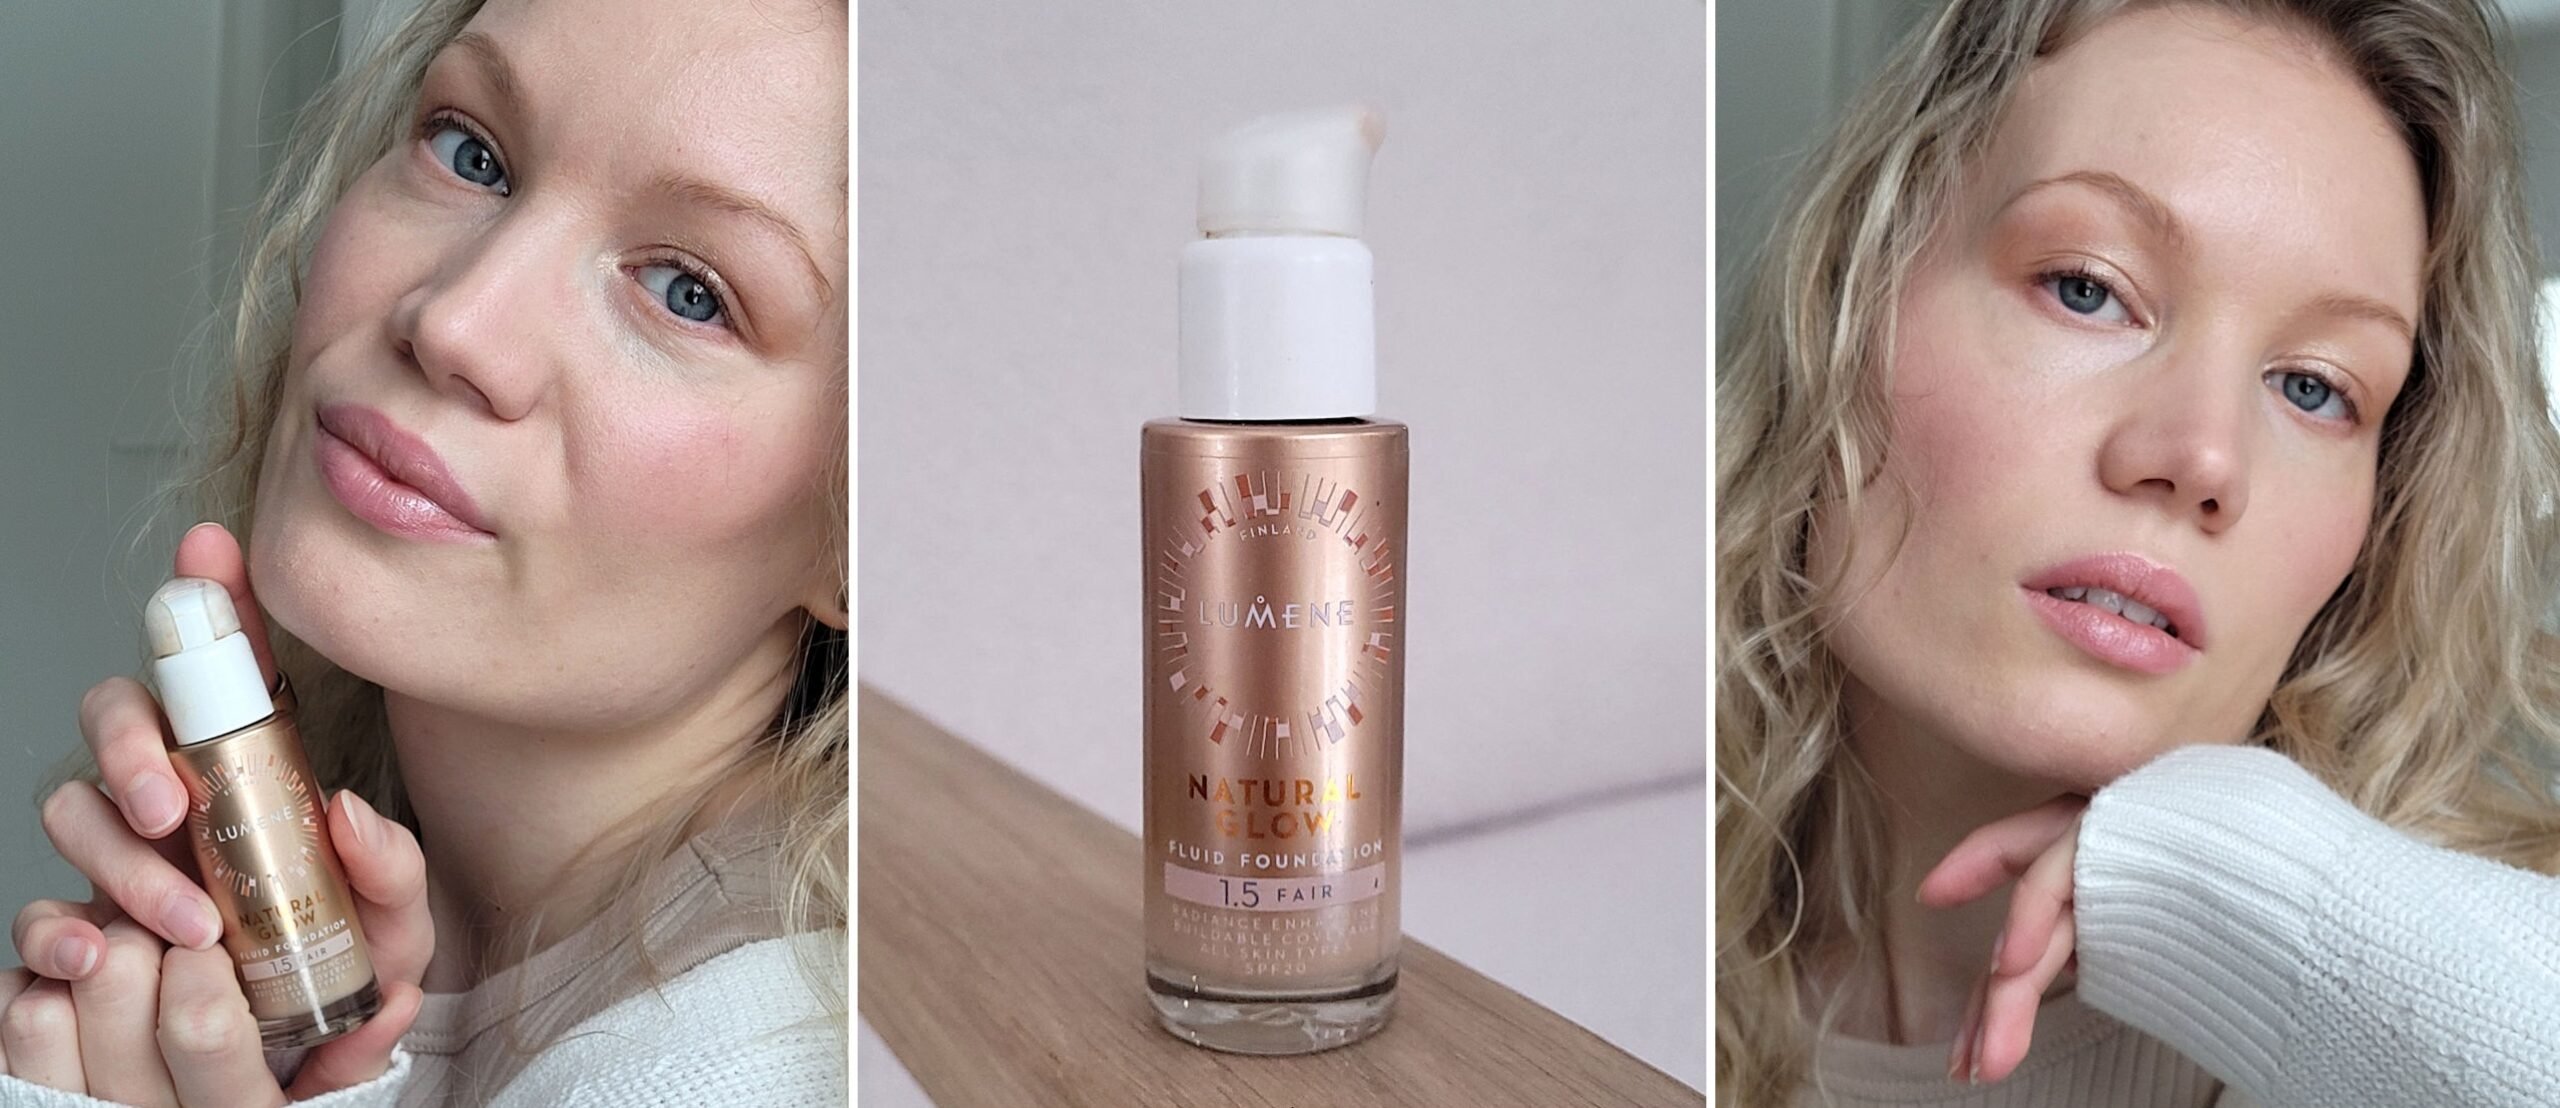
My shade is 1.5 fair, which I would describe as quite neutral. It has more red than most of my foundations, but not so much I can’t use it. Usually I prefer yellow-based shades, because those disappear into my skin best.
As to the longevity, I think this foundation performs just fine. It lasts a regular day with me. At the end of the day I might shine a little bit more, but there’s powder for that. Anyway, I’ve always thought that foundation can and should live a little on the skin. That’s also why I prefer natural-looking foundations – it looks great even if it wears out a bit. With a full coverage matte foundation however – you notice easier if it starts to wear off.
All in all, a lovely foundation
The only minor aspect I would change on the product is its scent. It’s not particularly strong, nor unpleasant, but it’s something I notice. I should mention, though, that I rarely use perfumes. Most of my skincare products are either unscented or have natural scents that evaporate quickly, so I’m more accustomed to those. Nevertheless, I continue to use this foundation because it’s great. Plus, its application is just as swift on my skin as tinted moisturizers, which I happen to adore as well.
But since I’m on the subject of perfumes and scents. In a perfect world, everything would just smell like vanilla. I love vanilla.
All in all, this is a lovely foundation and I understand why so many love it.
Have you tried this foundation?
Shop:
*Lumene Natural Glow foundation (Lyko.fi)
*Lumene Natural Glow foundation (Kicks.fi)
Lumene.com
P.S. If you’re interested in the brand, I have also tried some of Lumene’s skincare products!
Related Posts