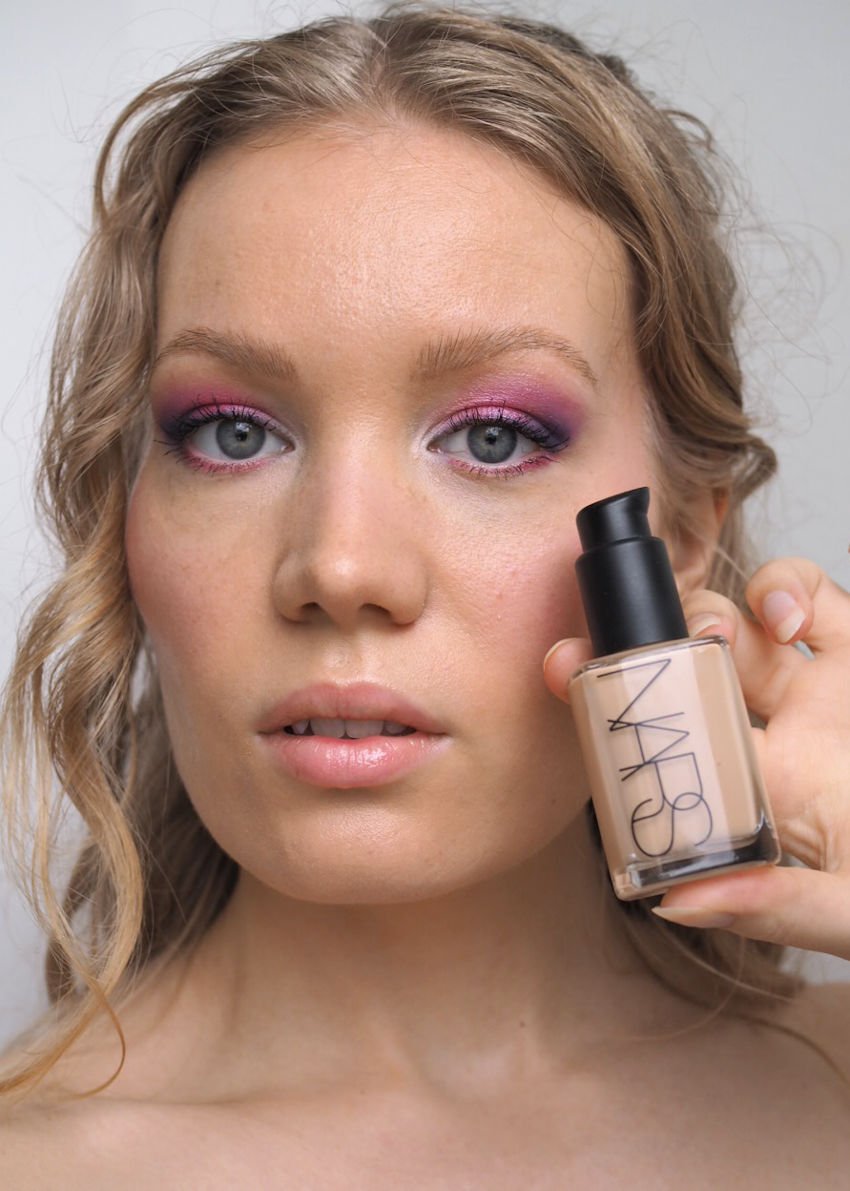
NARS Sheer Glow Foundation is just what the name implies, but also much more (at least to a foundation fanatic). It’s a medium-coverage foundation that gives a subtle glow to the skin, making your skin look like skin. I like to think of it as my skin, but in a bottle. You know, if my skin had even texture, it was smoother and not as oily. My skin, but better.
This foundation is a classic, which deserves a gold medal in my books. Here’s my review with before & after photos!
NARS Sheer Glow Foundation review
*Sheer Glow foundation has sheer, yet buildable coverage. I feel like it’s impossible to create a cakey mask with this one. Since it leaves a bit of a glow on the skin and reflects light, it looks more natural on the skin than a matte foundation. (That said, there are also matte foundations that reflect light, making them look beautiful – if you’re more oily you might want to check out my review on Clarins Everlasting Foundation or Estee Lauder Double Wear.)
The foundation doesn’t contain alcohol or fragrance, which is great, because those two ingredients tend to be not so great if your skin is sensitive. It’s also oil-free and non-comedogenic, making it suitable also for combination skin. Ingredients include glycerin, vitamin C and turmeric extract. These hydrate, brighten and even out the skin tone.
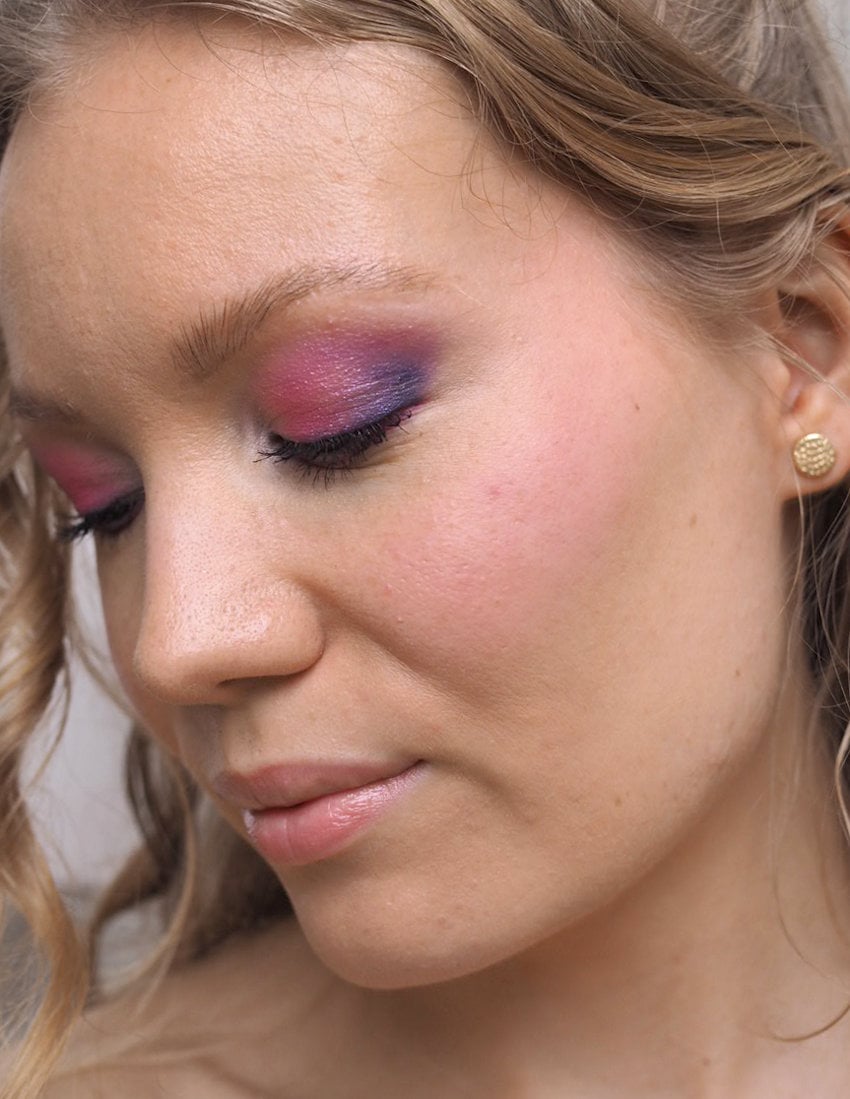
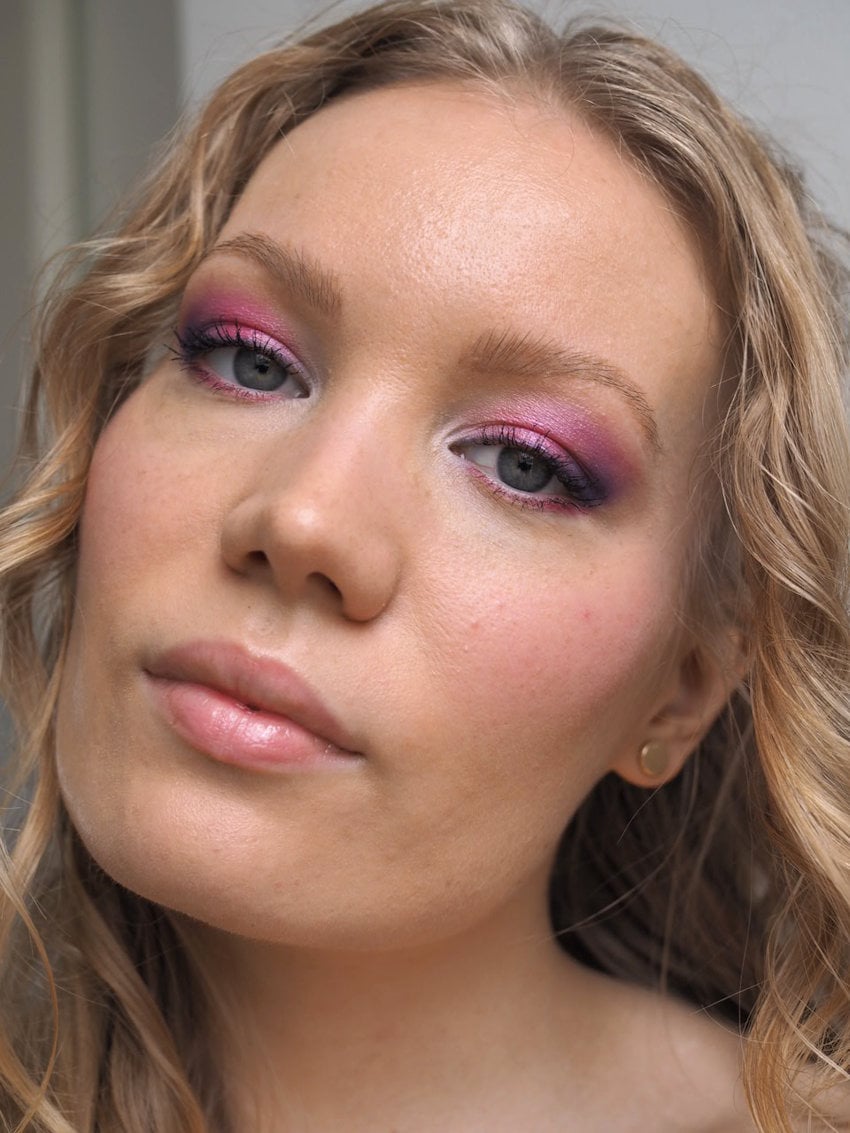
My skin type is combination, meaning I get a bit oily in my T-zone. I still love a glowy foundation and I’m so happy I found this one! It gives me just enough glow, without making me look like a greasy mess. So when it comes to the longevity, it lasts pretty well throughout the day. Obviously I’m quite glowy at the end of the day, but it’s nothing too crazy. I can always fix it by absorbing excess oils with powdered papers.
Quite often I leave it without powder, but applying a light layer of powder to set the foundation also helps to keep it in check longer. If you’re using a qood quality powder, it doesn’t ruin the radiance. My recommendation is *Laura Mercier’s loose translucent powder.
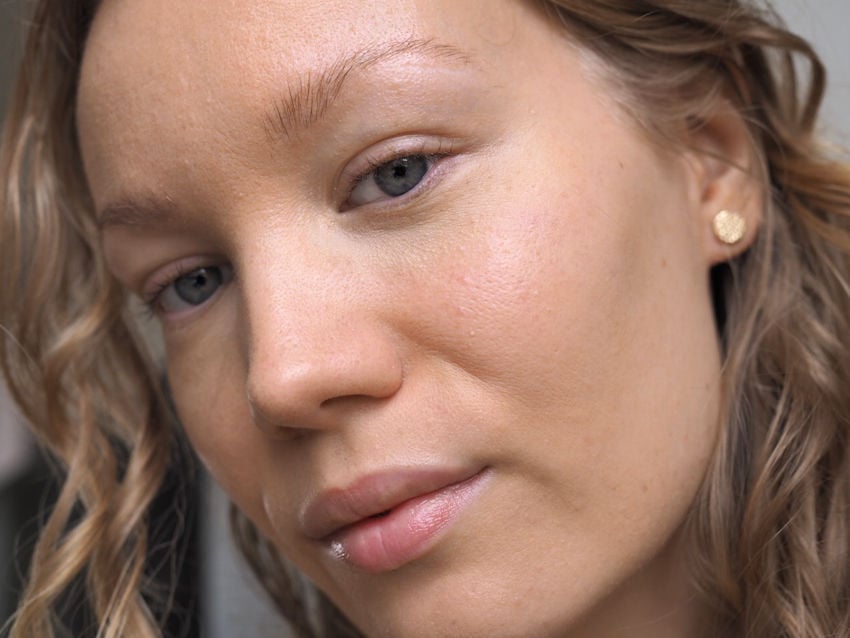
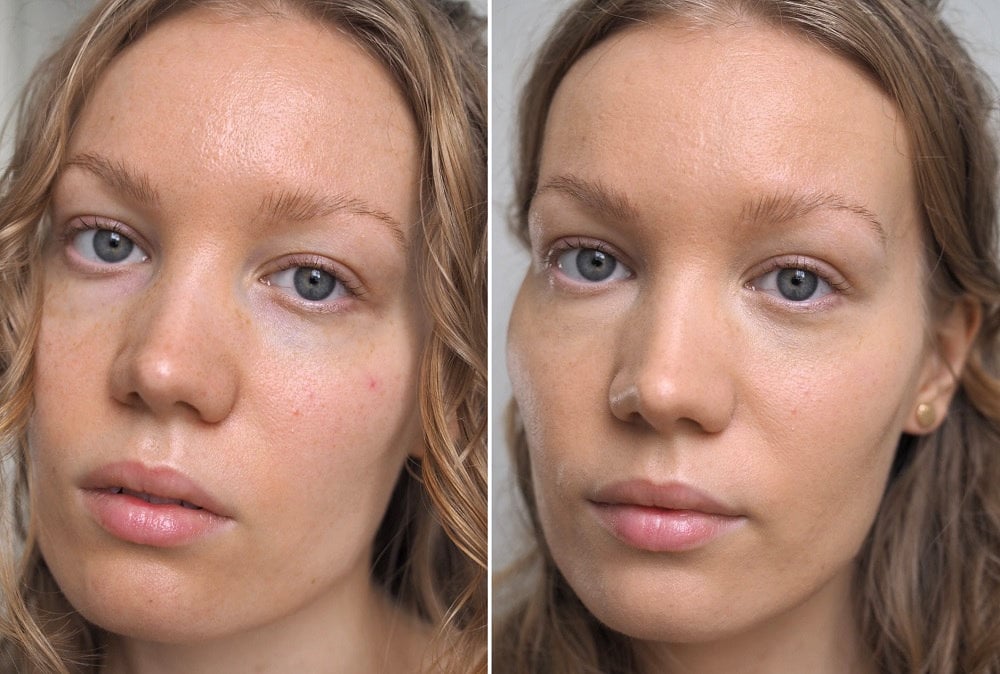
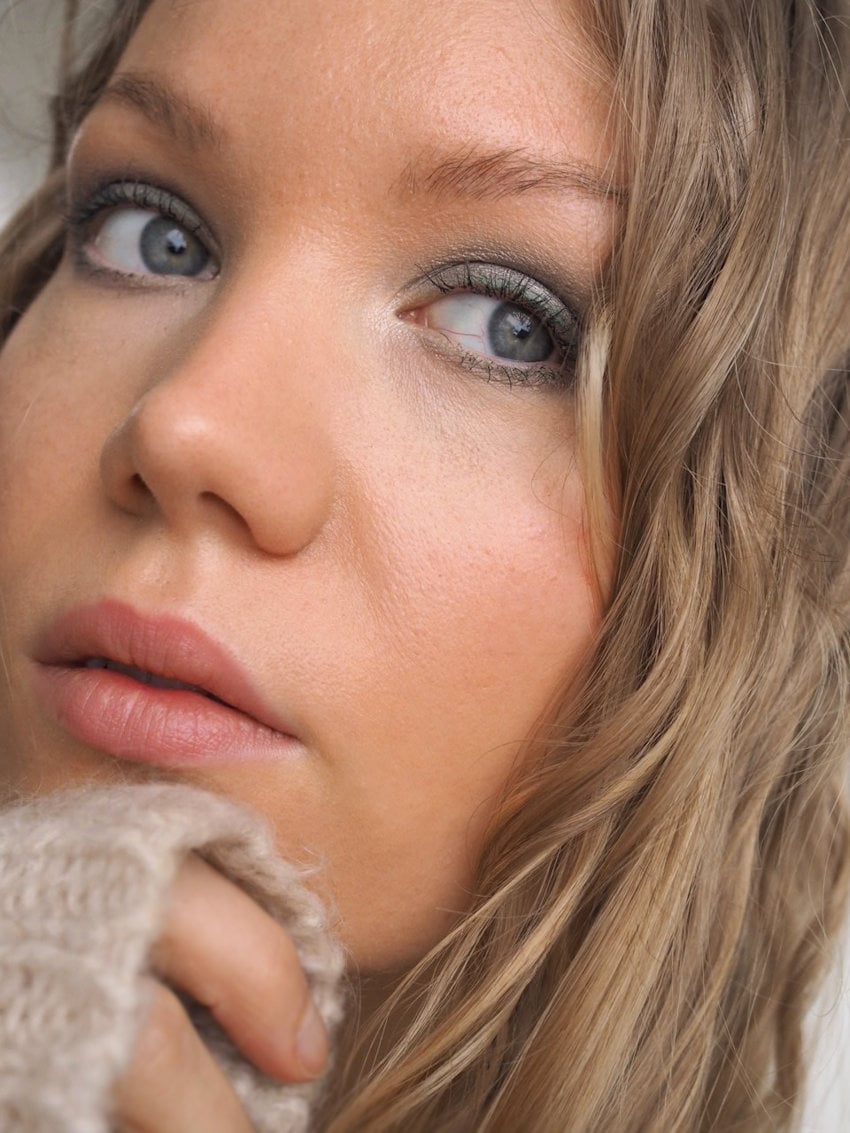
Before & After Nars Sheer Glow Foundation in Punjab (Medium 1)
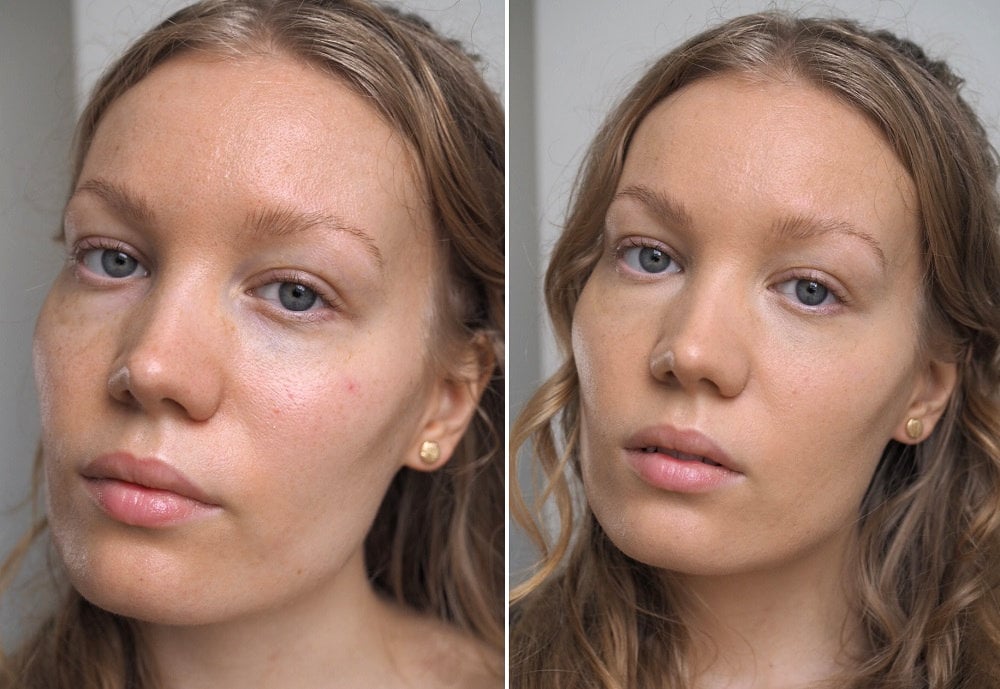
Before & after NARS Sheer Glow Foundation (Punjab) & Radiant Creamy Concealers (Custard, Vanilla)
The shade that I have is Punjab. Right now it’s slightly darker than my skin, but I usually use self-tan and then it fits me perfectly. And that said, you can still see how easy it is to blend to look good, even with a slightly darker shade. There’s great shade descriptions on Sephora (just follow the foundation link), so it’s quite easy to find your match.
I love to apply this foundation either with a damp beautyblender or a brush. It works either way. The consistency of the foundation is very lightweight, making it easy to apply and blend on the skin. For this post, I used a beautyblender. I didn’t use powder, so you can see the beautiful finish it leaves on the skin.
NARS Sheer Glow Foundation review & my NARS favorites
All in all, I really love this foundation. NARS really seems to know its base products. I’ve been using their Radiant Creamy Concealer for years and just haven’t found anything that beats that. I also used those concealers in the makeup here.
Note – this foundation doesn’t come with a pump. You could use the foundation without the pump, but it does make it easier to use, so I would recommend buying that. It costs $6, which I think is fine for a great foundation like this.
Let’s talk about dark circles and how to neutralize and brighten them.
In a nutshell the most important things are the right product placement, neutralizing any unwanted colors and bringing light back to the eye area.
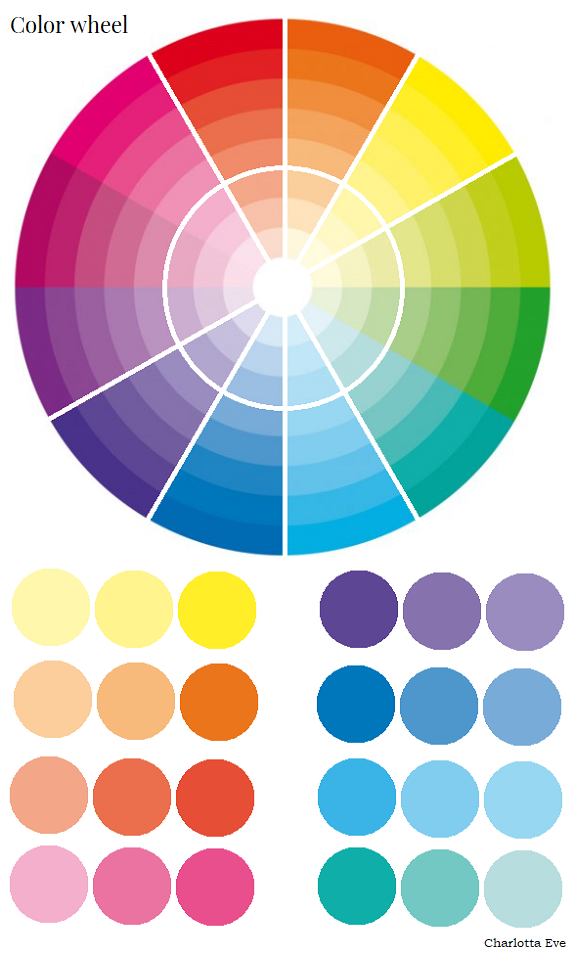
I love this topic, because understanding the basics of concealing makes it easy. This post teaches you a few things about color theory and neutralizing, making it easier to properly hide those dark circles. I’ve done one post on the subject before, but this will be more in-depth. Concealer is just as crucial as foundation. A good base gives room for the rest of your makeup to shine!
The best way to hide dark circles is by neutralizing unwanted colors
Remember when neutralizers were all the rave? Well, when it comes to dark circles, you do want to neutralize. The whole idea is to counteract the unwanted colors – dark circles – with an opposite color. It’s simple color theory. You need to use a concealer that has a bit of color that neutralizes whatever color you have going on under your eyes.
A common misconception seems to be, that the lighter the color, the more it hides the dark circles and brightens them. Typically people choose a concealer that is too light. For actual dark circles, that rarely works. It can actually make the dark circles shine through even worse. The lighter the concealer is, the less it has pigment that would cover the unwanted darkness. This is why you should neutralize instead and use a concealer that is close to your skin color (it has more pigment). After that you can brighten the area with a lighter concealer – but I’ll come back to that.
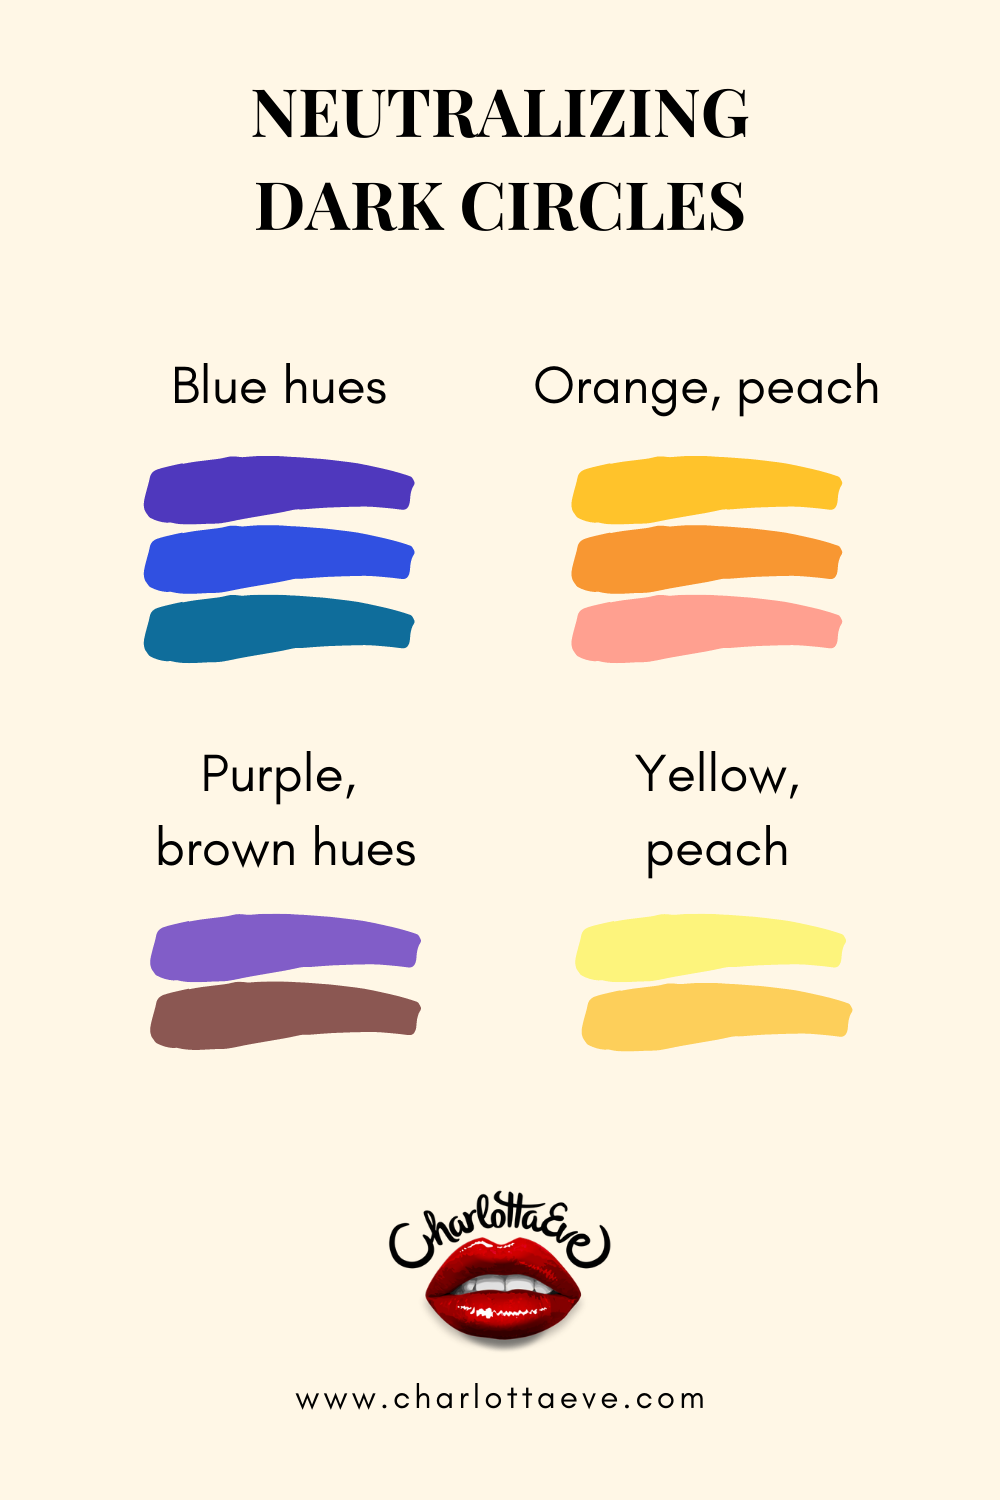
How to neutralize dark circles – what color to choose?
The right color depends on the color on your dark circles.
For blue hues, choose orange or peachy (more pink/salmon) colors. For purple or brownish hues, choose yellow or peachy colors.
A peachy color works best for most people. Your undertone determines, if the color should be leaning more to orange or pink. For warm-toned undertones, warm orange peachy colors work best. If you’re cool-toned, you might want to choose a cool toned, more pink/salmon neutralizer.
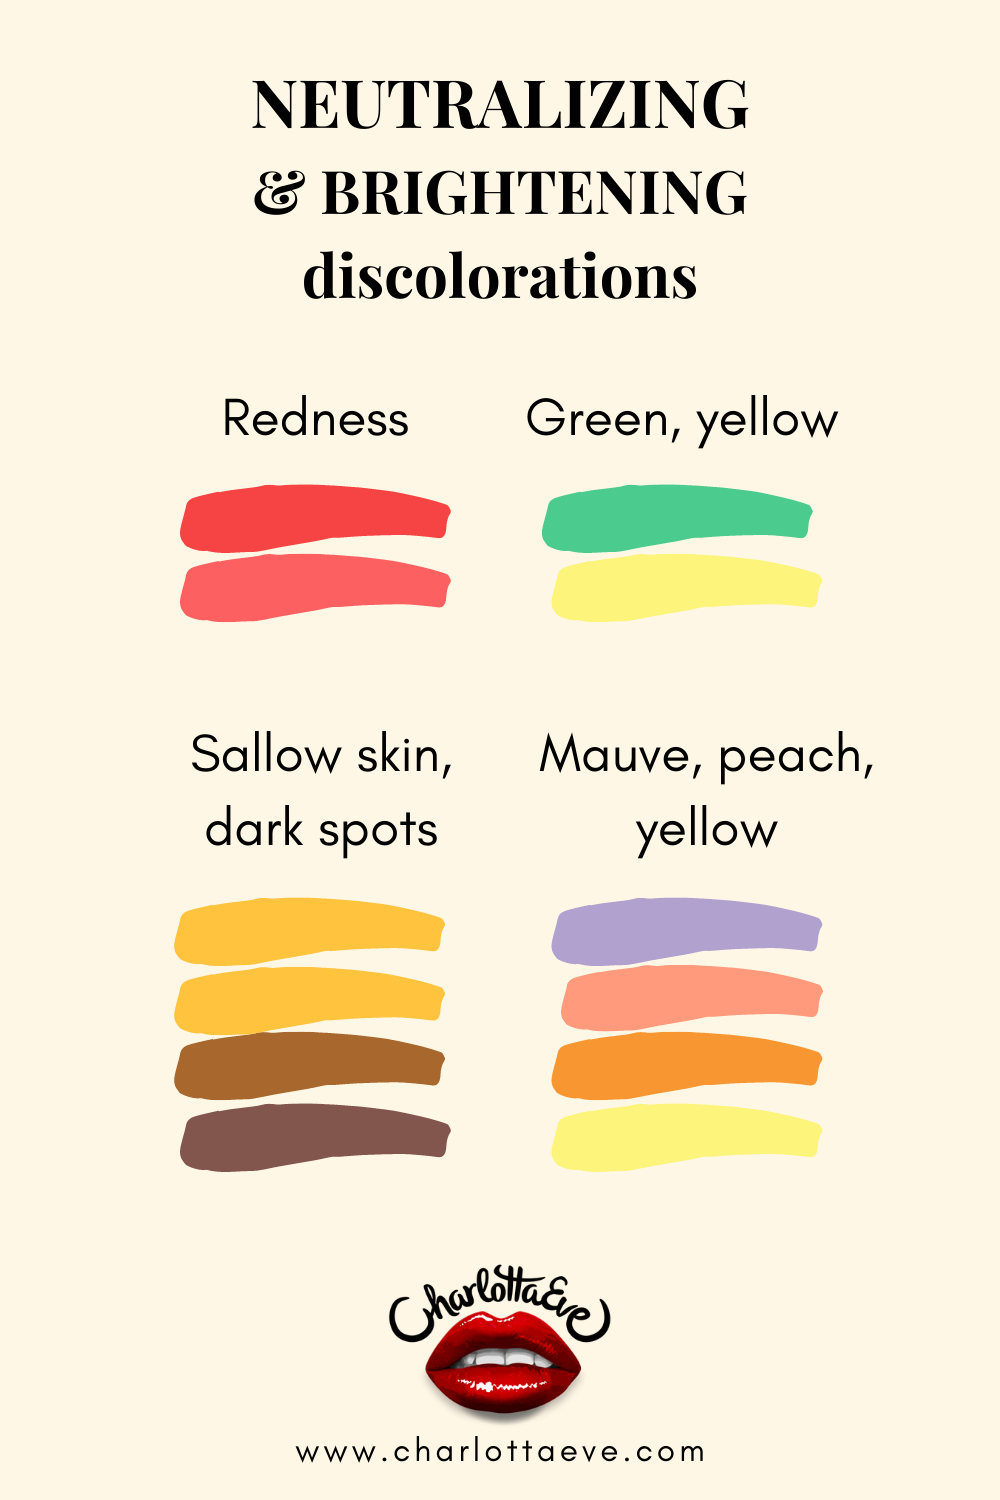
The color theory works also for other unwanted colors. You can neutralize redness, sallow skin or dark spots with opposite colors – or brighten with yellow or peach.
Tip! If you have redness on your skin, a greenish primer works wonders! Check out Zuii Organic’s Mint Primer. It’s subtle, yet balances redness really well. Another good trick for red skin is to choose a yellow-toned foundation. Yellow also hides redness. (Looking at the color wheel you understand why – it’s not quite the opposite color, but close.)
The best way to find the right color to neutralize is to really look at your dark circles and try and see what colors they have. It’s easier said than done though. It’s not always clear, so it might be easier to just try different colors, typically peach or something more yellow.
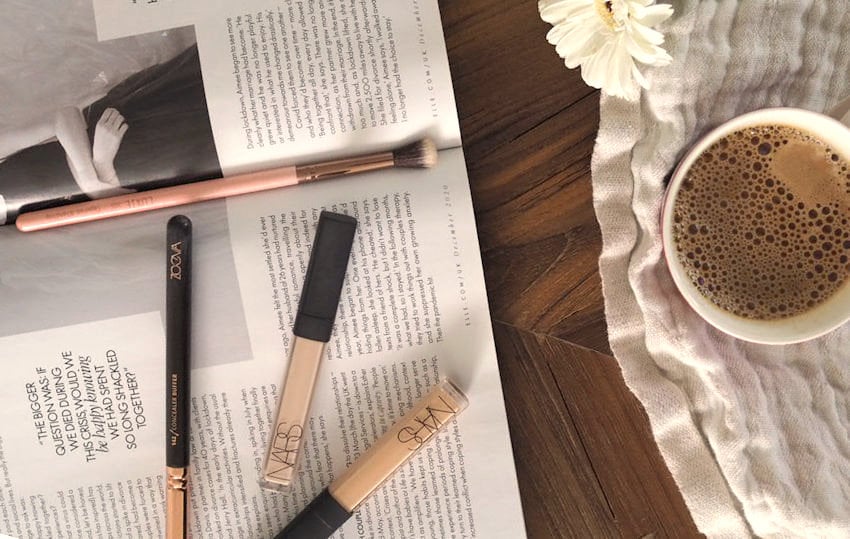
Best concealers for neutralizing dark circles
You can use an actual neutralizer for this, or a concealer that has enough of the tint you want.
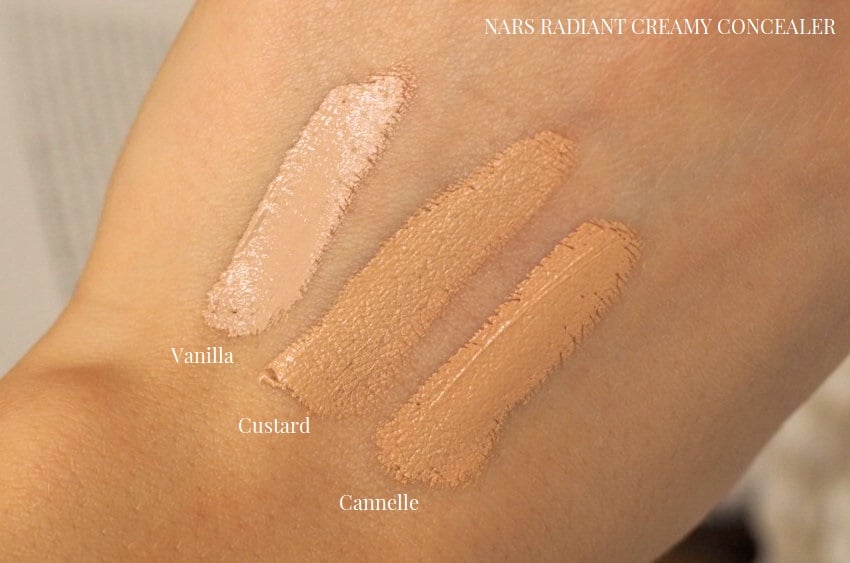
My dark circles are quite blue and my undertone is warm/neutral, so NARS Radiant Creamy Concealer in the shade Custard works nicely for me. (Vanilla works for brightening, but Cannelle is the wrong shade for me, too pinky peachy.)
Another great find is Smashbox x Becca Brightening Corrector in a light salmon color. Surprisingly, it works even better than yellow for me. Under it, though, I use another concealer first (something close to Custard).
Swatches of NARS Radiant Creamy Concealer in Vanilla, Custard and Cannelle. These shades work for blue/purple dark circles depending on the skin tone.
There are good shade descriptions on the NARS concealer, so you can check out the shades and find your match easily. A lot of products have good shade descriptions on their site.
Some examples of the light/medium light shades:
Vanilla, Creme Brulee = cool with a subtle pink undertone Custard = warm with a neutral undertone (I would add that it’s a bit yellowy) Cannelle = warm with a peachy undertone (I would add that it’s more pink peachy) Ginger, Nougatine = warm with a yellow undertone
Concealer I use for neutralizing: *NARS Radiant Creamy Concealer, Custard Tarte Shape Tape, Ultra Creamy, N22 (Not as yellowy shade as Custard, good match for me)
More of my concealer recommendations further down the post.
How to brighten dark circles
After you’ve neutralized the dark circles, you can brighten up the area with a concealer that is slightly lighter than your skin.
Since you’ve already neutralized the unwanted colors, choosing a brightening concealer is easy. It’s enough that the color suits you and is slightly lighter than your skin. It doesn’t matter if it has a bit of the tint you need for neutralizing, but it might be unnecessary if the unwanted colors are already gone.
You can also use the undertone of the concealer to your advantage. Cool-toned concealers really help to brighten up the area even more. I typically use a cool-toned concealer for brightening, since I’m warm toned. It might not work for everyone though (I would imagine it would be too much of a contrast on olive skin for example). You can also just choose a concealer that is the right undertone for you – and just go for one or two shades lighter than your skin.
Best concealers for brightening and hiding dark circles
I’ve been using NARS RCC shade Vanilla a lot. It makes my under eyes super bright, since it has a pink (cool) undertone. It’s quite light for my skin, especially since I use self tan, but I can make a tiny amount work.
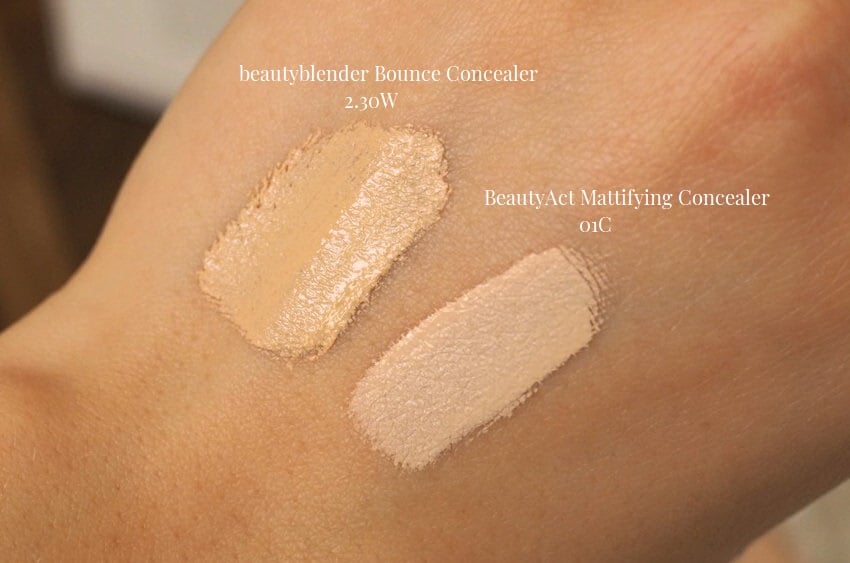
Another favorite of mine is beautyblender’s concealer. With that I have a shade that is warm undertone (2.30W), which also brightens really well. The concealer itself is also really great: very pigmented, smooth and light reflecting.
Since I’m using two concealers on the thin skin around the eyes, I use very little amount of them. Preferably, the brightening concealer could be something that’s also lighter in consistency. Pay attention to that especially if you have dry skin.
Okay, now that you have the right colors and concealers – let’s move on to application.
How to hide dark circles – step by step photos
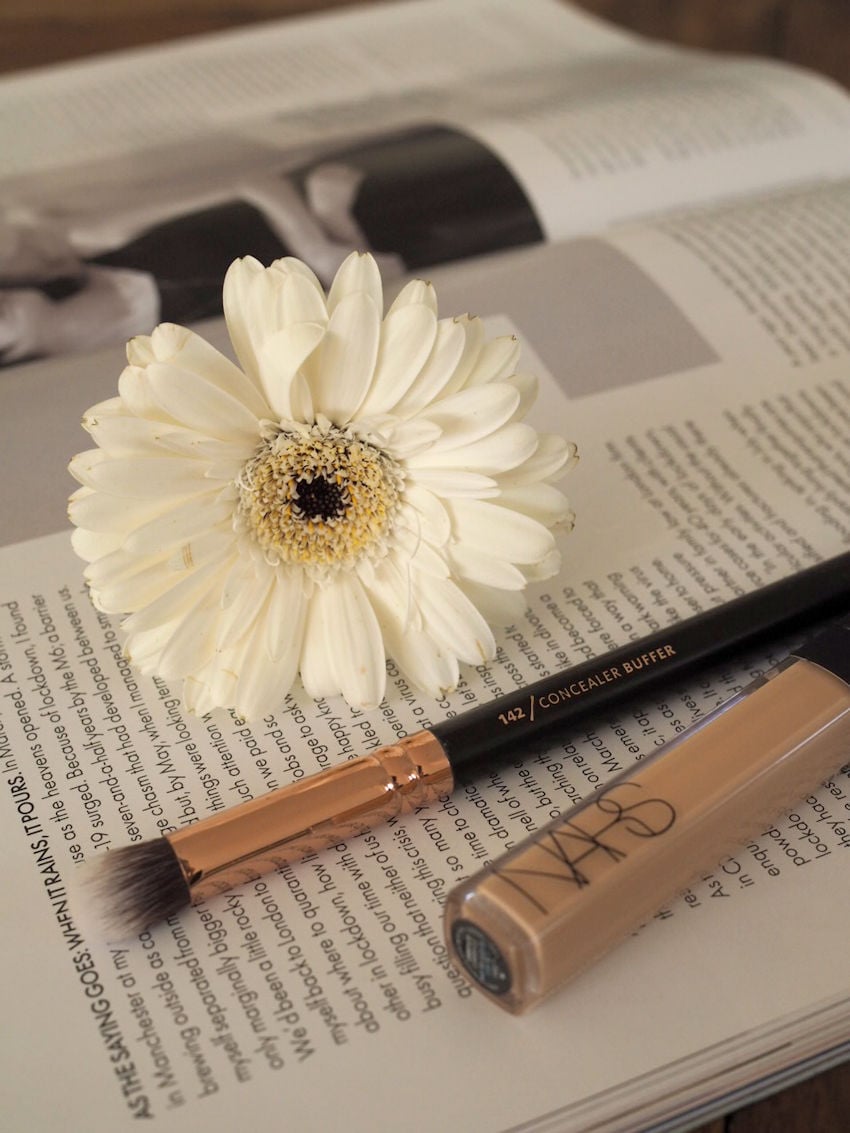
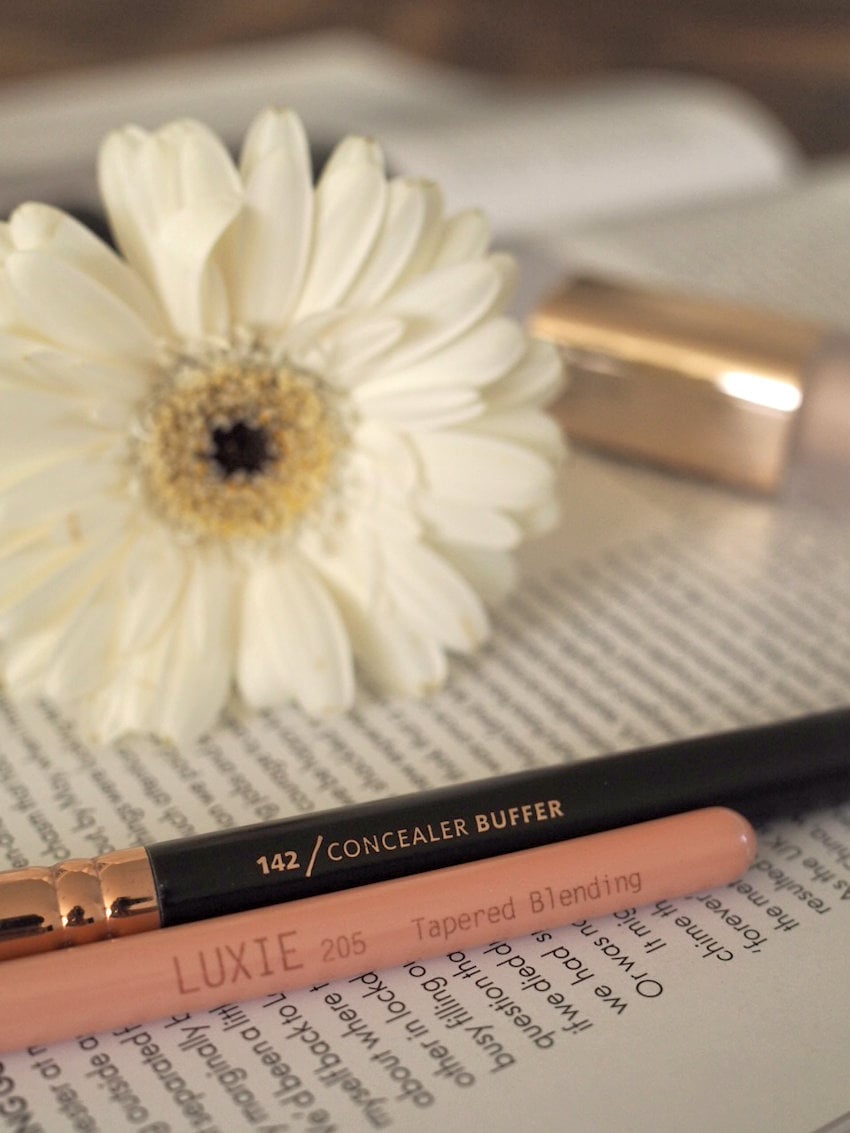
I always use a brush to apply my concealer. That just feels more convenient than using my fingers – which you can obviously also do. The two best concealer brushes I use are from Zoeva and Luxie (you see the brush in the tutorials).
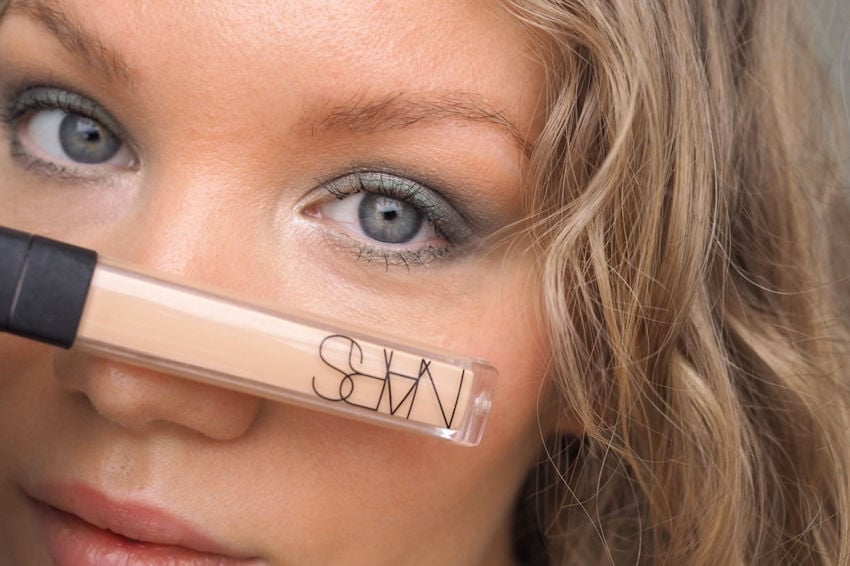
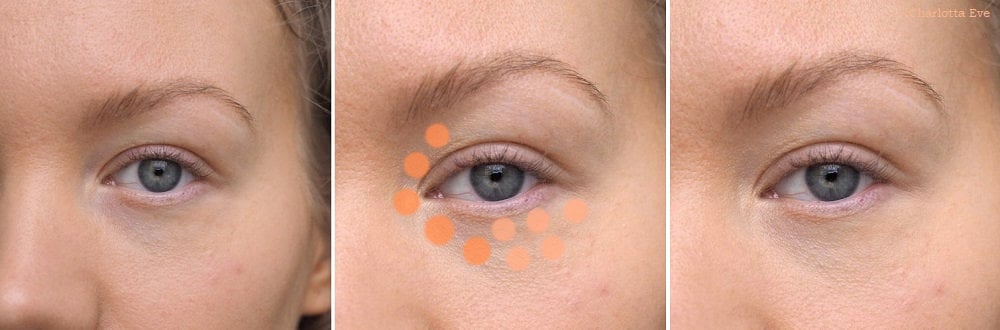
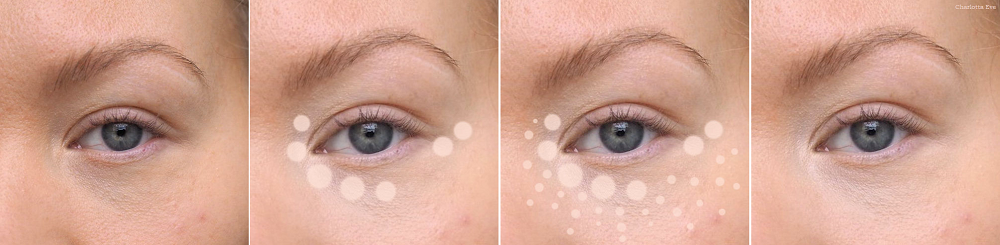
Here’s where your concealer/neutralizer goes. Right on the dark circle. Try and keep it focused on the dark circle and don’t blend it around too much.
Starting with the concealer that neutralizes the dark circle. You should focus it in the darkest spot of the dark circle. So wherever you see that unwanted color – conceal. Make sure to also get that inner corner, which is also typically dark.
When you apply the concealer, don’t swipe and move it around too much. Tapping motions work best and make it easier to focus it where you want it (the dark circle).
Only after you’ve placed your product on the dark circle, and there’s not a lot of product on your brush (or your finger), you can start blending the edges a bit.
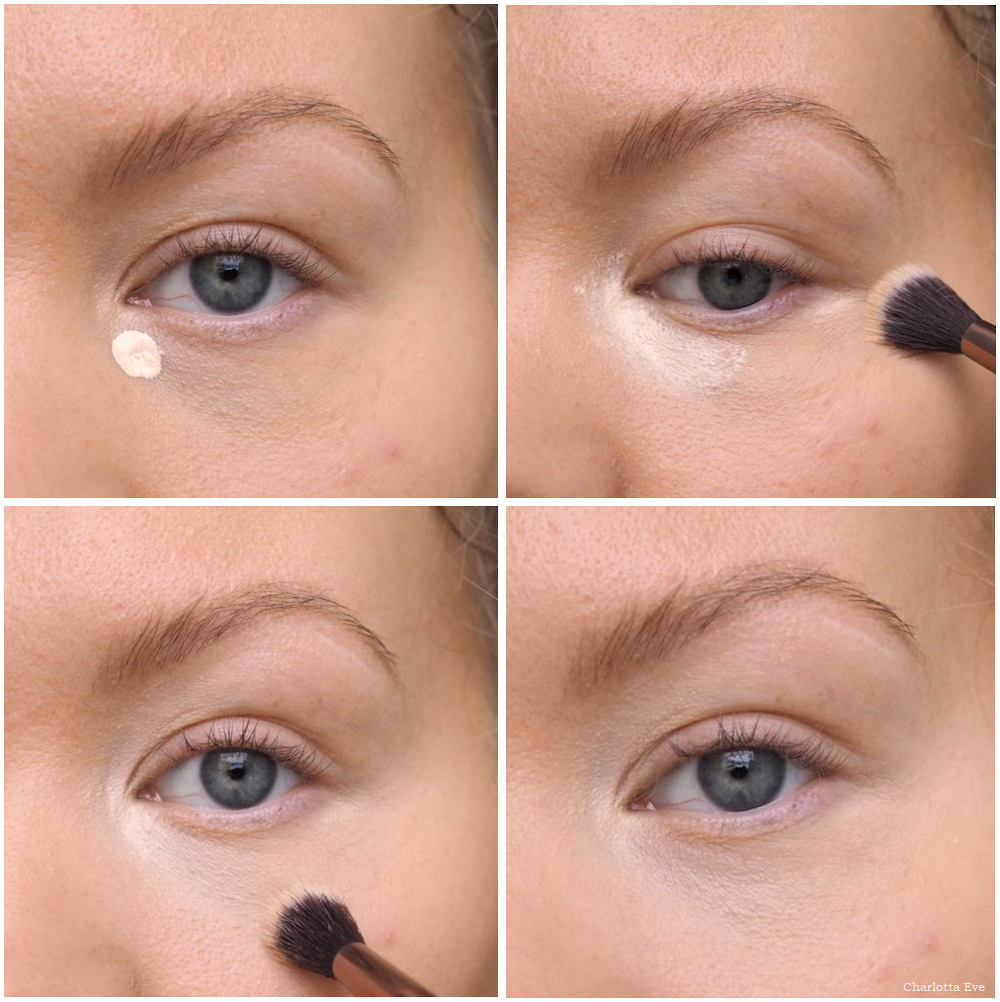
How to brighten and hide dark circles
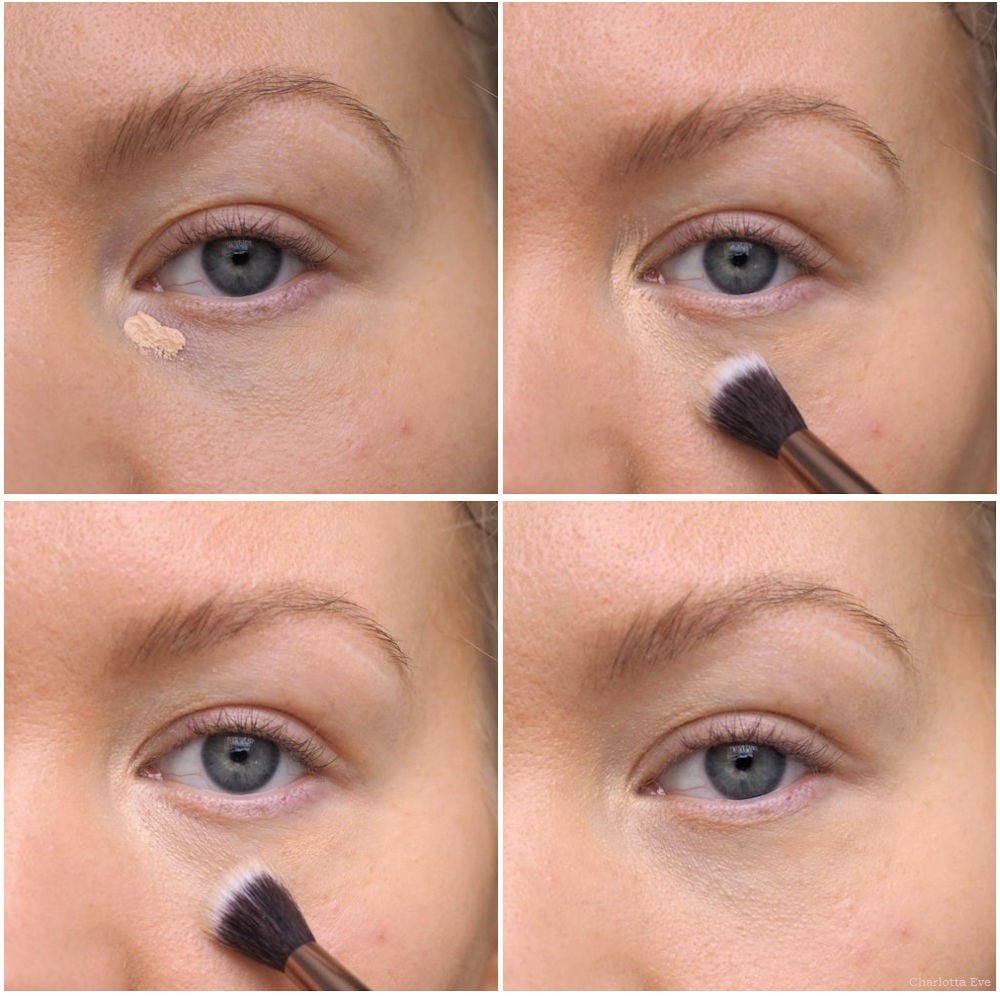
Concealing and brightening the dark circles with a lighter concealer. It should be focused in the inner corner and in the outer corner (for a lift). It can be blended to the surrounding skin. So this goes on a bigger area than the neutralizer.
Now to the lighter brightening concealer. That should be focused in the inner part of your dark circle. You can also swipe it on the corner of your eye to get a lifting effect. Once you’ve tapped on the most of the product, you can start blending on a bigger area. This – the lighter concealer – can be blended on a slightly bigger area under the eye. You can actually also highlight your face with it.
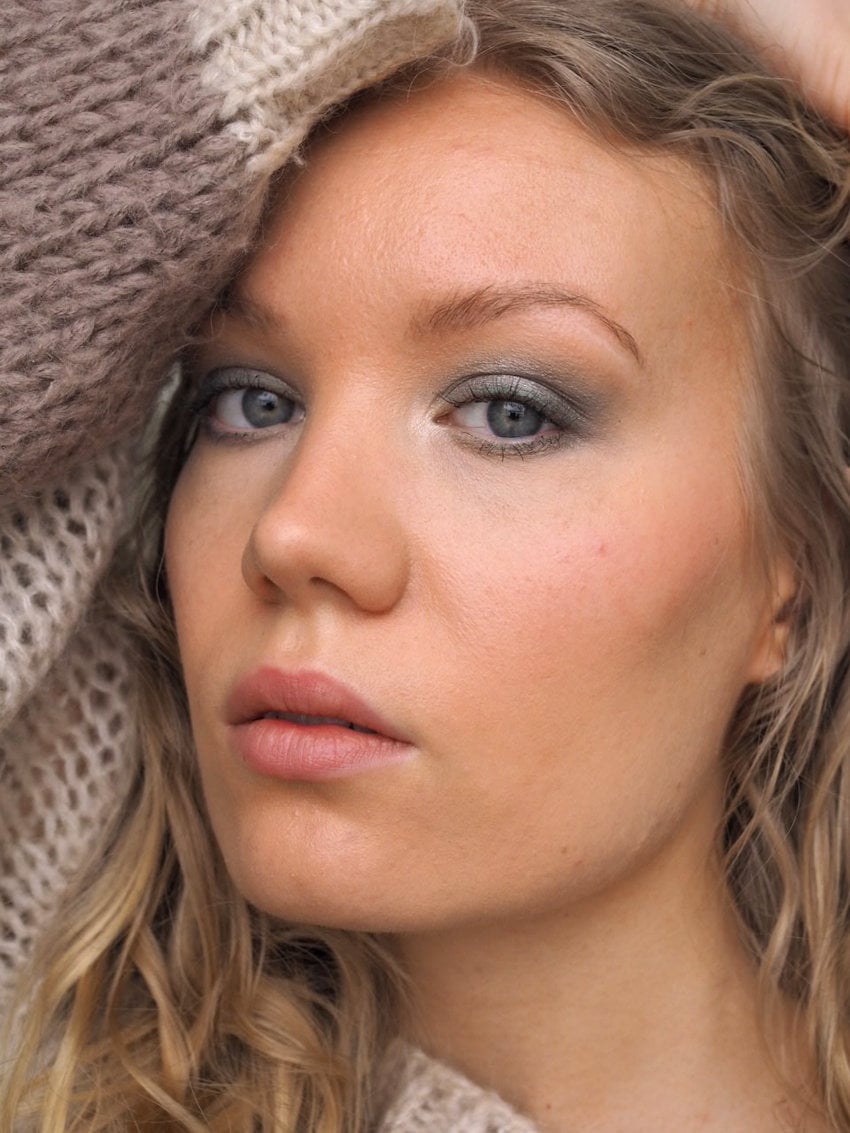
And that’s it!
You can also find a video tutorial on concealing dark circles on my IG TV, here.
Now I know that this topic can seem a bit overwhelming, but I hope you found this post helpful.
This website uses cookies to improve your experience. We'll assume you're ok with this, but you can opt-out if you wish.Accept
Privacy & Cookies Policy
Privacy Overview
This website uses cookies to improve your experience while you navigate through the website. Out of these, the cookies that are categorized as necessary are stored on your browser as they are essential for the working of basic functionalities of the website. We also use third-party cookies that help us analyze and understand how you use this website. These cookies will be stored in your browser only with your consent. You also have the option to opt-out of these cookies. But opting out of some of these cookies may affect your browsing experience.
Necessary cookies are absolutely essential for the website to function properly. This category only includes cookies that ensures basic functionalities and security features of the website. These cookies do not store any personal information.
Any cookies that may not be particularly necessary for the website to function and is used specifically to collect user personal data via analytics, ads, other embedded contents are termed as non-necessary cookies. It is mandatory to procure user consent prior to running these cookies on your website.