*adlink
Blushed makeup look for all of us blush-lovers.
Have I ever told you I love blush? Just kidding, I know I have.
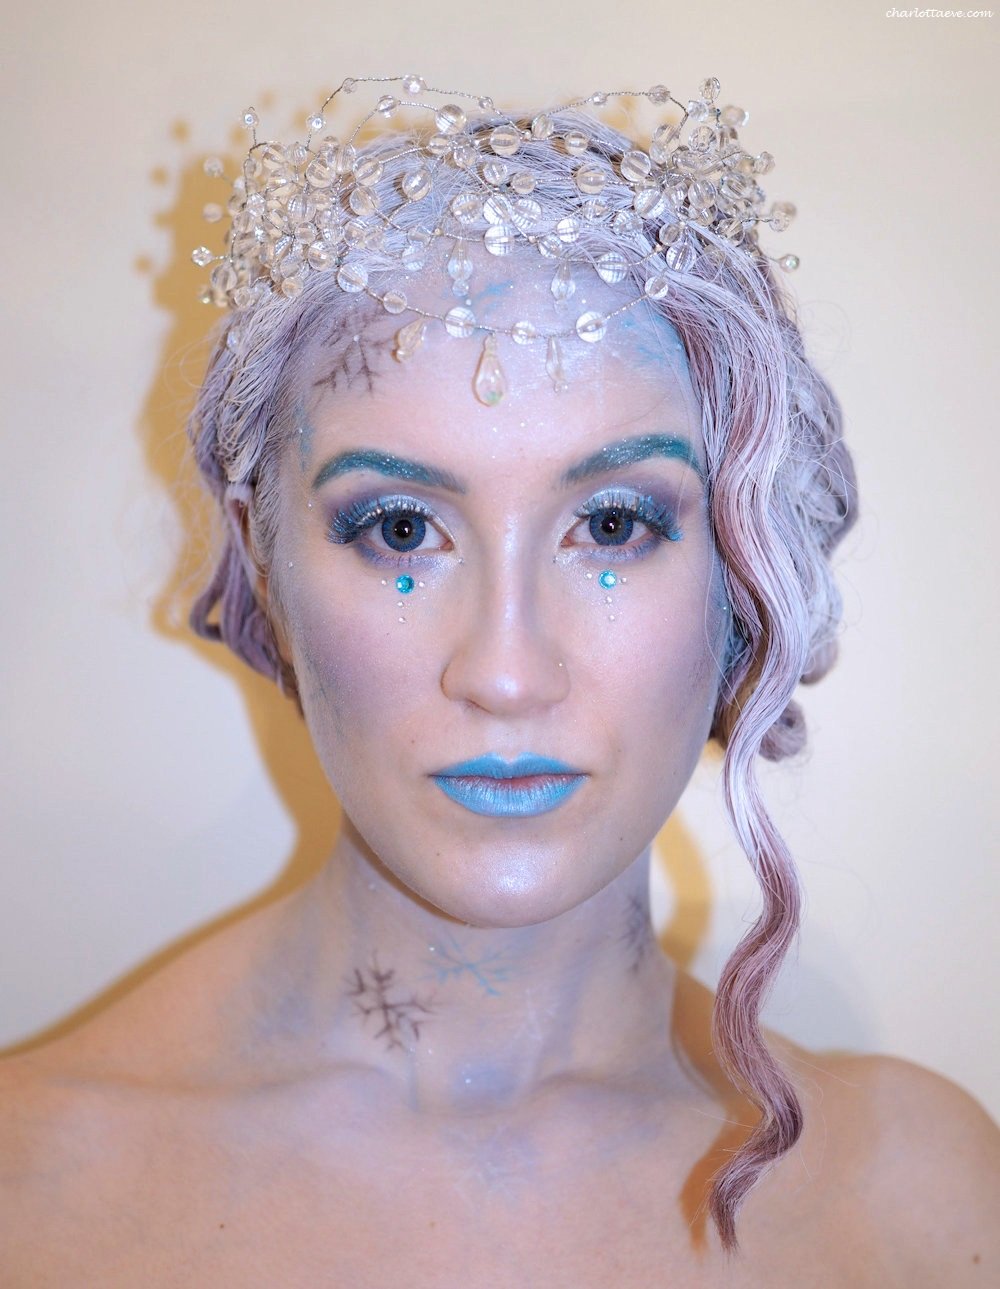
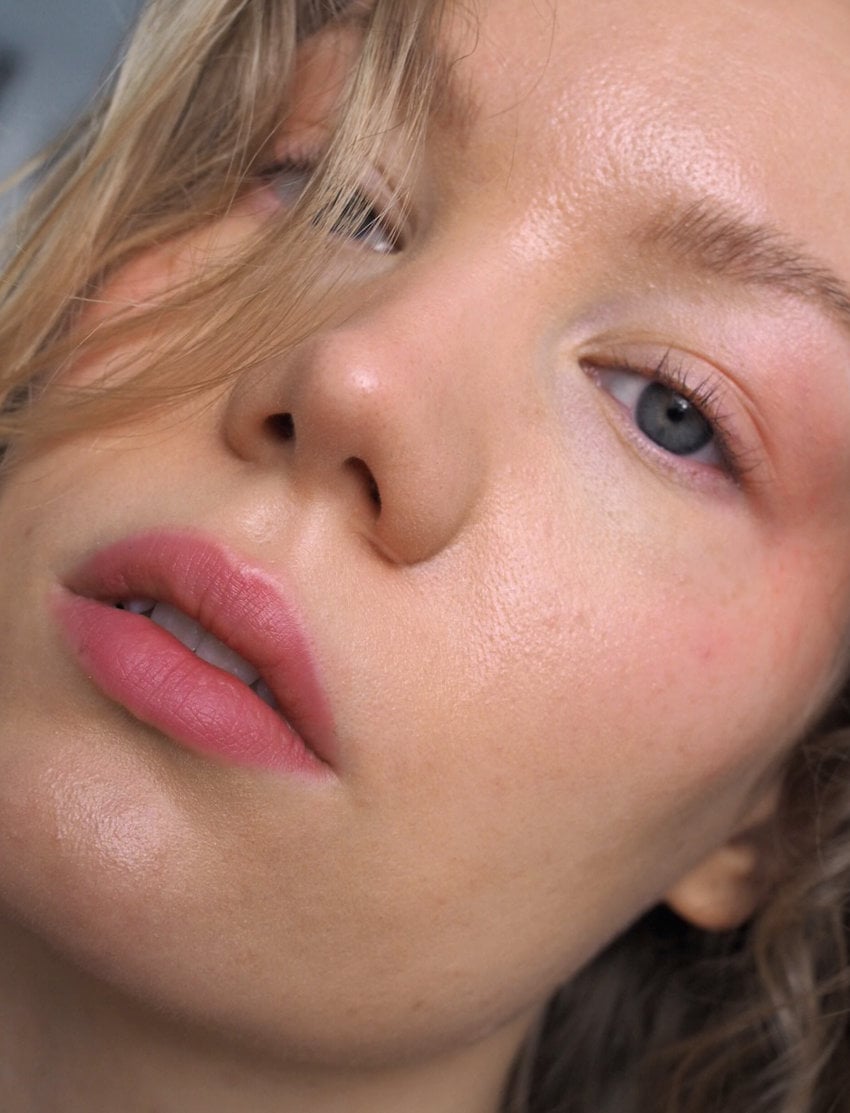
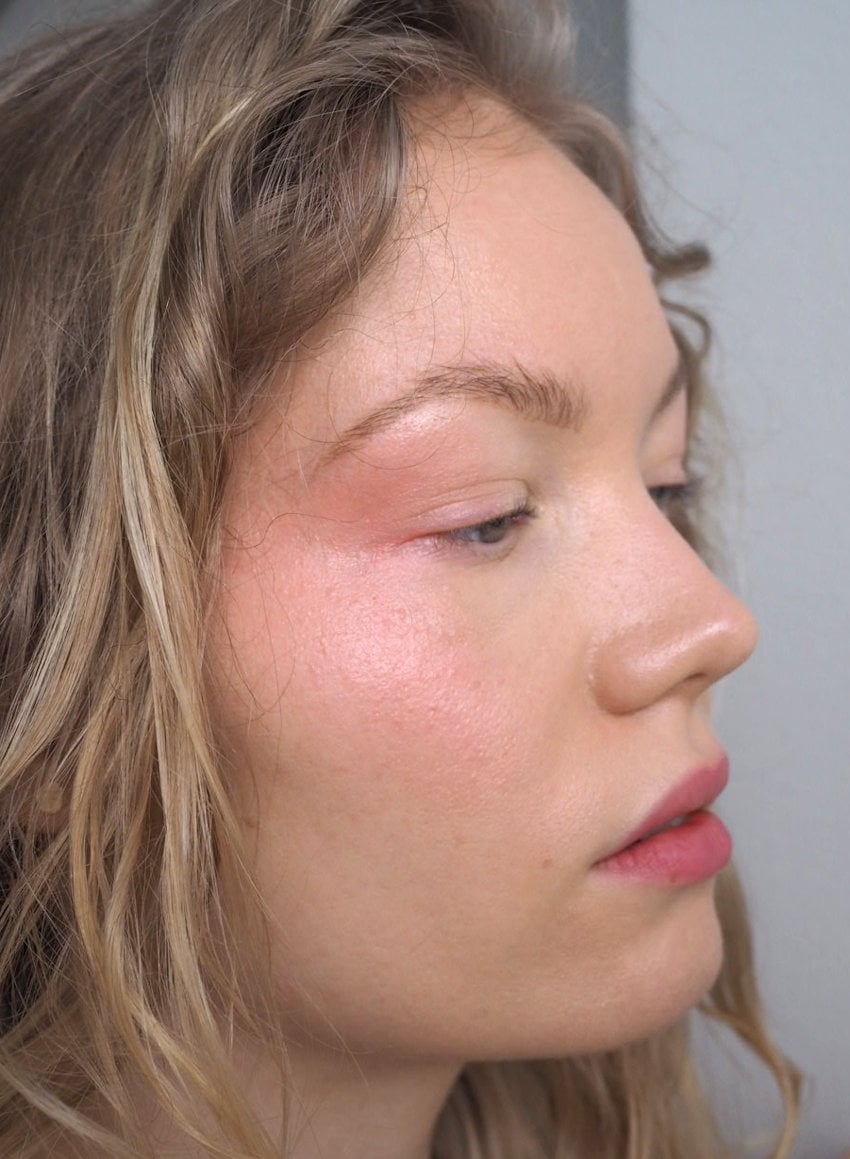
Since Valentine’s Day is just around the corner, I thought this blushed makeup look would is not only perfect for the occasion. This look is more on the natural side (I even skipped mascara) with a radiant base, fluffy brows and blushed eyes, cheeks and lips.
Wearing blush on your eyes might sound intimidating, but just look how nice it looks! And it’s so easy to achieve. Keep on reading for step by step photos and instructions.
Blushed makeup look tutorial
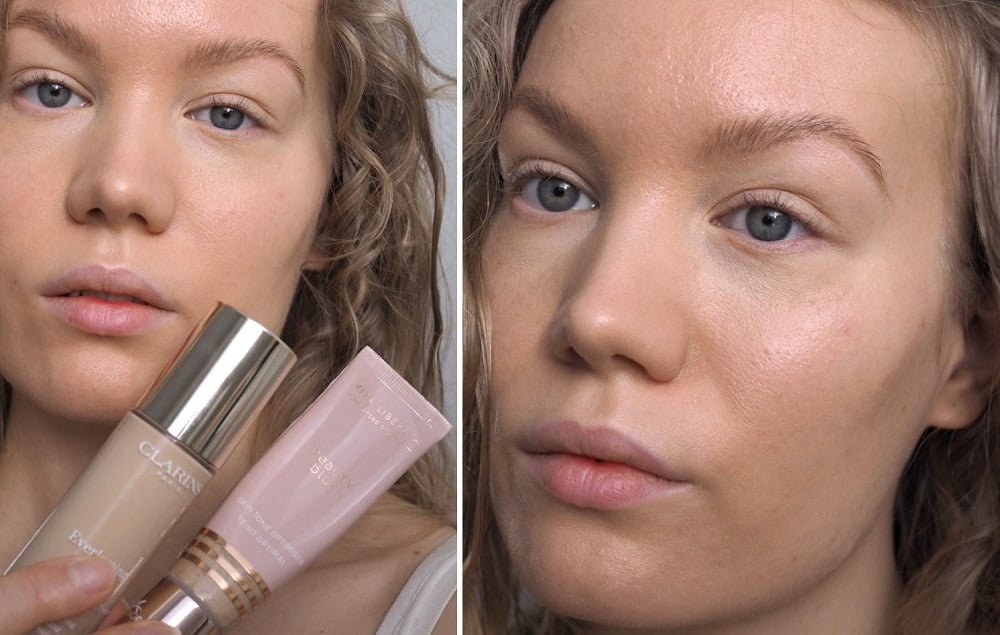
Starting with the base.
For this look I wanted my base to be very radiant and light. I mixed *Vita Liberata’s beauty blur with my foundation, to sheer it out and get an overall glow to my skin. Beauty blur is an awesome product for that.
Similar glow product on Sephora:
*Charlotte Tillbury’s Hollywood Flawless Filter
After that I neutralized my dark circles with *NARS Radiant Creamy Concealer in the shade Custard.
To brighten the under eye area, I added a dab of *BeautyAct Concealer, shade 01C, on top of that.
Read also: How to conceal dark circles
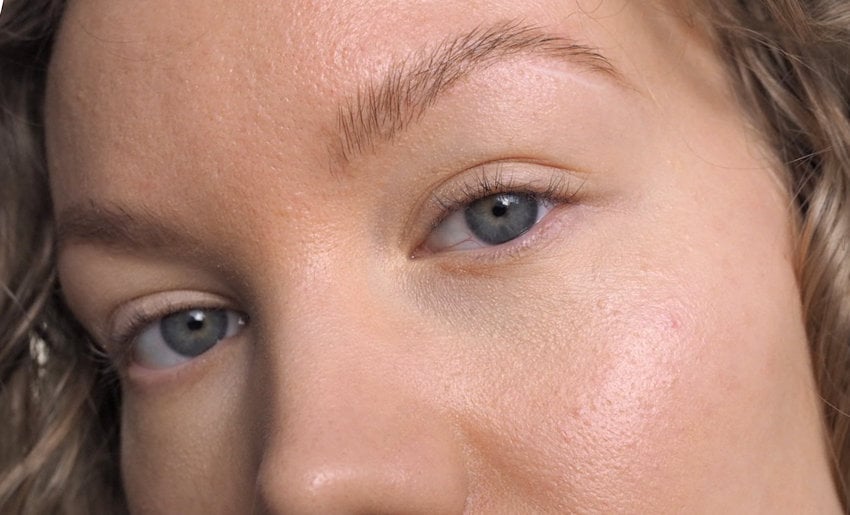
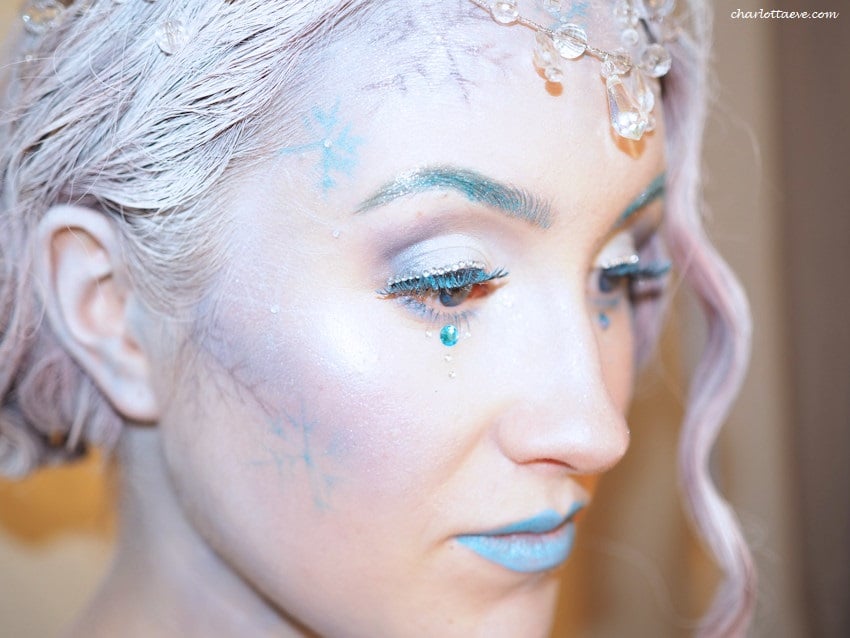
Fluffy, lifted brows go perfectly with this look. Fresh and nice! I used a strong hold hair gel and brushed them upwards. If you’re looking for a brow gel that holds the brow hairs up, *Benefit’s Brow Setter is the best. Finally I filled my brows in with a blonde brow powder (Clarins Brow Duo in Tawny Blonde).
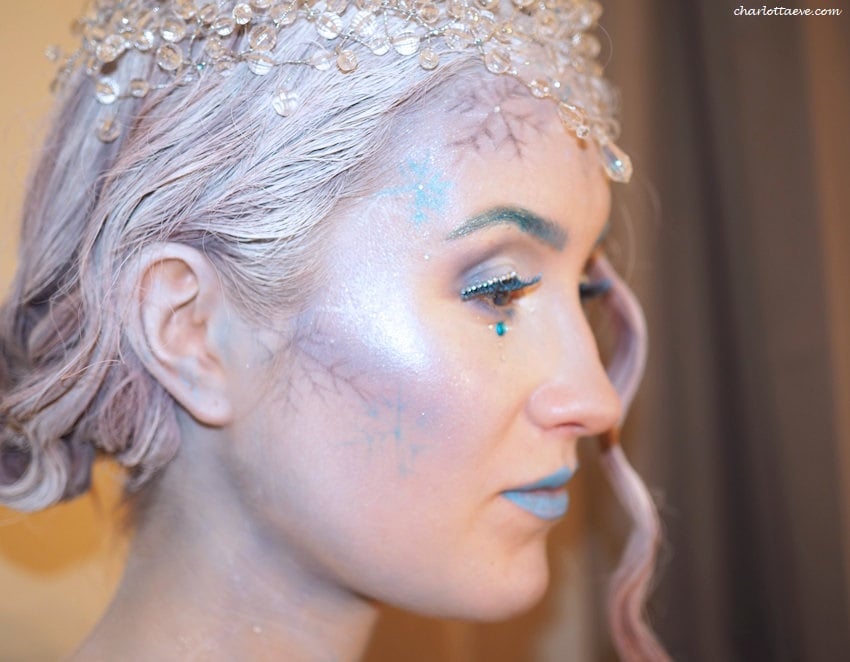
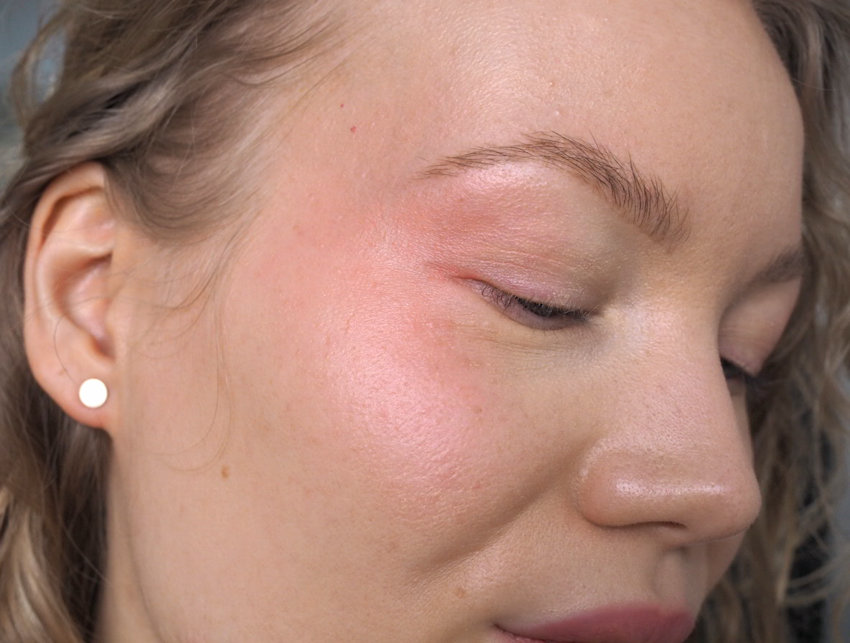
Blush from cheeks to lids
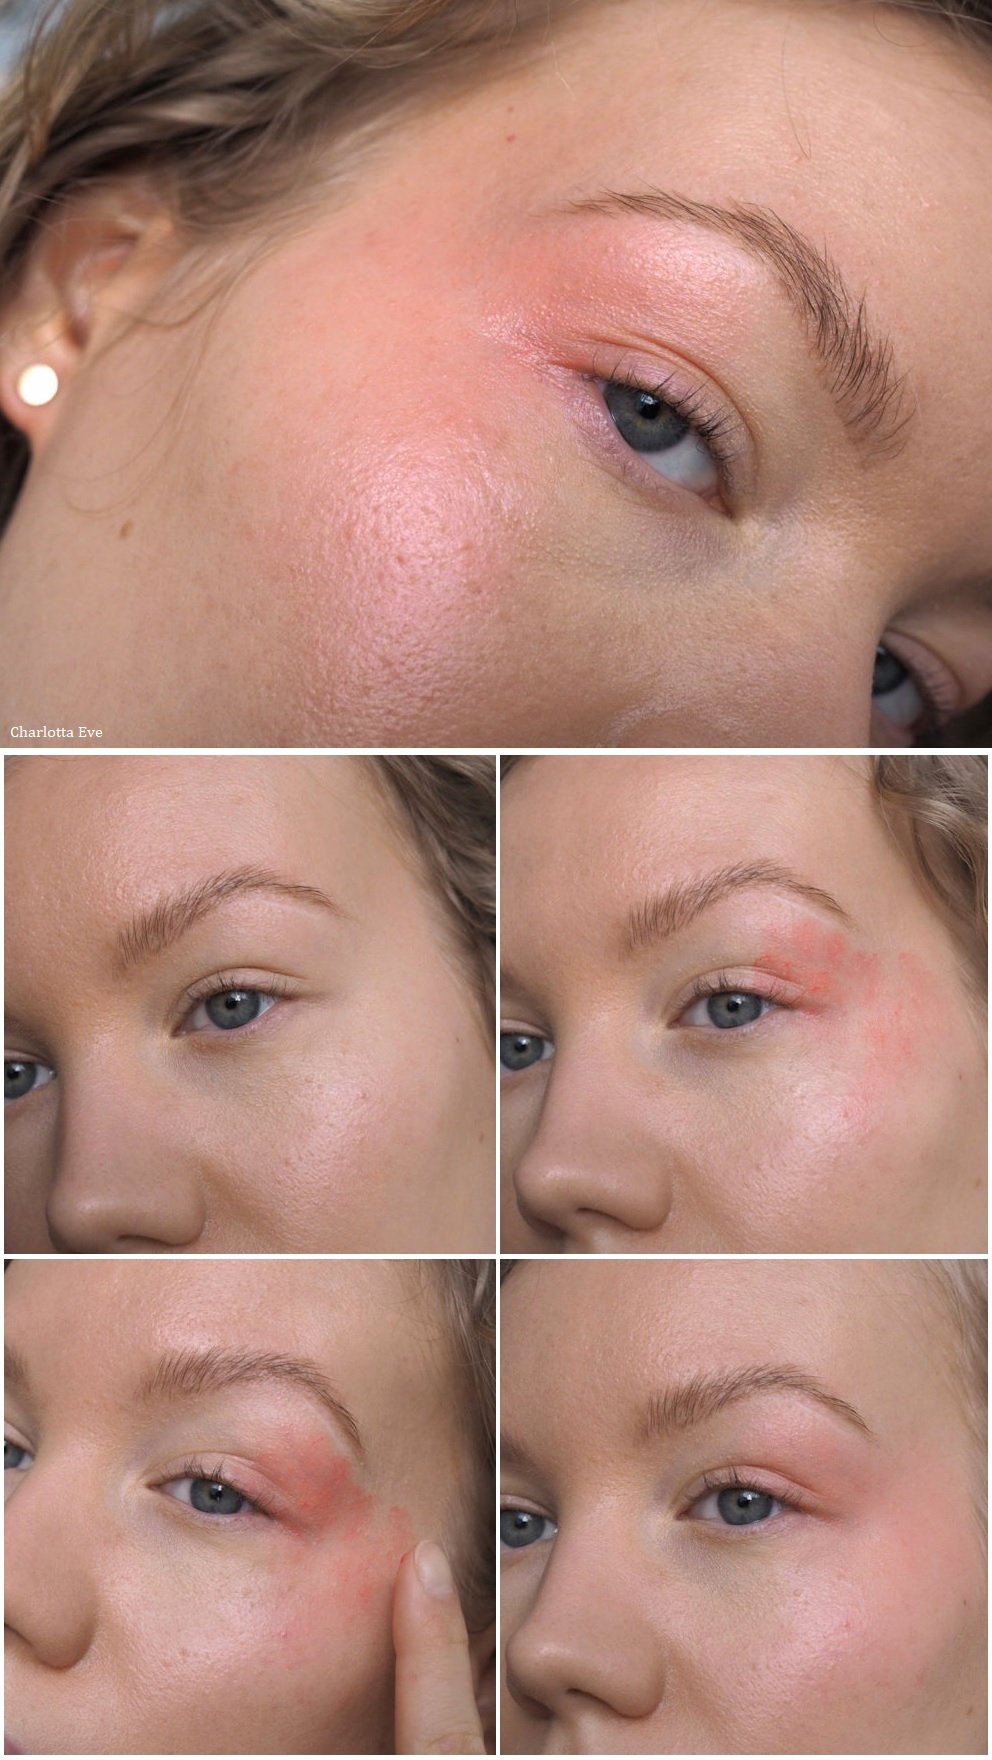
Then I added blush. It’s easiest to use a cream blush, which you can just blend with your fingers.
I applied blush on top of my cheeks and all the way to my lids. My absolute favorite cream blush is Kjaer Weis Above and Beyond. Now this is optional, but I applied *Vita Liberata’s highlighter in Rose under that blush, to get a bit more pink pearly sheen to it. It wouldn’t have been quite that glowy without the highlighter under it, though the cream blush itself has some sheen to it.
Similar blush on Sephora:
*Rare beauty Stay Vulnerable Cream Blush (Nearly Rose)
How to pick the right blush color to make this look work for you?
I used a slightly warm, coral blush shade to go with my neutral yellow undertone. If you have pinkish cool undertones, I would recommend choosing a cool shade.
Read also: Undertones & makeup – are you cool, warm or neutral?
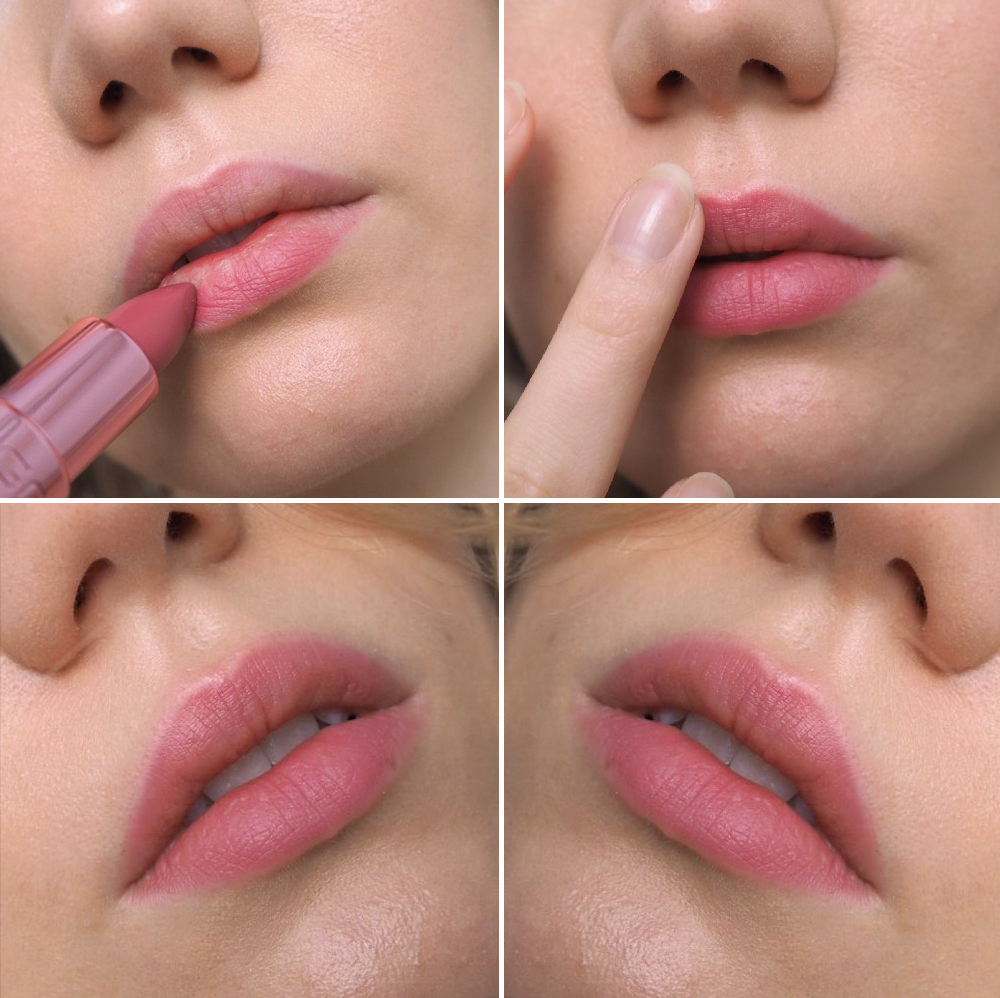
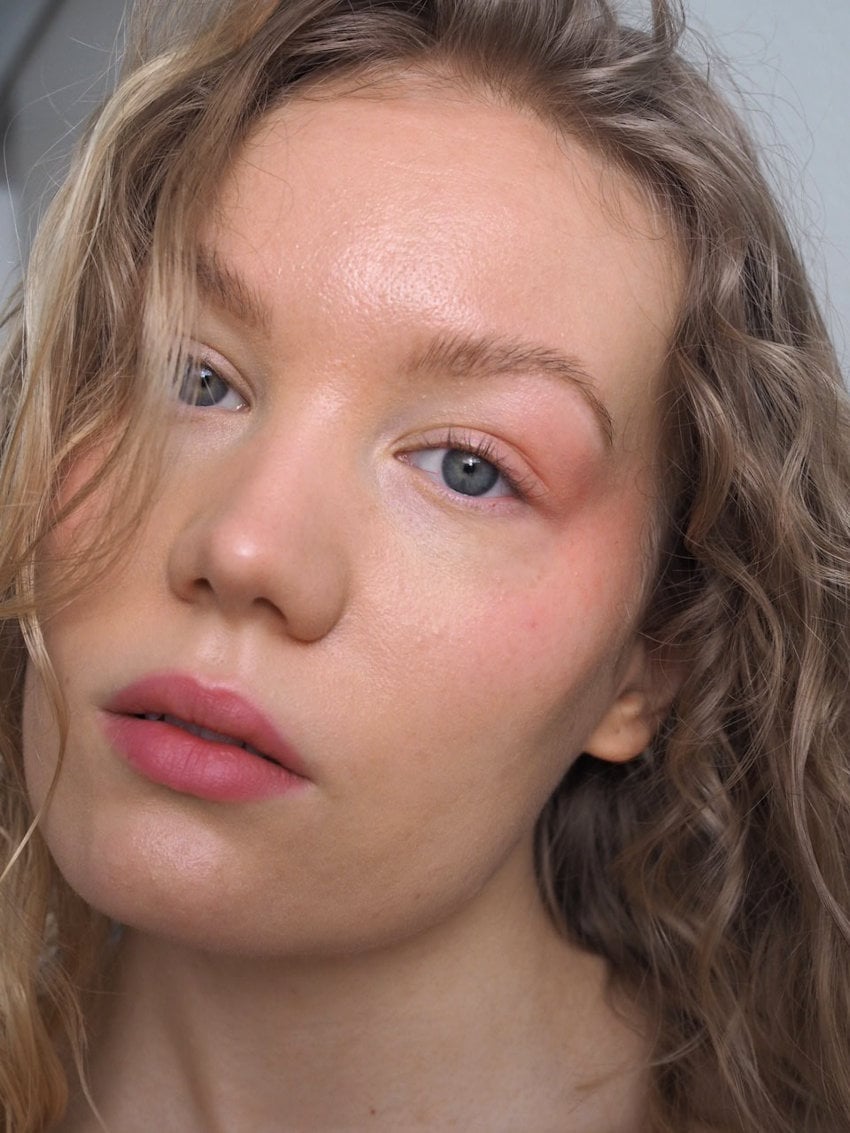
Finally, I added GOSH Romance lipstick to finish off the look. I also smudged the edges of the lipstick a bit with my finger to get a softer look. I’ve been doing this a lot lately, smokey and blended are not just for the eyes.
Similar lipstick:
*YSL Satin Lipstick, Nu Fatal

Sometimes as a beauty blogger I get this pressure of coming up with all these complex looks. But in reality, simplicity is beautiful. And wearable. I actually felt very beautiful in this look and couldn’t believe I hadn’t tried it before. Needless to say, I will wear this more often from now on. It even works nicely with a face mask, bringing the attention to the eyes.
Would you try this look?
Related Posts