Brow lift with makeup; Benefit 24HR Brow Setter Gel review

brow lift with brow gel benefit brow setter

*adlink

I have found a gel that makes your brows so fluffy, it passes for a brow lift.

I love to treat my brows with a brow lamination, because the results last for weeks. However, if you want to achieve the look just with makeup, without hassling with soap or lash glue (we’ve all been there), Benefit Brow Setter Gel gets the job done.

The recipe for beautiful bushy brows is simple: just brush your brow hairs up with the gel and then fill them in.

Benefit 24Hr Brow Setter Gel review

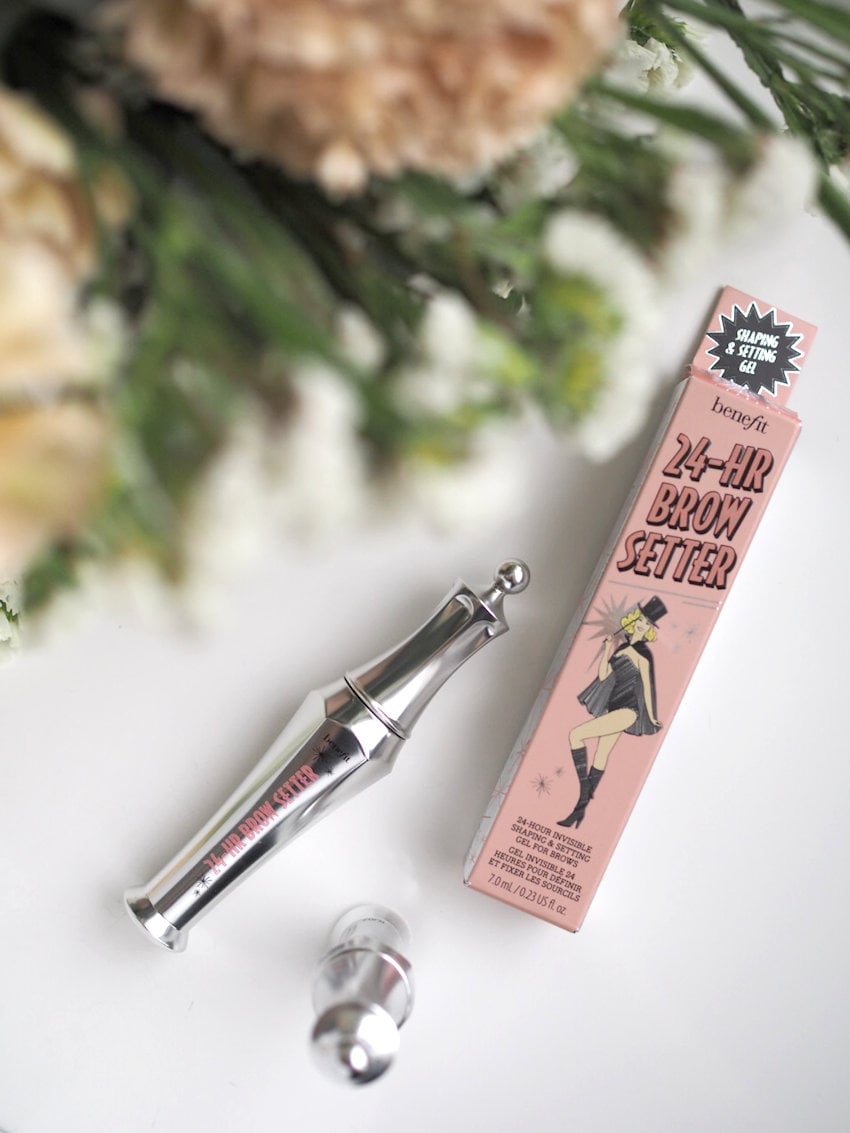
Benefit 24hr Brow Setter Gel
– brow gel that actually tames the brow hairs up & locks them in place

Benefit’s 24HR Brow Setter brow gel is so good, it’s a bit baffling. It keeps the brow hairs in place, even when you want them to point straight up. The effect also lasts – my brows always look great the whole day. Basically what you get is a brow lift with makeup.

When my beauty therapist, the one who I go for the brow lift treatment, saw my brows done with the gel, I’m sure for a second she thought I had gotten a brow lift elsewhere. Excitedly I told her it’s just brow gel (“and doesn’t it look exactly like I’ve had a brow lift?”).
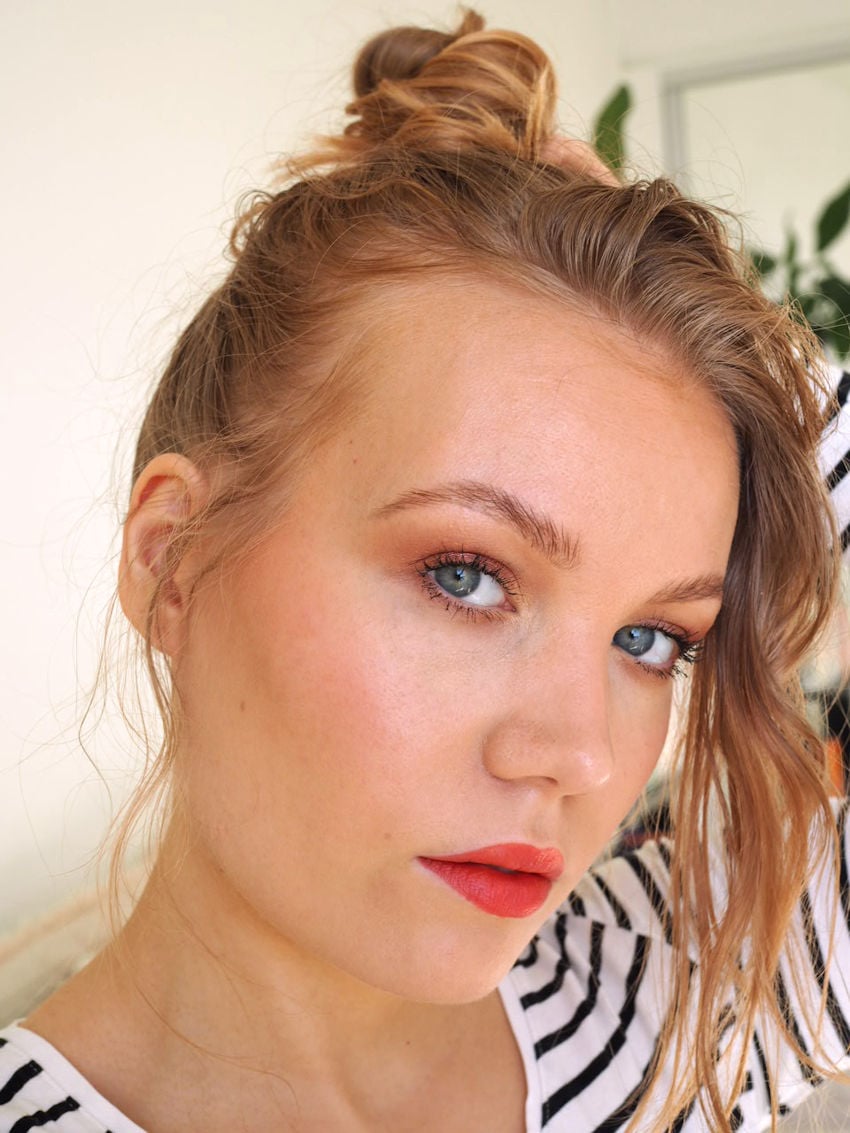
fluffy brows laminated look with makeup
Fluffy brows with makeup. Back when my hair was very ginger.. Why don’t hair colors last on my hair though?

The gel is clear and quite thick. It’s a bit glue-like, but more manageable. It doesn’t show up on the hairs or skin (like glue does in my experience),  other than giving them shine and texture. It enhances the brows, but that’s exactly what we want for fluffy and bushy brows.

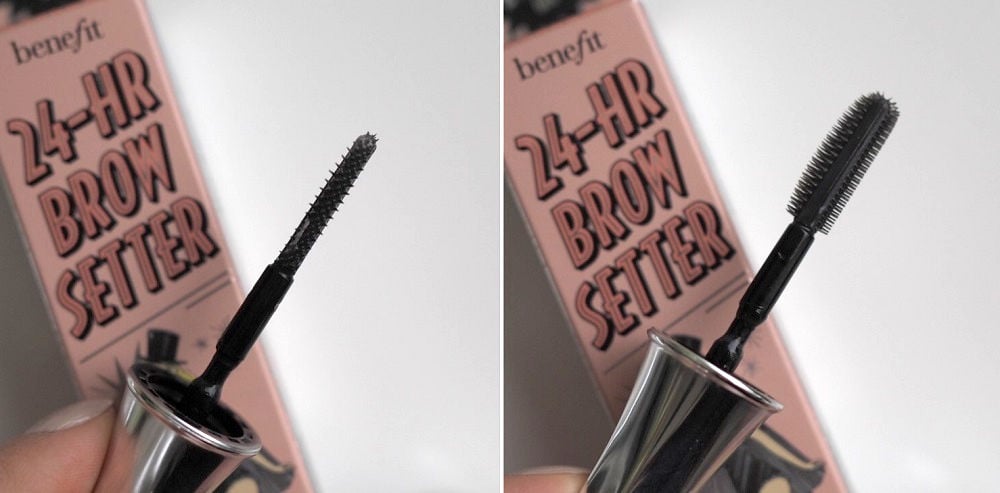
This gel comes with a special brush that has different sides to it: there’s longer and shorter bristles, along with a flat surface on both sides. That flat surface is the key to making a brow lift effect.

benefit brow setter clear gel brush

How to fake a brow lift with the Benefit Brow Setter Gel:

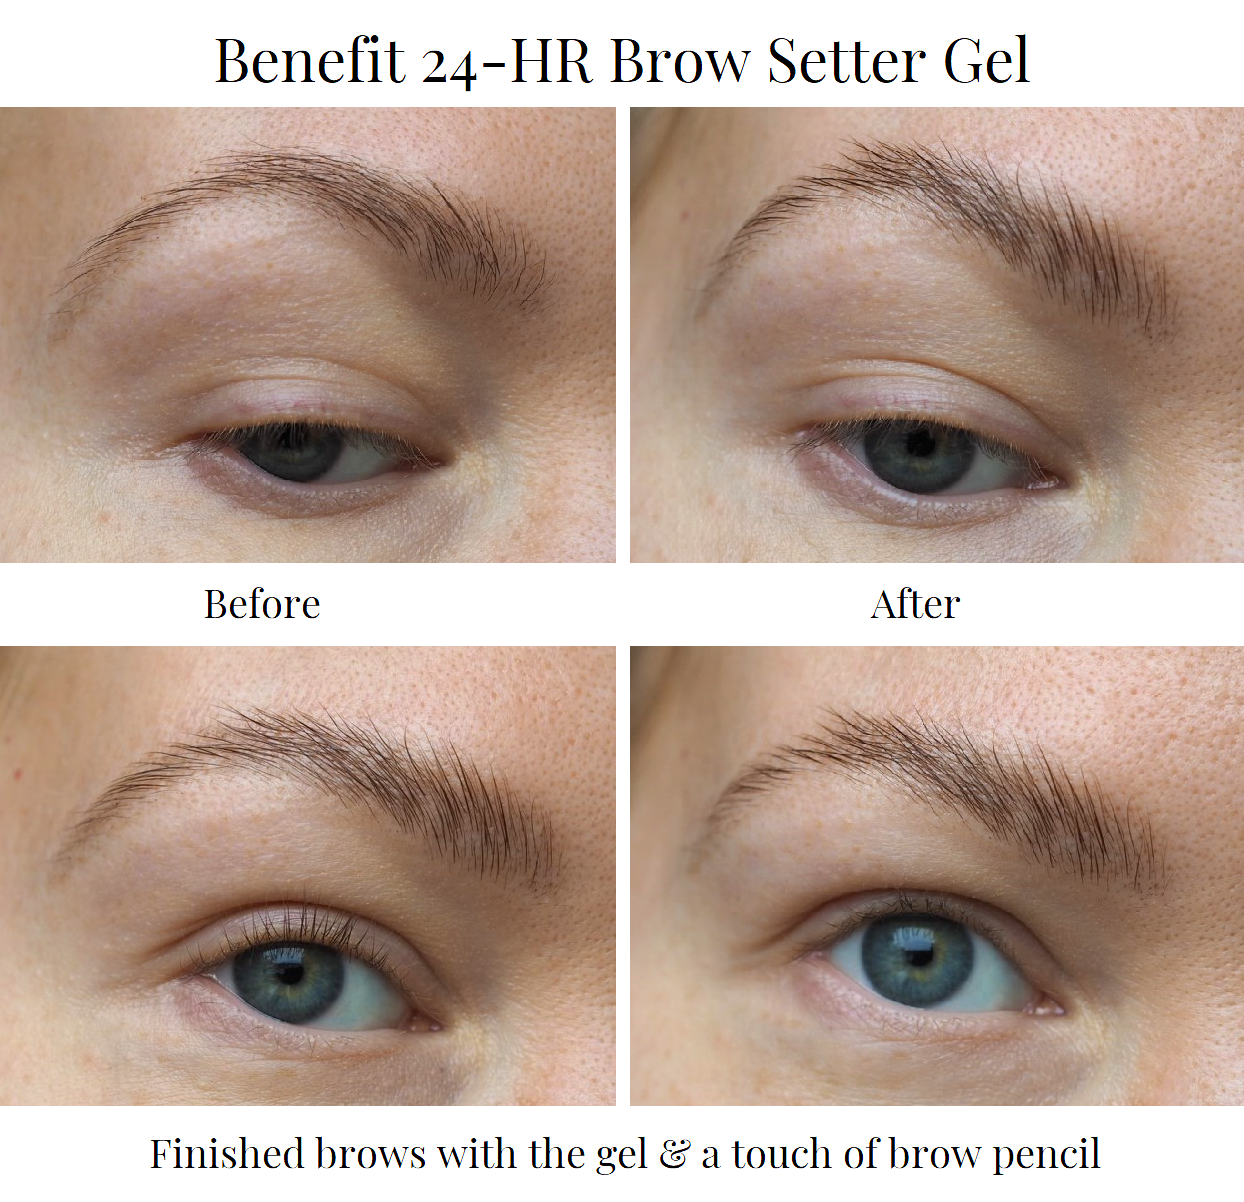
I first brush the gel through my brows. And then, I press the flat surface on my brows and skin to set the brow hairs in place. And amazingly, they stay like that.

Note: obviously if you don’t want such dramatic effect, you don’t have to press the brush against your skin, you can just brush your hairs up or to the side. You still get a nice lift that looks more natural. For example Alice from the Notes by Alice blog used the gel in a more natural way on her review.

The gel dries quite quickly, but I think that’s a good thing, because I get my brows done very fast. I do my brows in sections, starting from the front of my brows. That way I don’t have to panic about the gel drying too soon.

benefit brow setter gel before after

Brow lift with makeup – Fluffy brows with gel & brow pencil

After the gel is dried, I fill in my brows with a thin brow pencil. Even though the gel dries to a bit of a cast, I can still apply my brow product on the brows. After I have my brow hairs pointing up, it’s easy to clean up that brow line and fill in any blanks. I also need less product, because my brow hairs are showing their full potential.

If you struggle with your brow shape and are not sure where the product should go, this brow tutorial might be helpful.

brow lift with makeup benefit brow setter gel

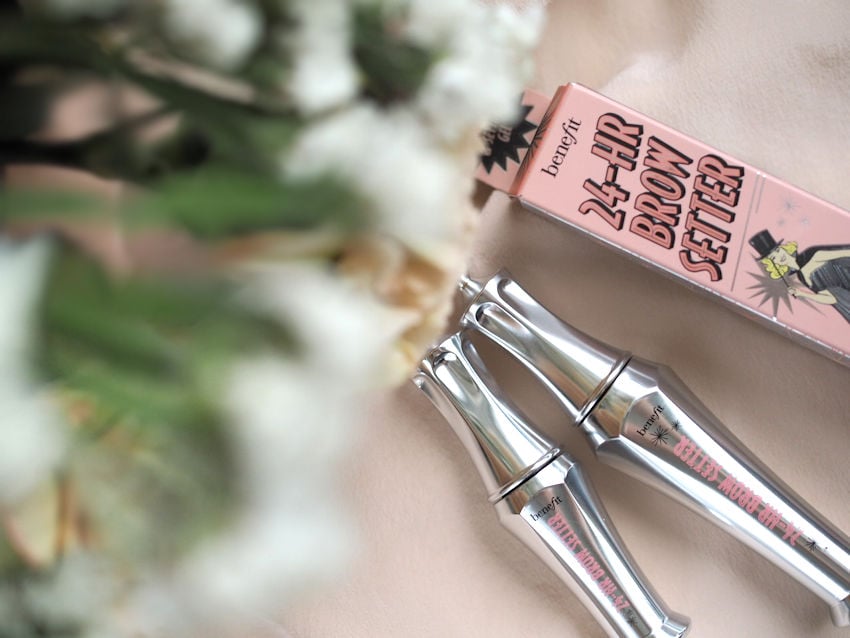
You can get Benefit’s gel in two sizes. At first I (accidentally) bought the mini size, but now I’ve already gotten the full sized version. I have a feeling I will be repurchasing this product multiple times.


If you’re looking for the best brow gel, that actually tames the brow hairs and lasts, and looks like a brow lift, this brow gel is it.


Shop the gel at Sephora:
*Benefit 24-HR Brow Setter Gel
*Benefit 24-HR Brow Setter Gel Mini

Thin brow pencils for filling in the brows:
*Benefit Precisely, My Brow Pencil Waterproof
*Anastasia Beverly Hills Brow Wiz Pencil
 

Brow tutorial using powder and pencil

brow makeup tutorial*adlink


Well groomed and done eyebrows give you a face lift. Brows are a crucial part of our face and they can determine our whole look. Badly done brows make you look tired, sad and even angry. A well done brow can help lift up your eyes. Actually, if you have hooded eyes, they are as important as your eyeshadow.

I like a traditional brow style that looks natural and doesn’t stand out too much from my face. I’m looking for that lifting effect.

brow makeup tutorial

How to get the perfect brow shape?

When it comes to brow makeup, there are many different preferences and styles. Some like their brows round, some straight and others like a traditional shape.

The shape that I went for is quite classic and universally flattering. Though you can always make the arch more defined and dramatic – or make it rounder.

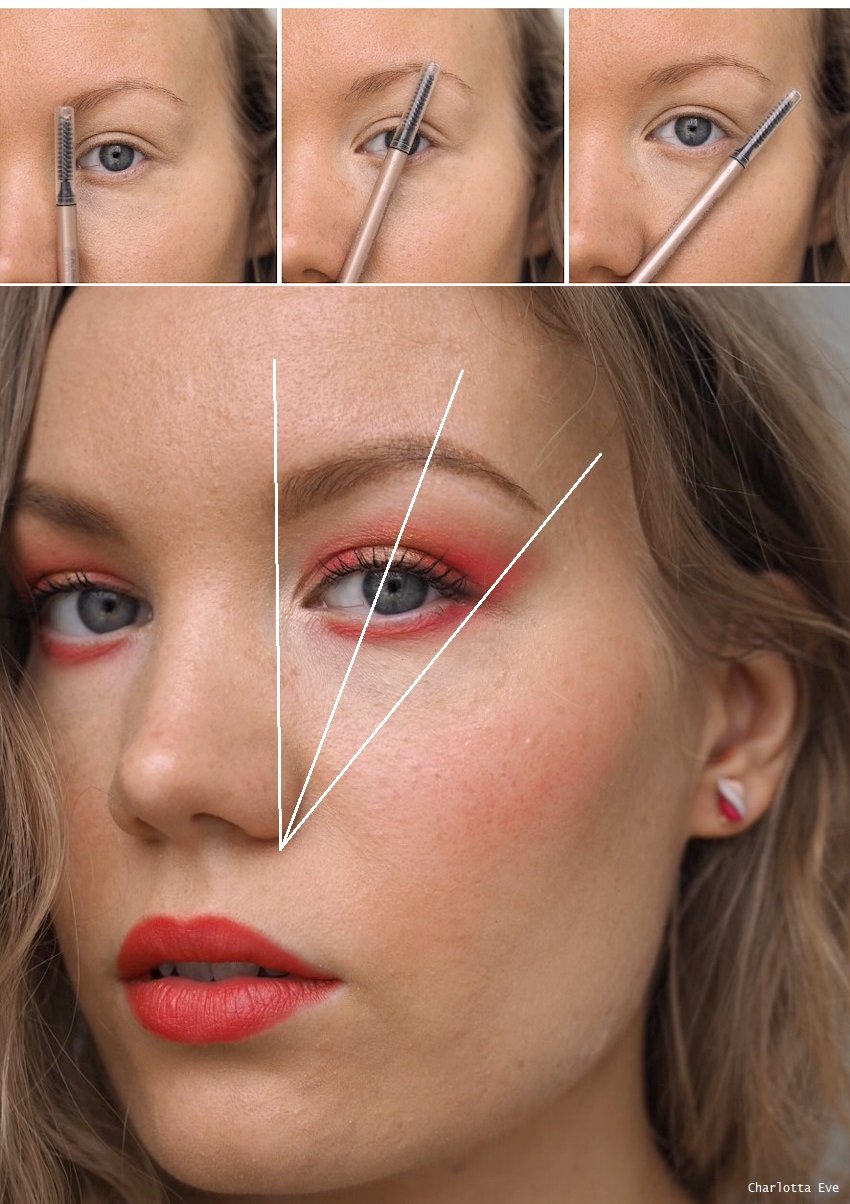
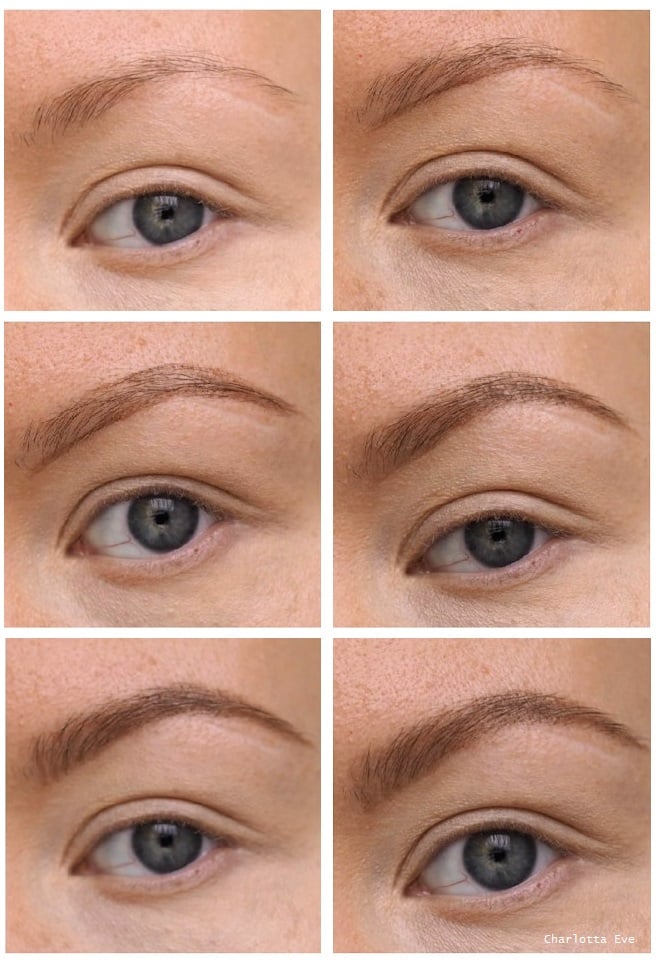
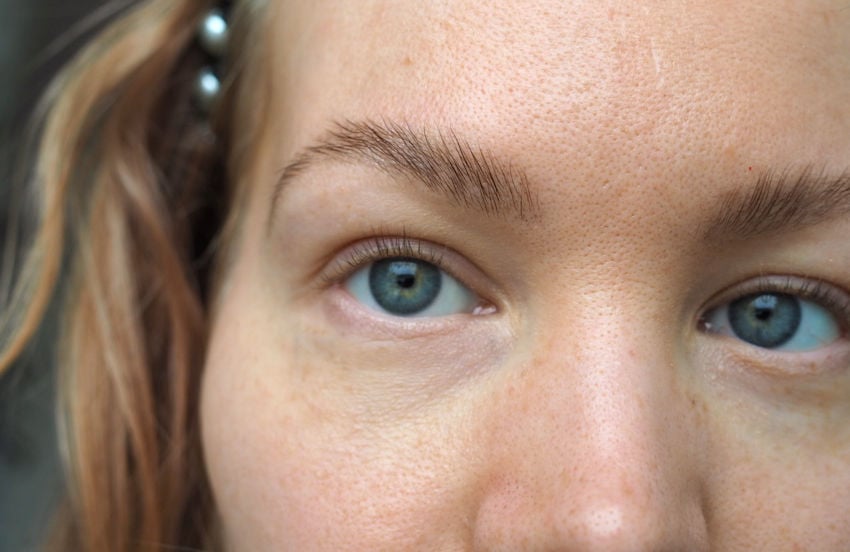
These three photos show you where your brow should start, where the arch and the highest point should be, and where your brows should end.
These rules are not written in stone, but they give you a good idea of where to start. Most brows have a shape similar to this naturally. I always want to encourage everyone to work with what they have. Usually following your natural shape is the easiest and most flattering way to go.

What brow color to choose?

It’s up to you how dark, warm or cool you want your brows to be. For most people, a cool shade works best. Choosing a shade similar to your hair usually works nicely. But as always, makeup is not about rules, rather than doing what feels good to you.

Here I did a warm brow, though usually I go for neutral or cool. I also made them a bit darker than usual. A cooler shade would have looked more natural. Lately I’ve just liked a warm look and the powder I used happened to be warm.

Important note: your brows don’t have to be symmetrical!

Your face is not symmetrical and your brows don’t have to be either. They are cousins, at best. Just do your best at comparing your brows and make them somewhat similar, but don’t obsess about it.


How to do your brows using powder and pencil

how to do brow makeup using powder and pencil

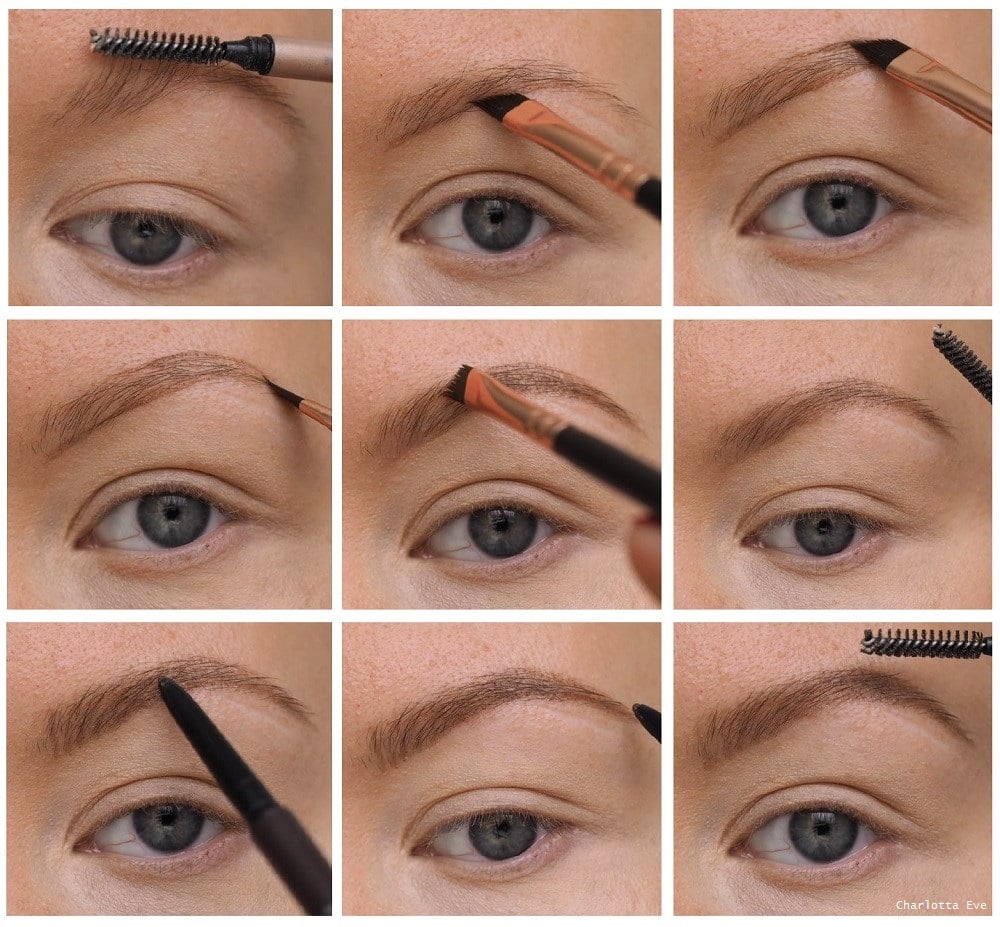
Here are all the steps for my brows. It might seem a lot, but it’s because I do my brows in steps, adding more depth to them as I go, rather than going all in with a dark color in one swipe.

  1. I first brush my brows.
  2. Then I go over the bottom line of my brow all the way to the arch. I recommend using a small dense brow brush for this, so you get a clean line.
  3. Then I make the arch from above and create the tail of my brow.
  4. Now that I have the frame for my brow, I fill it in. When I do that, I follow the natural direction in which my brow hairs grow. That means going up in the beginning of the brow and then turning my brush to the side as I move to the tail.
  5. Then I brush through the brow and as you can see, this really blends the powder to my skin and brow hairs, making it super natural and soft. You could totally leave your brows like this for a very soft look! And sometimes I do leave it like this, but most of the time I add in a bit more definition with another product.
  6. I then bring in some more definition to the brow with a brow pencil. I create brow hair strokes and deepen the color of my brow. I also make the bottom line of my brow more defined – and my tail too.
  7. Finally, I brush through the brow one more time. All done!

brow makeup tutorial charlotta eve

And here is a simplified version, where I took out some of the steps, like brushing through the brow. Here you can see better how I gradually deepen the color and fill it in.

Products used:
*Lily Lolo EyeBrow Duo Medium
Great pigment and easy to blend. I also like the wax in this duo – it keeps my brow hairs in place for when I want more of that brow lift effect! Different shades available.

*Holika Holika Wonder Drawing Skinny Eyebrow Pencil, Dark Brown
Different shades available. Very affordable and great brow product. Has a brush on the other end of the pencil! The shade is neutral or just slightly warm.

Other similar products that I like:

*Jane Iredale Retractable Brow Pencil, Ash Blonde
Similar to Holika Holika pen, but this is possibly slightly thinner. The shade ash blonde is perfect for blondes or for a natural light brow. Different shades available.

mad4eyebrow Natural Brow Filler, Blond
Powder with fibres. I buy this from my beauty therapist, Viivi. Unfortunately this is hard to find online and it’s only sold in some salons (I guess), but I love this product! Different shades available.

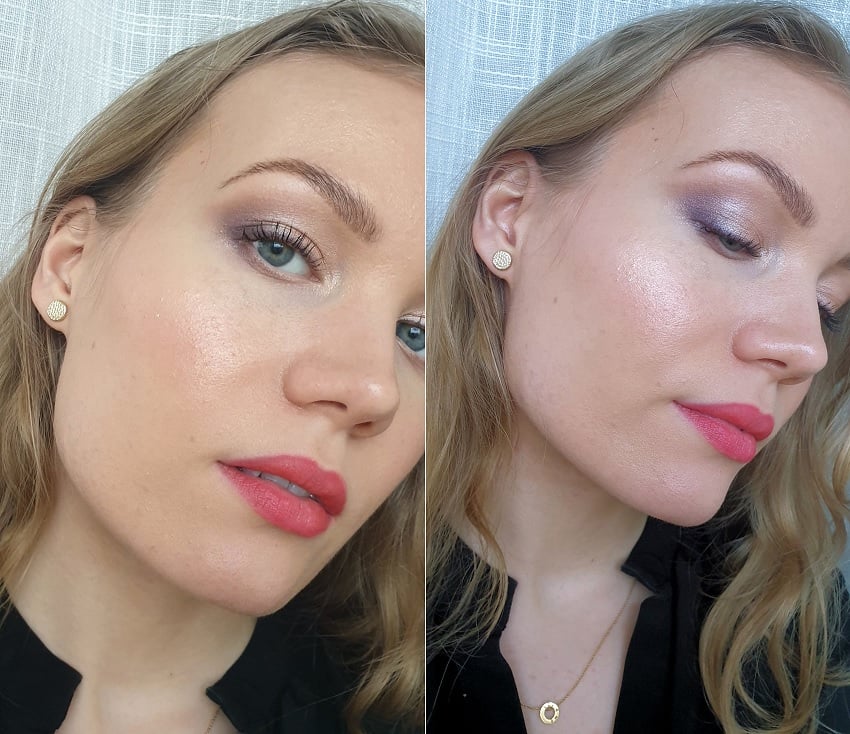
Very light and natural brow. Used Jane Iredale’s Ash Blonde pencil.


P.S. There’s a makeup tutorial coming on this warm look soon!

Scroll to top