
When I was a child my family used to do trips to Seurasaari island. We also spent our midsummer there. I remember how long it took to get there from where we lived then, how boring it was and how I had to eat my ice cream quickly so that the seagulls wouldn’t attack.
Later we actually moved right next to the island. We did even more trips and took runs there. Then we moved some more and now I don’t live near the island anymore. Luckily my mom stayed within a short distance to the place so it’s still easy to visit there. Obviously it’s not boring anymore – it’s beautiful and offers some peace from the city. I think for tourists it’s a great place to visit to see the other side of Finland – and to see the wonderful nature that we love. One thing though: I don’t recommend getting an ice cream there, the seagulls do really attack.
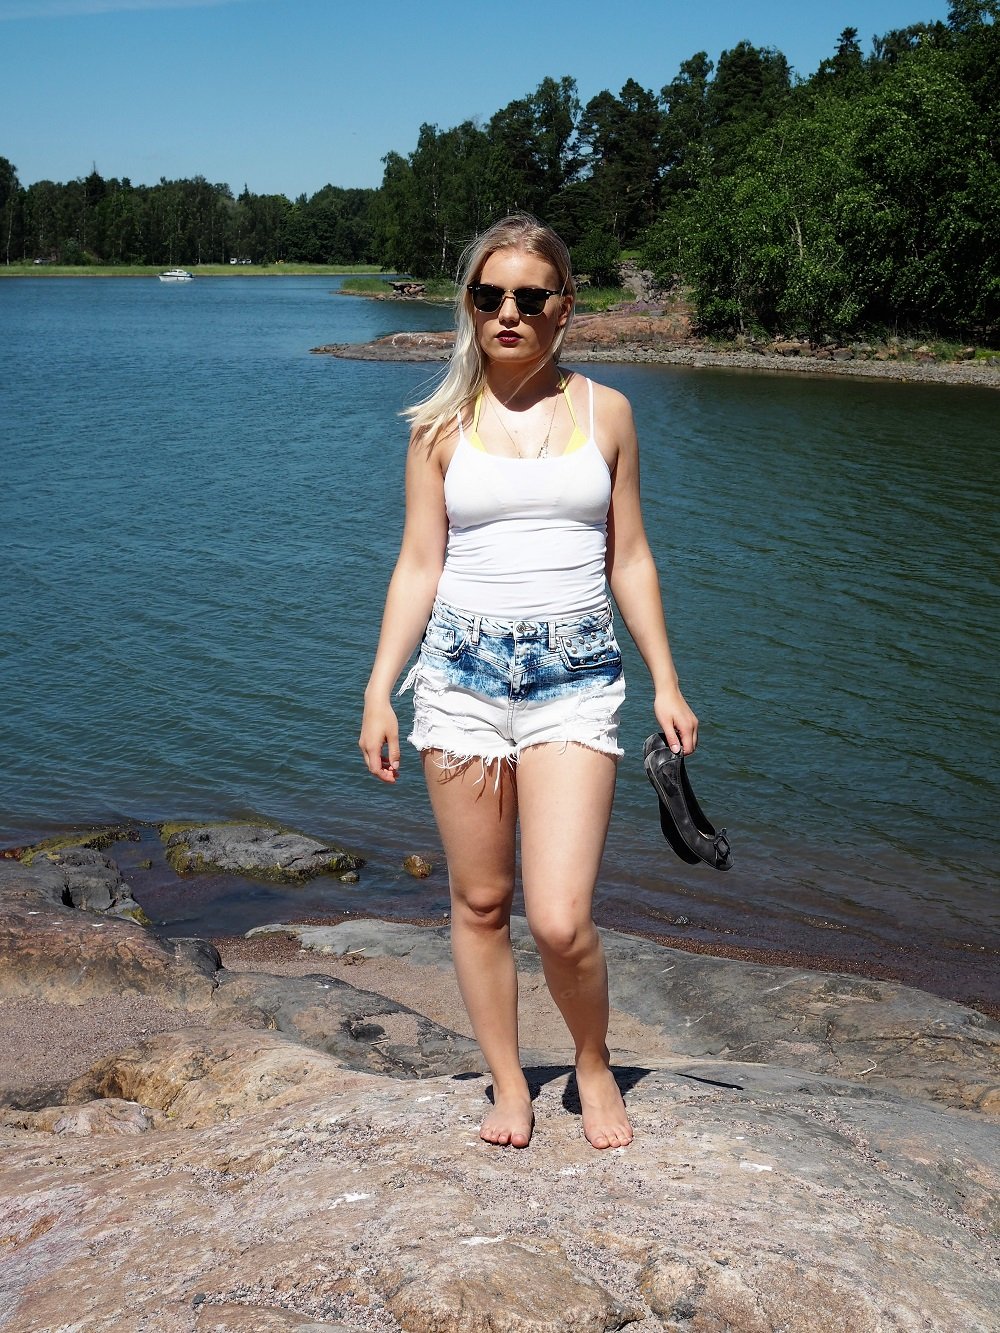
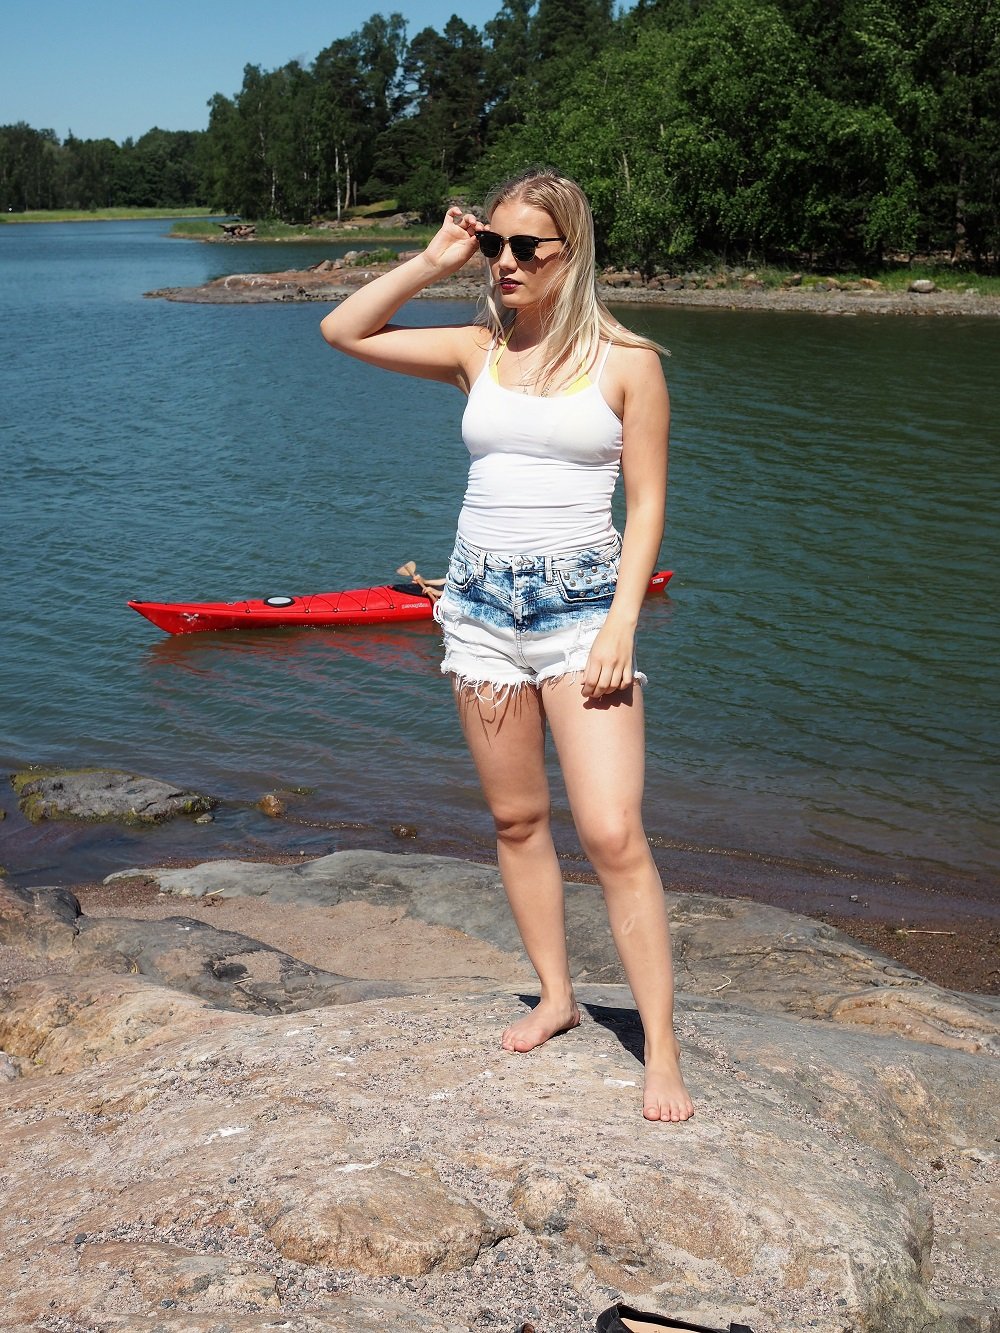
Summer + rock shorts + bright bikinis + dark lipstick = love.