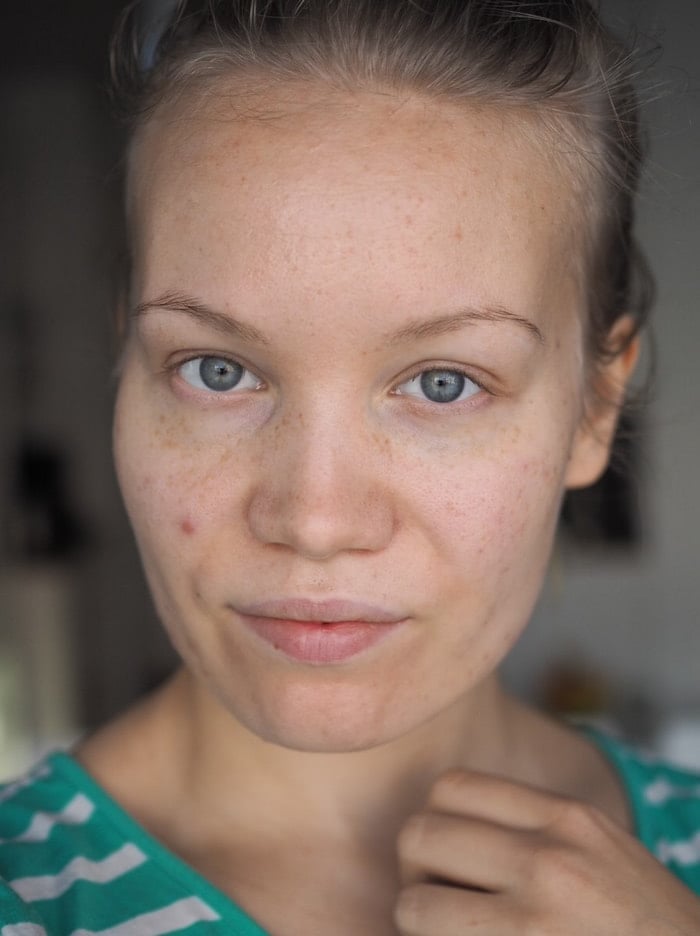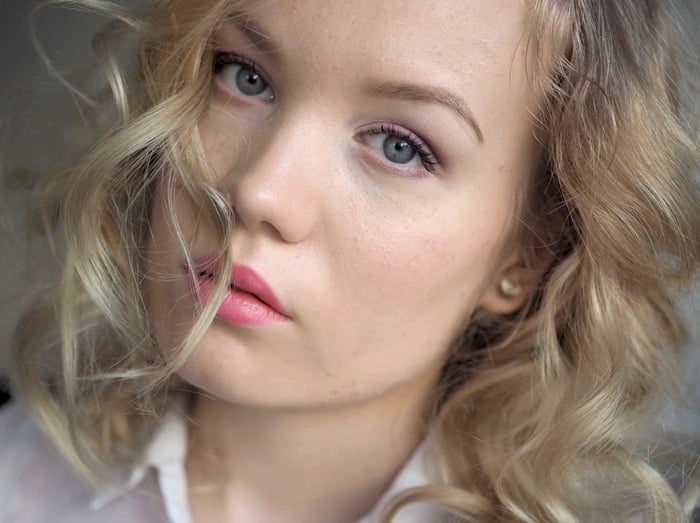
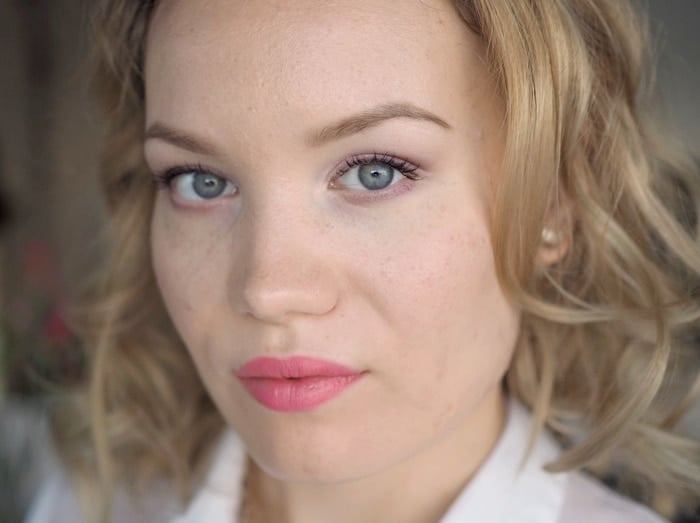
I love purple eye shadow. I think it compliments the blue in my eyes. This is one of my go-to looks, using purple and a touch of pink. This is super easy and quick to do, so it’s definitely beginner friendly.
Even though I’m using bright colors such as pink and purple here, the look is still quite wearable. You can modify it to suit your needs, maybe change the colors completely or skip the liner – whatever works for you.
I’ve been wearing this eye shadow look various times, only changing some bits to it: adding more purple and blending it higher than in this tutorial, changing the color of my liner (brown works perfectly with this!) and adding colors to it such as gold and brown. But when in a hurry or just in a simplistic mode, this only takes a moment to create. I even skipped the fake eyelashes this time.
Let’s get to my tips to creating this easy makeup:
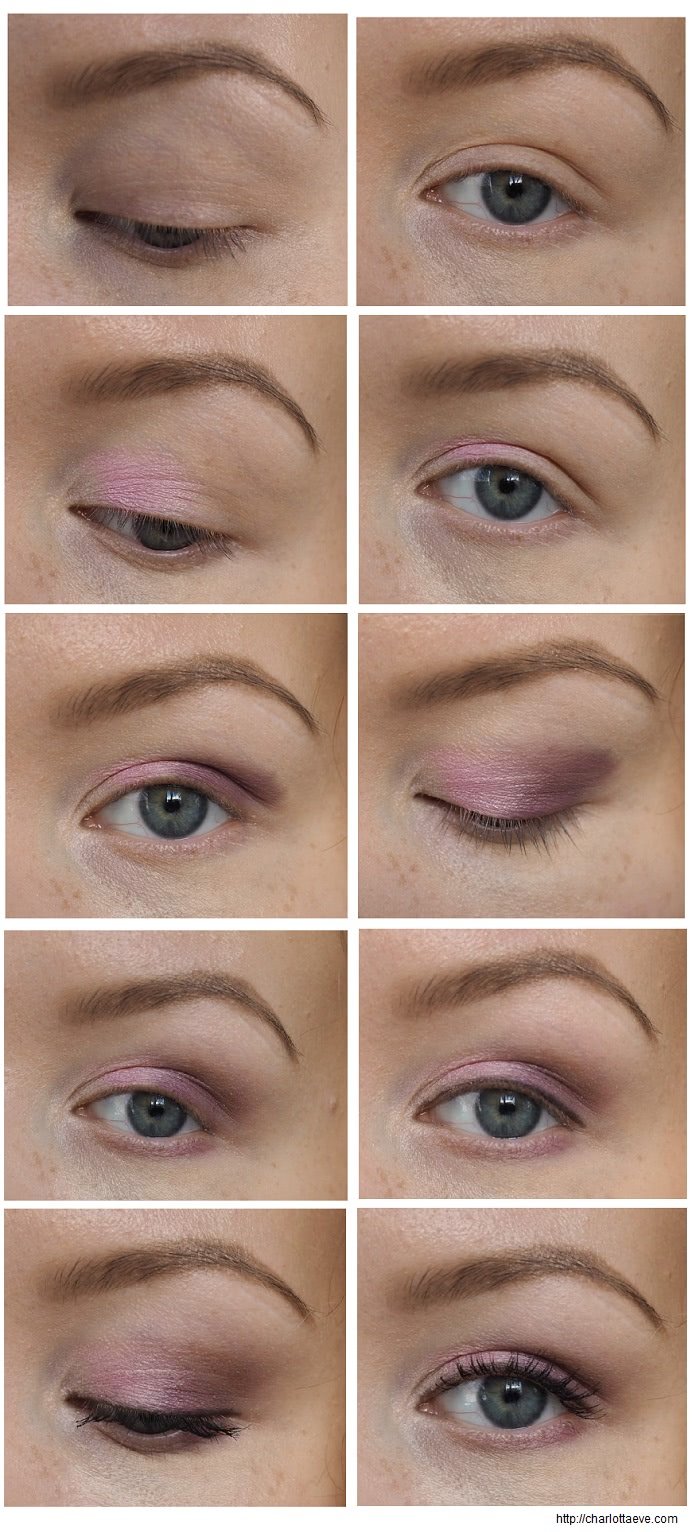
- Prime the lids and set the primer with a powder unless it’s already matte. That helps the blending, because powder eye shadow tends to stick to a cream.
- Add a white eye shadow to your inner corners and blend carefully. Use a small brush, since you’re operating on a small area.
- Apply pink eye shadow right next to your inner corners and about halfway of your lid. You can use medium sized flat brush. To get the best color payoff, tap the color on rather than swiping. I blended carefully with tapping motions at the edges of the color.
- Apply purple eye shadow next to the pink one. Bring the color all the way to your outer V. Blend this out – now it’s okay to use a bigger movement. I recommend using a tapered but fluffy brush for blending.
- Apply the same purple eye shadow to your lower lid. I left it quite light. Use small brush here too.
- Finish the look with a black liner and a coat of mascara. All done beautiful!
Now in case I lost you in that ‘Outer V’ part, here’s what I meant: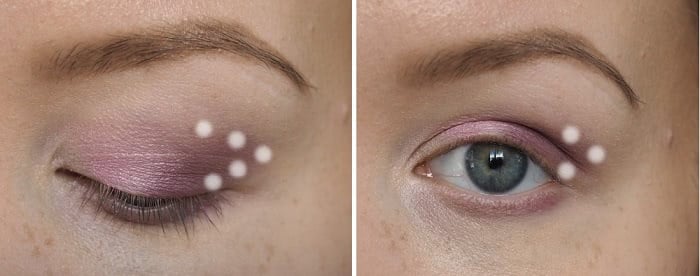
This is the basic outer v. That is where you typically bring darker shades and where you contour your eye. Now you can vary this by making it tilt more up = a cat eye or bring it higher up = fake a crease. With my eye shape I’m always bringing it higher than my actual crease (fold).
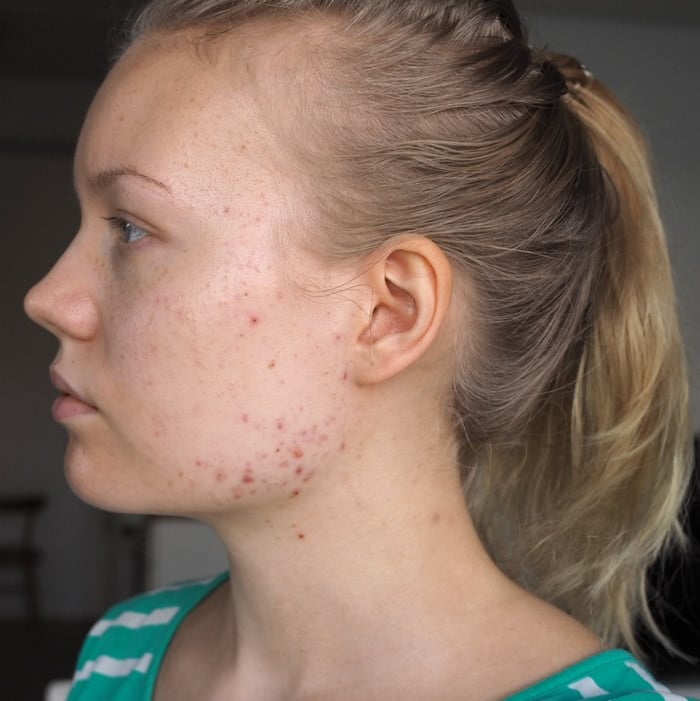
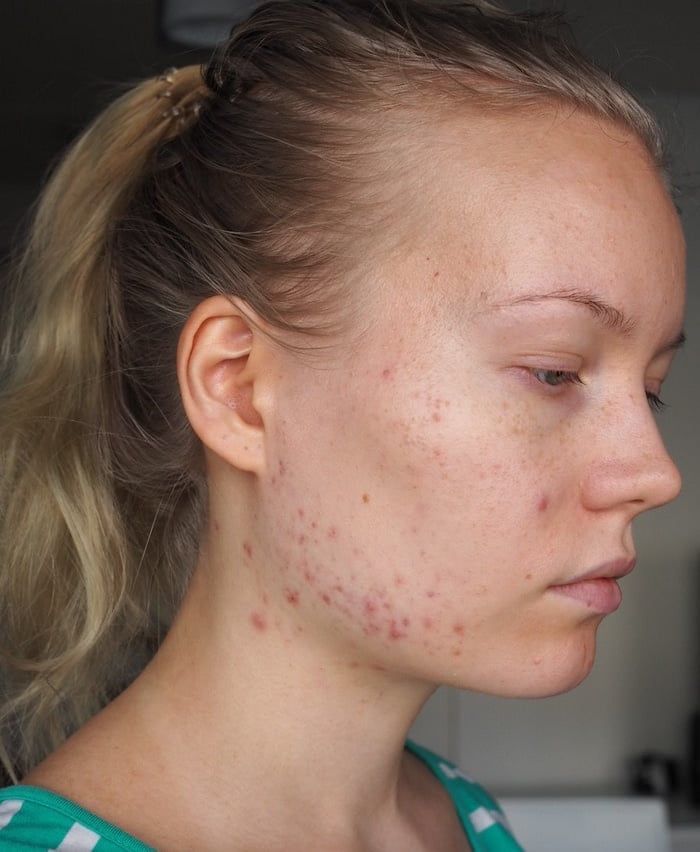
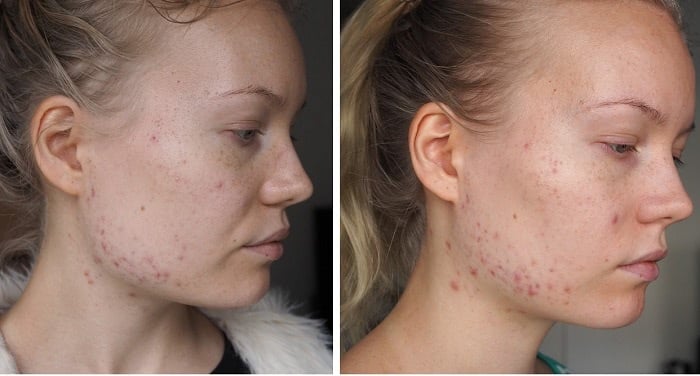
If you’re interested in how I did the rest of my makeup, here is a tutorial to my acne-friendly makeup routine, that I’m wearing here!
Products:
Zuii Organic Eyeshadows Pink Ice, Blossom, Blackberry
Zuii Organic Eye Pencil in Black
Essence Get Big Lashes + I love Extreme mascaras