
Glowy, dewy, radiant and natural.
That sums up my go-to look for this summer, when it comes to makeup. Who knew, that after all the suffering with acne and oily skin, I would now infatuate with glowy and natural makeup? Suddenly I’m craving for all the products, that promise me a radiant skin. Be it skincare or makeup. Well, I’m not complaining. And now my skin does look radiant, so I think I’m doing something right.
In this post I will show you how to achieve a natural and glowy skin with makeup. Besides the right products, it’s important to choose the right tools, so that your makeup looks dewy and natural – and not too made up.
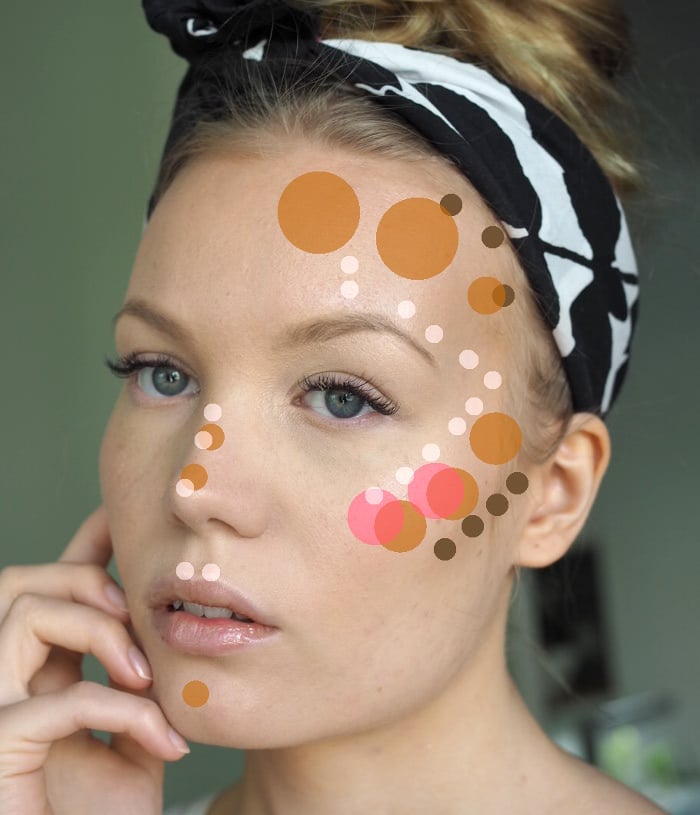
Before we get started, here is a map for color placement. Here you can see where I applied contour, bronzer, blush and highlight.
Dark brown – contour
Orange – bronzer
Pink – blush
White – highlight
Glowy & natural skin – makeup tutorial
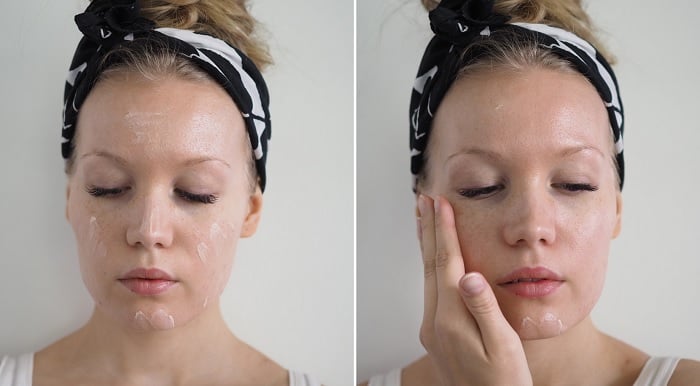
1.Primer
To get a nice, glowy base to your makeup, use a primer, that does not leave you matte. I used Armani’s Maestro UV primer, which is perfect for summer, since it has SPF 50 protection in it. This leaves my skin smooth and glowy.
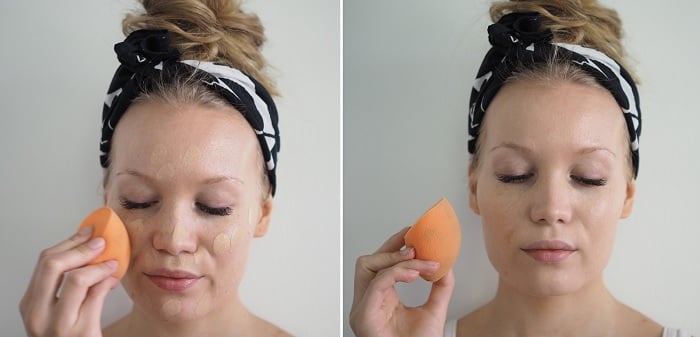
2. Foundation
Since we’re doing a light makeup, choose a lightweight foundation with light to medium coverage. I used Armani’s Luminous Silk Foundation, which is perfect for this. It’s very lightweight and leaves a luminous finish (but it still stays on the skin really well and isn’t too glowy for my combination skin!). Another important thing is to use a damp makeup sponge! It’s the perfect tool to get that sheer finish, whatever the foundation is.
Read my blog post about the best makeup sponges
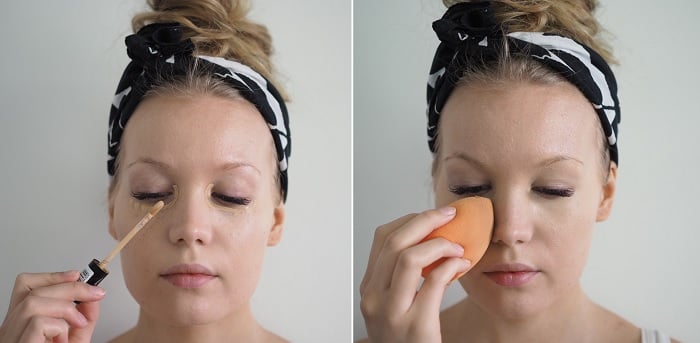
3. Concealer
Since you want your face to look radiant, it’s important to hide those dark circles.
Read my post and see my tutorial on hiding dark circles
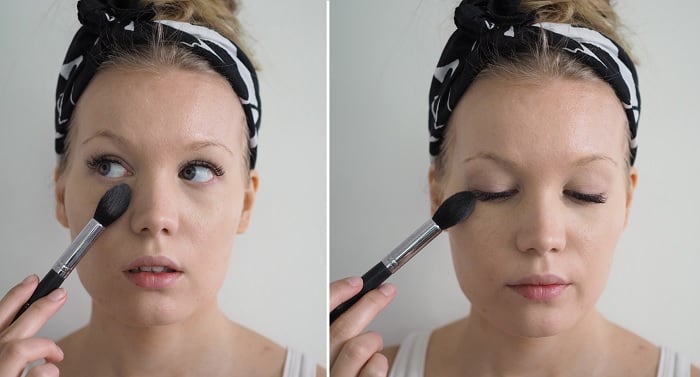
4. Setting the concealer
Even if you were doing a glowy look, you can use powder. And you kinda have to, if you don’t want creasing. The key is to choose the right powder. Here I used Maybelline’s brightening powder, which is perfect for dry areas or dry skin. It’s perfect for setting the concealer under your eyes.

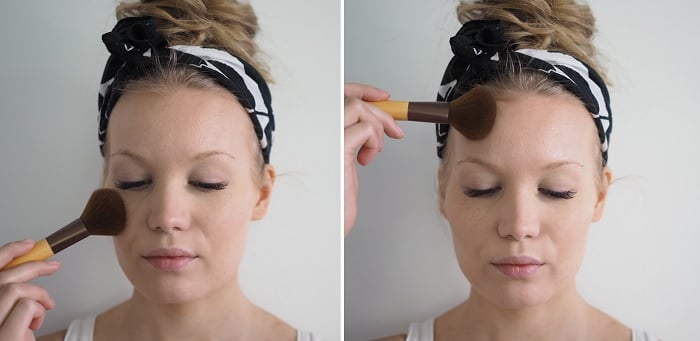
5. Powder
More powder? Yup, and all over the face, might I add. Especially if you have a tendency to oiliness. But don’t worry – this won’t make you matte! The secret to powdering your face without making it cakey, is to use a big fluffy brush – like the one in the photos. This spreads out the powder evenly and lightly all over the face. And yeah – the other thing is to choose a powder, that’s not too matte. The one I mentioned above is perfect for normal to dry skin. But even if you used a more mattifying powder, when you apply it lightly with a big brush, it can work just fine.
If your face is dry, you can get away with zero powder (but you probably knew that).
6. Bronzer
This look calls for some bronzing! I don’t necessarily use a bronzer in my everyday makeup, but in Summer and with glowy looks like this, it’s a must. You can use a big brush for this and once you’ve applied the bronzer on your cheeks and temples, and there’s not much product left on the brush, you can lazily go through your whole face with it. Just remember to blend well, so you don’t end up with a bronzer helmet.
A good thing to remember is to apply bronzer, where the sun naturally hits your face.
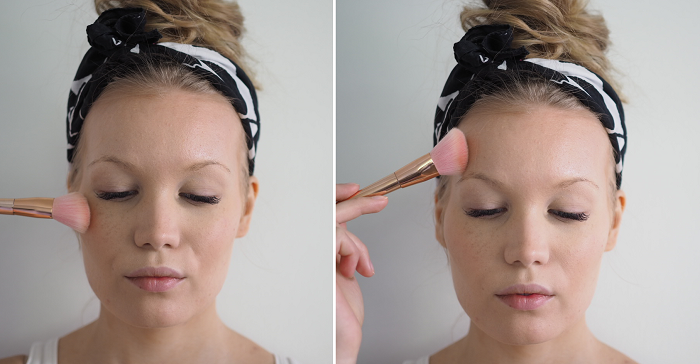
7. Blush
I sound like a broken record, but blush is one of the most important things, when doing your makeup. When you want your makeup to look dewy and radiant, blush is the way to go. It gives you that healthy look, and when you choose a blush with some shimmer in it, it brings some extra glow to your skin. Recently I’ve been wearing my blush a bit differently. I don’t necessarily apply it right in the middle of my cheeks, but more like on the sides of my face and I hit my temples with it as well. Check the first color placement picture, if you’re lost!
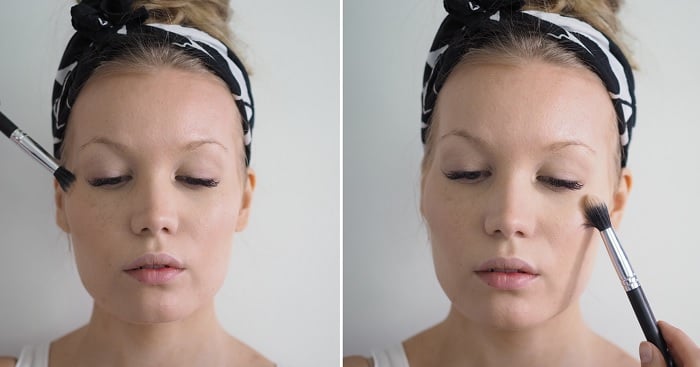
8. Highlight
It wouldn’t be a glowy look without some highlighter, right? Recently I’ve been using this highlighting brush by KICKS, which is awesome. It’s small enough, so that you don’t end up with too much product, and it spreads out the product evenly.
Read my post and check out the tutorial on highlighting your face
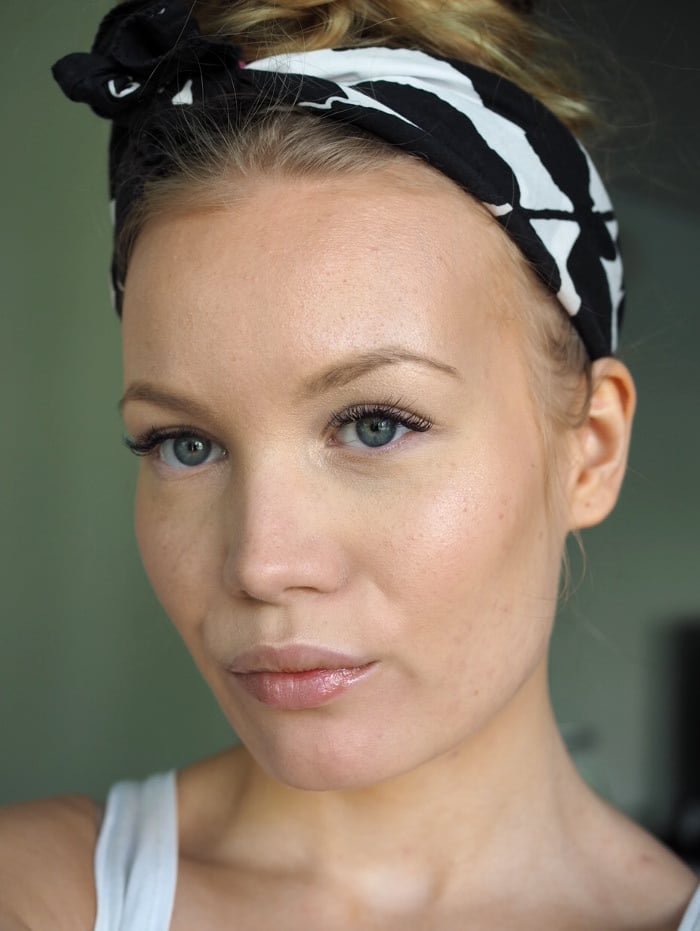
And that’s it for the natural glowy makeup tutorial! Besides these steps, I did my brows and applied a clear gloss on my lips. What do you think of this look?
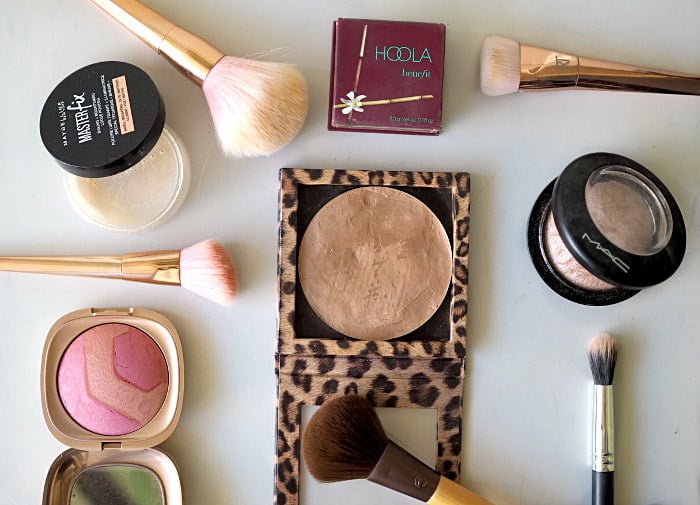
Here are the products I used
*Giorgio Armani Maestro UV Primer & *Giorgio Armani Luminous Silk Foundation, shade 4
Maybelline master fix illuminating powder
*Benefit Hoola Bronzer
Depotted DIY Bronzer (I’ve mixed two products into this bronzer)
Kiko Milano Desert Dunes Blush, Gypsy Pink (it was limited edition)
*MAC Mineralize Skinfinish, Soft & Gentle
*Rose Gold Brush Set
– here are some of my current favorites, which give me that radiant skin to begin with.