Brow lift with makeup; Benefit 24HR Brow Setter Gel review

brow lift with brow gel benefit brow setter

*adlink

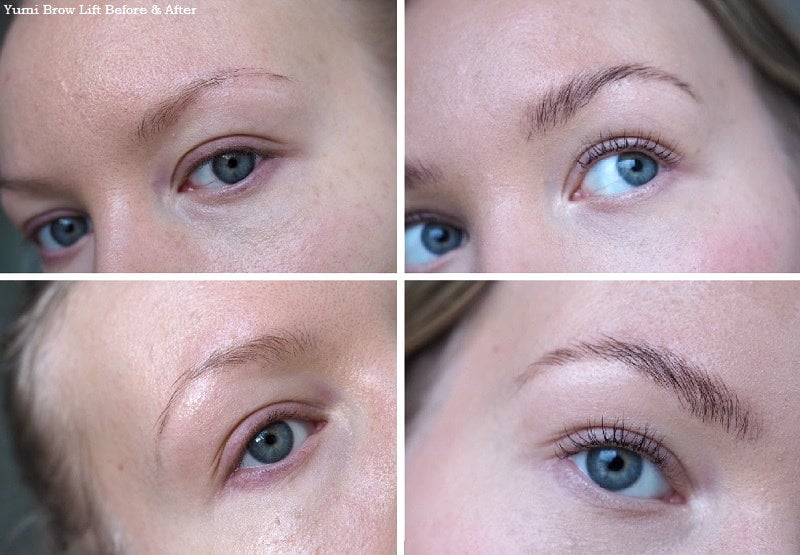
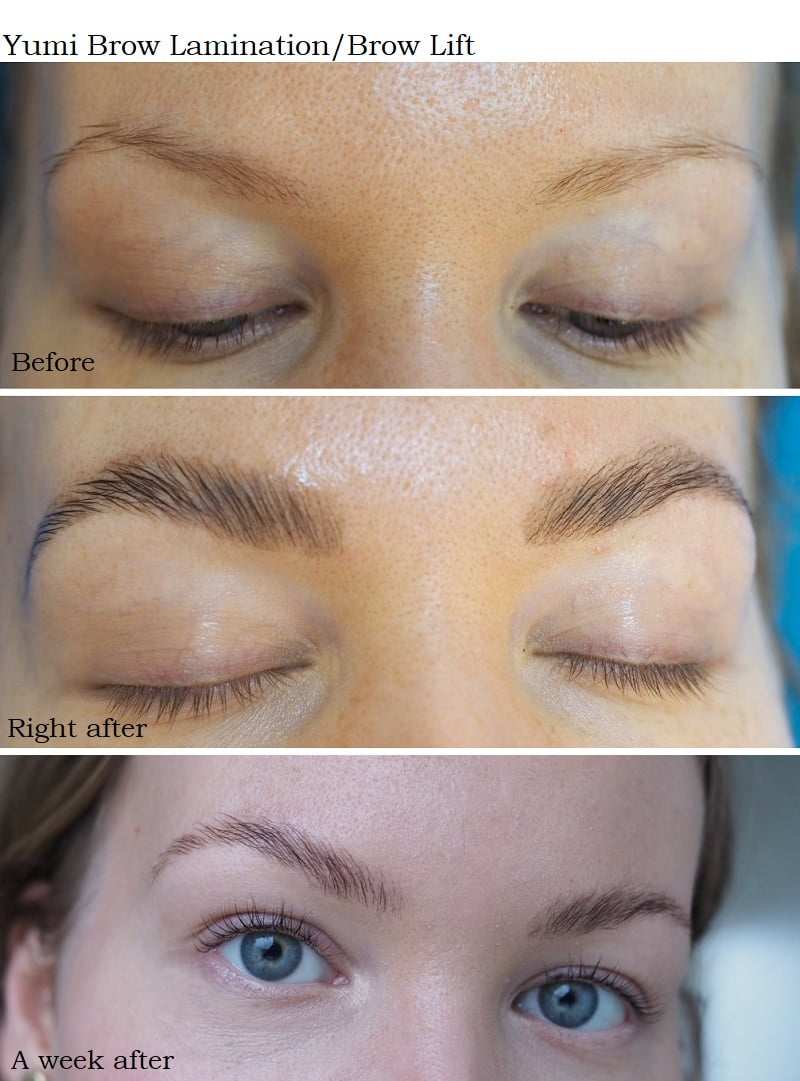
I have found a gel that makes your brows so fluffy, it passes for a brow lift.

I love to treat my brows with a brow lamination, because the results last for weeks. However, if you want to achieve the look just with makeup, without hassling with soap or lash glue (we’ve all been there), Benefit Brow Setter Gel gets the job done.

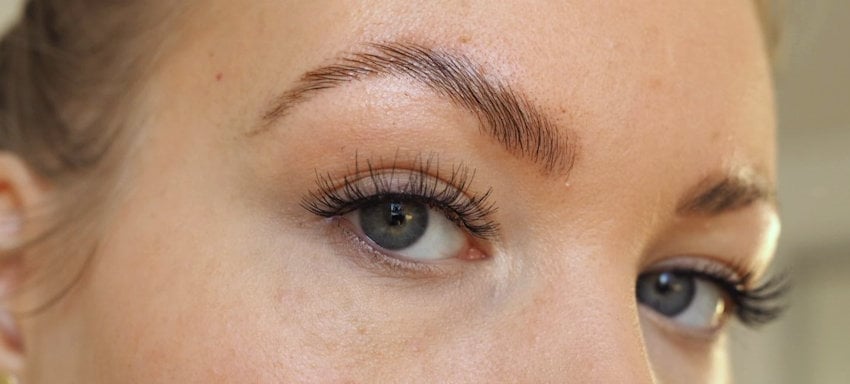
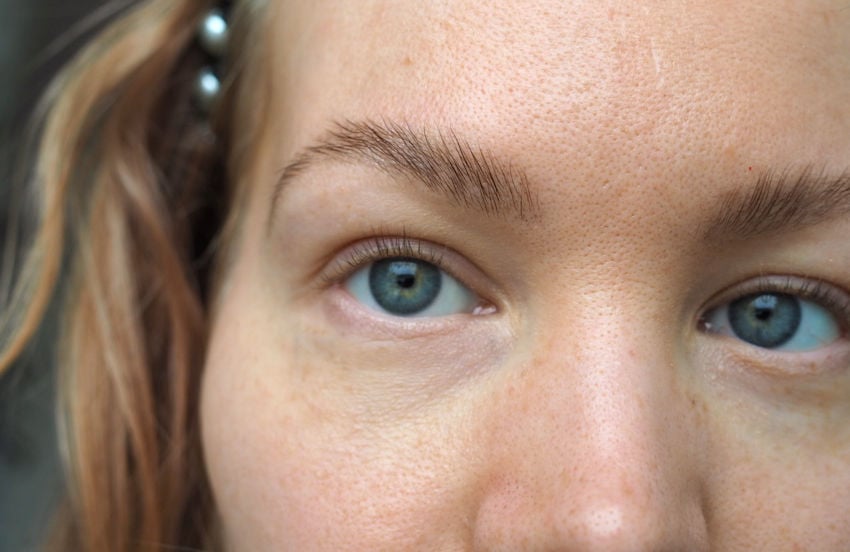
The recipe for beautiful bushy brows is simple: just brush your brow hairs up with the gel and then fill them in.

Benefit 24Hr Brow Setter Gel review

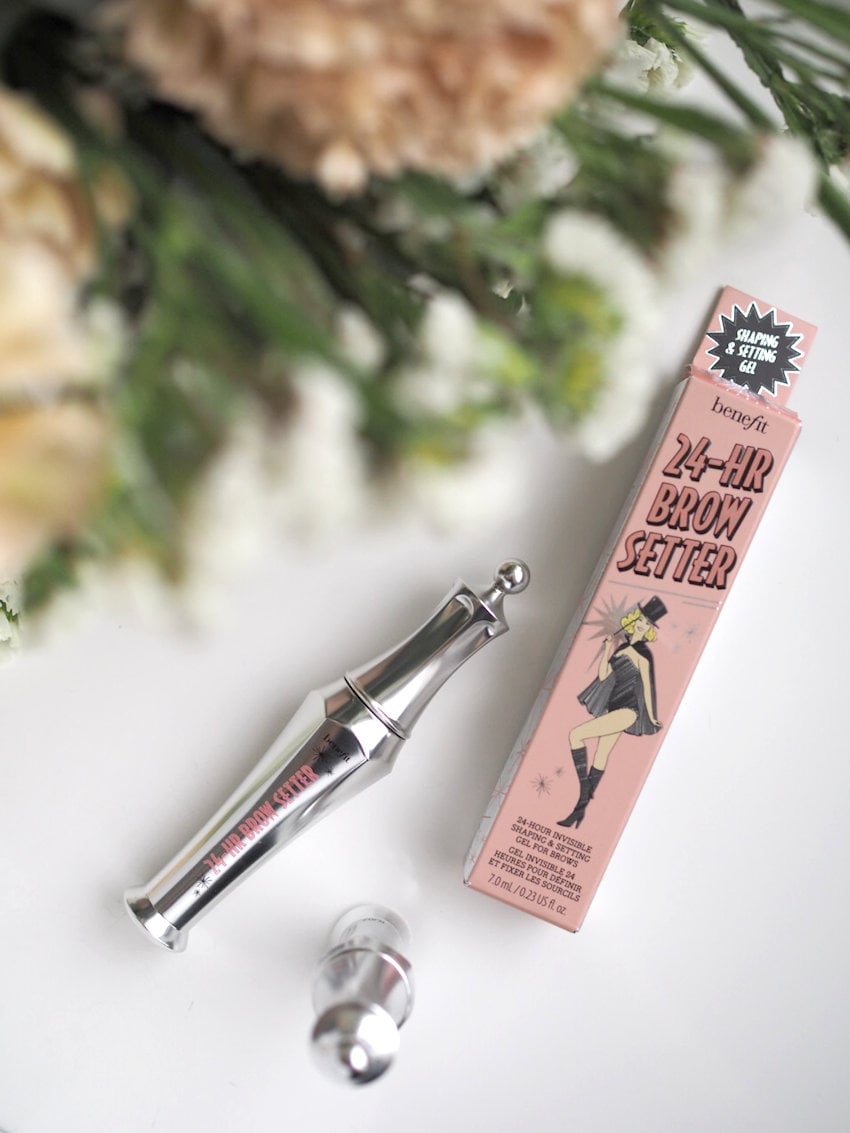
Benefit 24hr Brow Setter Gel
– brow gel that actually tames the brow hairs up & locks them in place

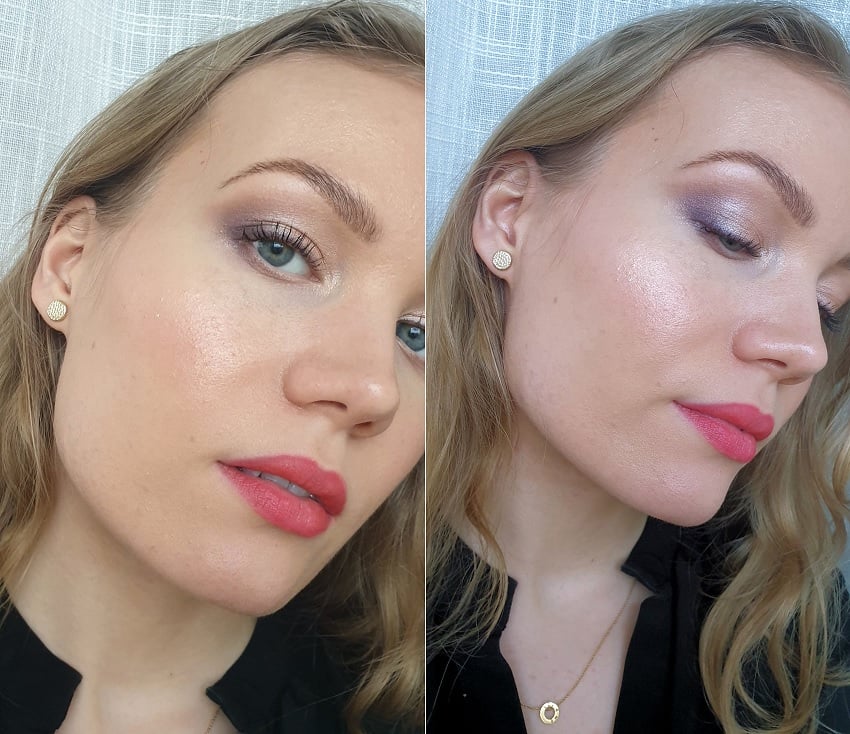
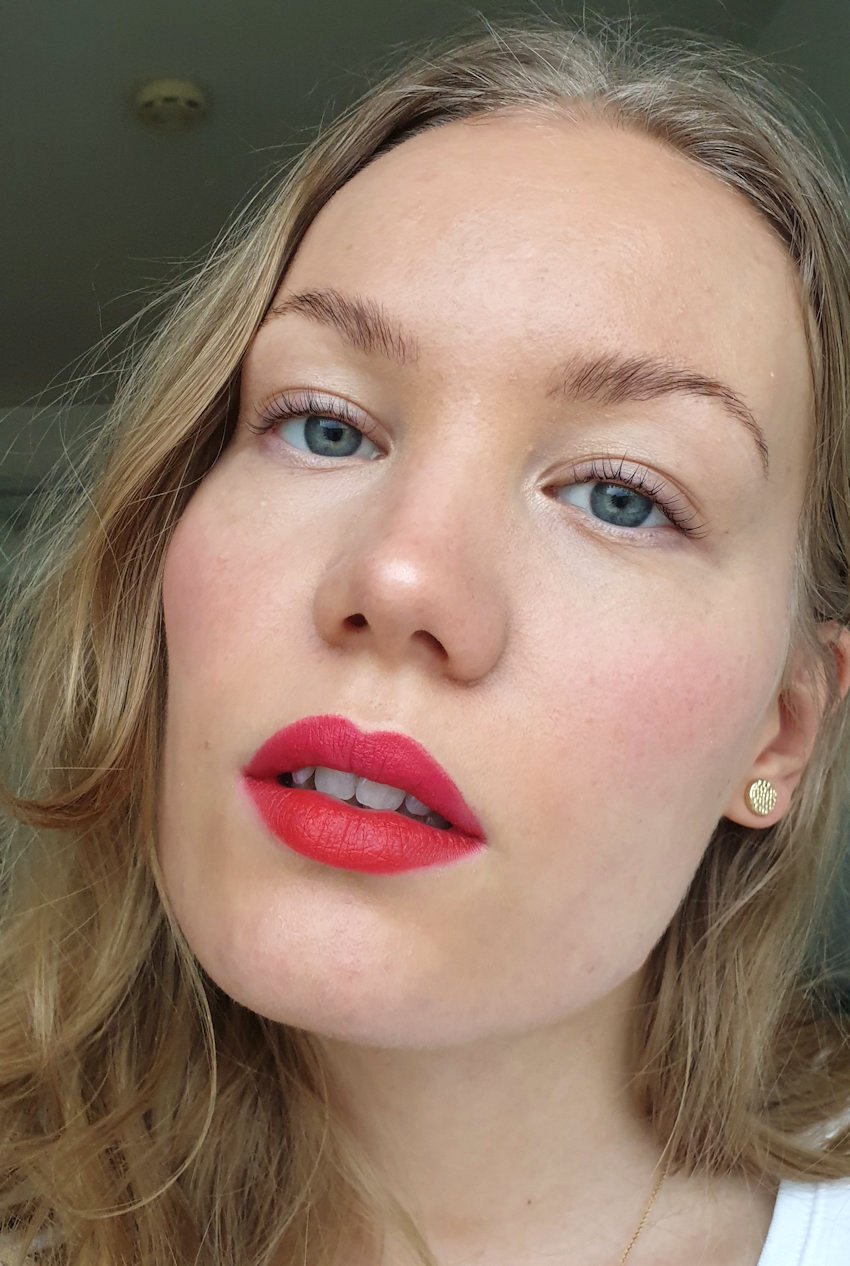
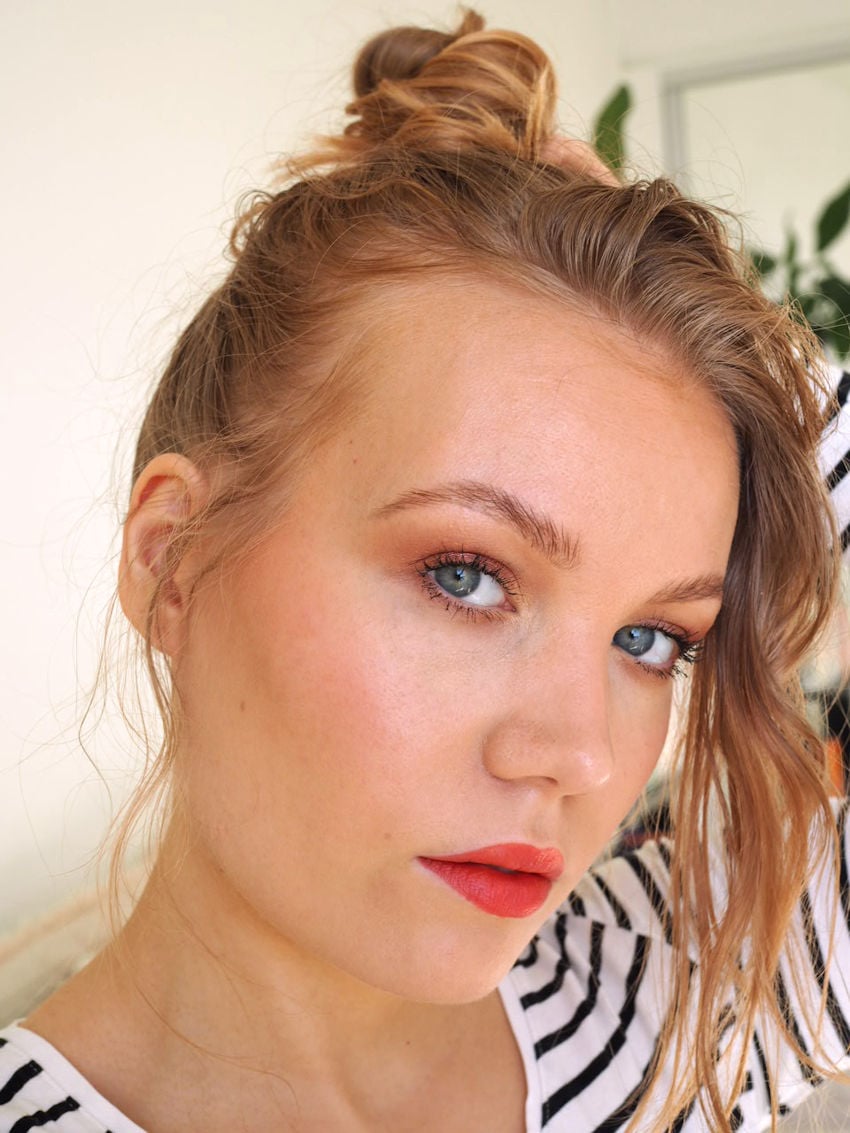
Benefit’s 24HR Brow Setter brow gel is so good, it’s a bit baffling. It keeps the brow hairs in place, even when you want them to point straight up. The effect also lasts – my brows always look great the whole day. Basically what you get is a brow lift with makeup.

When my beauty therapist, the one who I go for the brow lift treatment, saw my brows done with the gel, I’m sure for a second she thought I had gotten a brow lift elsewhere. Excitedly I told her it’s just brow gel (“and doesn’t it look exactly like I’ve had a brow lift?”).

fluffy brows laminated look with makeup
Fluffy brows with makeup. Back when my hair was very ginger.. Why don’t hair colors last on my hair though?

The gel is clear and quite thick. It’s a bit glue-like, but more manageable. It doesn’t show up on the hairs or skin (like glue does in my experience),  other than giving them shine and texture. It enhances the brows, but that’s exactly what we want for fluffy and bushy brows.

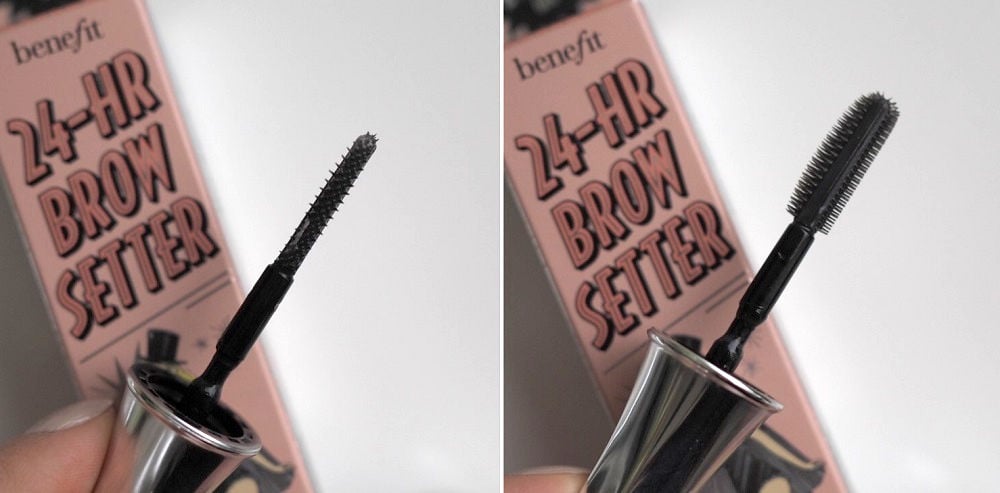
This gel comes with a special brush that has different sides to it: there’s longer and shorter bristles, along with a flat surface on both sides. That flat surface is the key to making a brow lift effect.

benefit brow setter clear gel brush

How to fake a brow lift with the Benefit Brow Setter Gel:

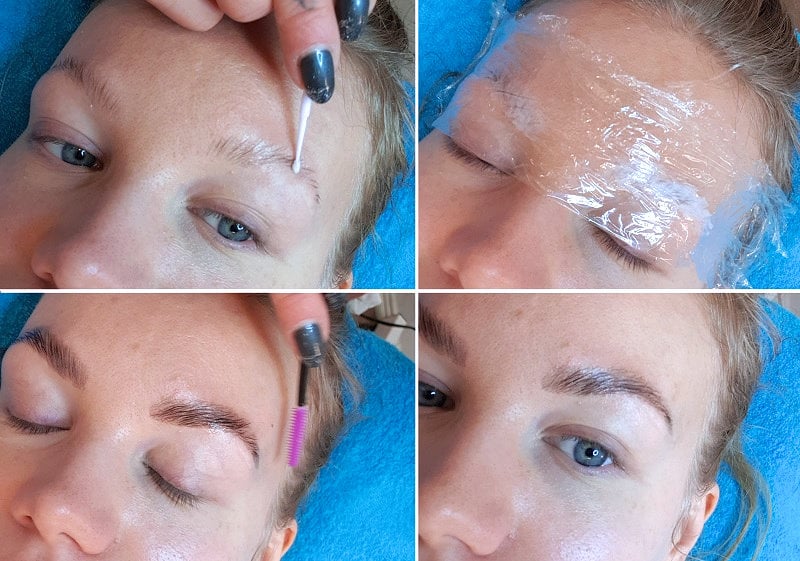
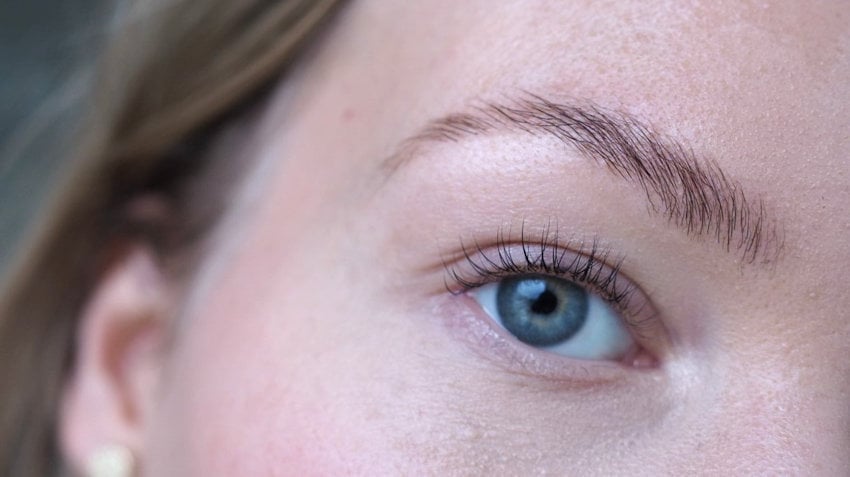
I first brush the gel through my brows. And then, I press the flat surface on my brows and skin to set the brow hairs in place. And amazingly, they stay like that.

Note: obviously if you don’t want such dramatic effect, you don’t have to press the brush against your skin, you can just brush your hairs up or to the side. You still get a nice lift that looks more natural. For example Alice from the Notes by Alice blog used the gel in a more natural way on her review.

The gel dries quite quickly, but I think that’s a good thing, because I get my brows done very fast. I do my brows in sections, starting from the front of my brows. That way I don’t have to panic about the gel drying too soon.

benefit brow setter gel before after

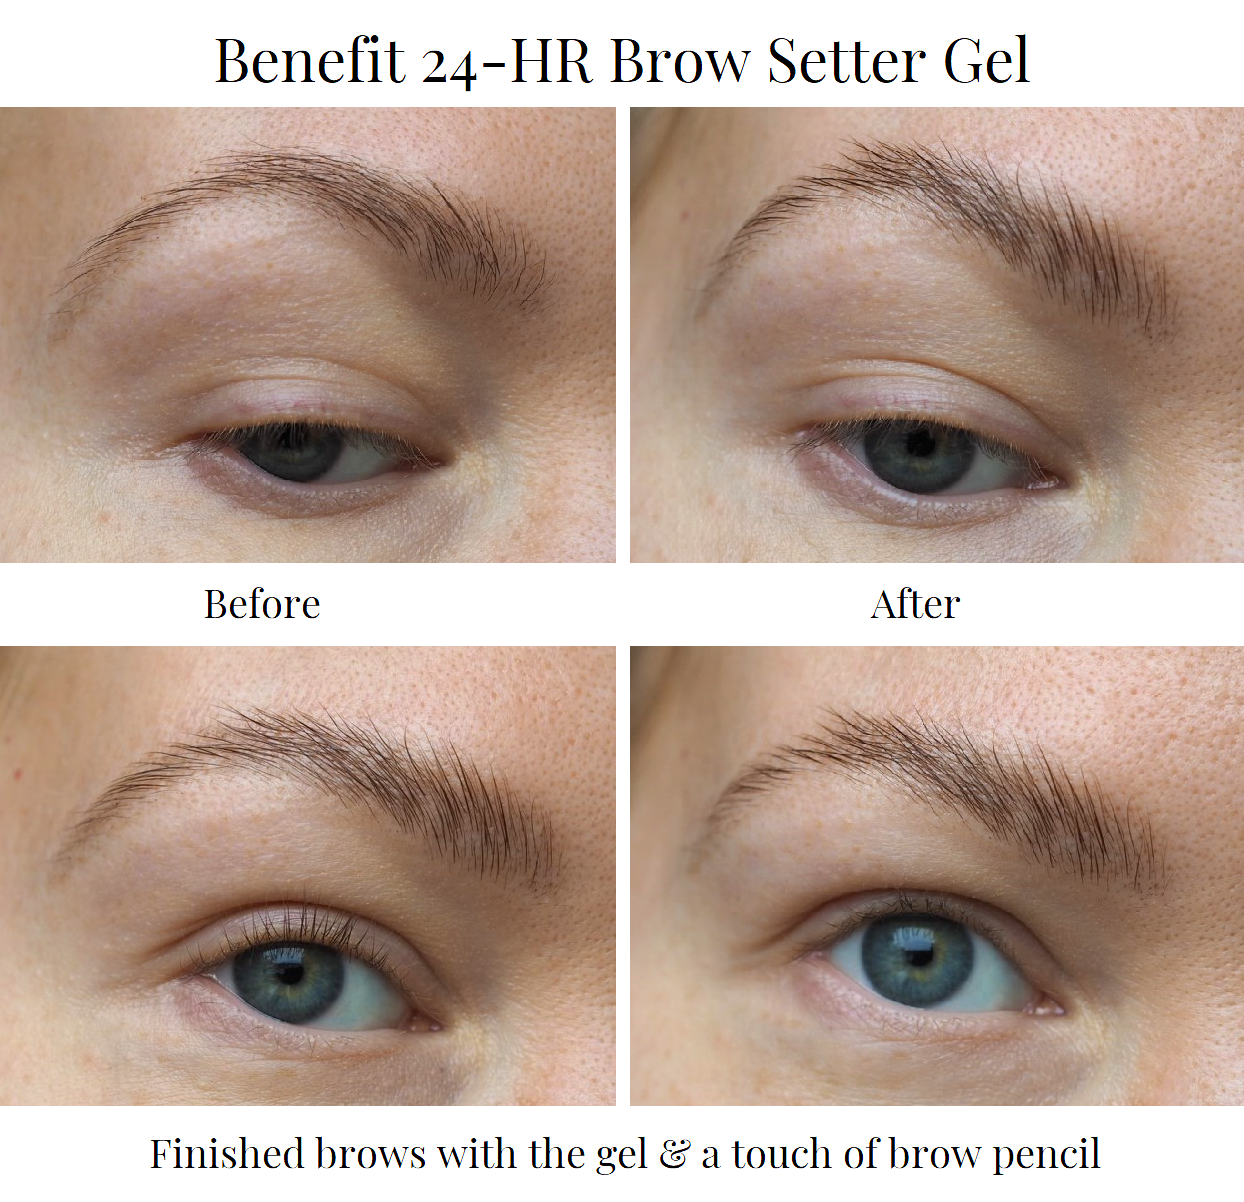
Brow lift with makeup – Fluffy brows with gel & brow pencil

After the gel is dried, I fill in my brows with a thin brow pencil. Even though the gel dries to a bit of a cast, I can still apply my brow product on the brows. After I have my brow hairs pointing up, it’s easy to clean up that brow line and fill in any blanks. I also need less product, because my brow hairs are showing their full potential.

If you struggle with your brow shape and are not sure where the product should go, this brow tutorial might be helpful.

brow lift with makeup benefit brow setter gel

You can get Benefit’s gel in two sizes. At first I (accidentally) bought the mini size, but now I’ve already gotten the full sized version. I have a feeling I will be repurchasing this product multiple times.


If you’re looking for the best brow gel, that actually tames the brow hairs and lasts, and looks like a brow lift, this brow gel is it.


Shop the gel at Sephora:
*Benefit 24-HR Brow Setter Gel
*Benefit 24-HR Brow Setter Gel Mini

Thin brow pencils for filling in the brows:
*Benefit Precisely, My Brow Pencil Waterproof
*Anastasia Beverly Hills Brow Wiz Pencil


Brow Lamination / Brow Lift – the best beauty treatment for your brows

This treatment was gifted to me

Brow lamination is exactly the kind of beauty treatment I can get behind on. It’s all about making the best out of your natural features. You’re not actually adding anything – yet somehow you leave from your appointment as a total brow queen.

Beauty treatments that are semi permanent usually worry me a bit. I’m not that into microblading or eyelash extensions – or beauty treatments that change your appearance with a permanent-something. I have seen so many bad brows from either microblading or brow pigmentation, I’m just gonna steer clear from all that. Your face ages and moves and changes – that’s enough of a reason for me to not do anything too long-lasting.

But as soon as I heard about brow lamination or brow lift I was all on board. Mostly because I’m already a huge fan of Yumi Lash Lift and I knew the result would be somewhat natural, just more enhanced.

Brow Lamination – Yumi Brow Lift experience 

In brow lamination your brow hairs are brushed upwards and fixed so that they stay in the direction they’re put. Know those annoying brow hairs that always stick out? Brow lamination is perfect, because you can change the direction in which they grow. It’s the treatment for anyone with fluffy stubborn brows, but also for those with thin or sparse brows. I consider my brows quite thin, or normal, but this treatment gave me fluffy thick brows. The treatment also includes shaping and a tint.

The Yumi Brow Lift treatment steps:
1. LE LIFT, which changes the structure of the brow hairs, so that they can be shaped again.
2. LE FIX, which sets the brow hairs in the new direction in which they are put.
3. LE SERUM, which treats the brow hairs, so that they stay healthy.

I’m gonna be honest with you: I didn’t think the result would be as striking as it was. I thought my brows would probably look tidier and slightly enhanced after the lift, but I was quite shocked to see the result. I didn’t think my brows would look this good. Right after the appointment the effect is at its strongest, because the tint tends to stick to your skin as well. Don’t be alarmed if at first your brows look a bit crazy. You should avoid wetting your brush for 24-48 hours, after which you can wash them and apply makeup and see how they settle.

brow lamination treatment review

My brows before the brow lift and my brows a week after the treatment.
day after brow lamination
A day after brow lamination. Still had not washed the brows, only brushed through them a bit.

I waited about 30 hours before washing my brows and after that the result was even better. I learned that after you wash the brows, you can decide how strong you want the lifting effect. Meaning, you can kind of brush your brows upwards – or to the side. When your brows get wet they obviously don’t stay up, so you need to brush them after shower. But what’s magical is that once you brush them upwards (or whatever direction) they actually do stay like that. I have a video showing you that on my Instagram Highlights (Brow Lift). I will update my Insta Stories also on how this fades off.

The brow lift eventually fades off, as your brow hairs renew. The results are always personal, depending on how quickly your brow hairs grow, but all in all the brow lift lasts for about 4-6 weeks.

Before and after brow lamination / Yumi Brow Lift

When you look at my before photo, you can see some stubborn brow hairs sticking out and growing downwards. Annoying, I know. After this treatment they have received a lift and can be brushed upwards or to the side.

I’m already so hooked on this treatment! I haven’t been wearing much makeup on my brows, because I feel like they look good as they are. But applying makeup to them is also easy, since my brows have been shaped too. I can see myself going back to this treatment, definitely. It’s great for a holiday, for brides – or just to cheer you up on miserable in-between weather.

No brow makeup needed with brow lamination.

After treatment – Yumi Keratin Lash Lift Mascara

It’s important to take care of your brow hairs after the treatment, so that the result stays better. Perm obviously dries your hair a little, so a moisturising serum helps to keep your brows (and lashes) in good shape. This also helps the lift to stay longer in your brows and lashes. I actually went and got myself a lash lift as well, so I’ve been using this mascara in the evenings for my brows and lashes. My eyes are usually quite sensitive, but I haven’t got any reactions to this whatsoever. So I would say, good for sensitive eyes too.

Behind my brows and lashes is Viivi at Nätti Töölö. I also go to her for sugaring. A warm recommendation.

Viivin kauneushuone / Nätti Töölö
Topeliuksenkatu 7
00250 Helsinki
@viivin_kauneushuone

Scroll to top