Yumi lash lift

yumi lash lift before after

Collaboration with cosmetologist Viivi

Lash lift is the perfect alternative for those, who don’t want lash extensions or can’t have them for some reason. Yumi lash lift boosts your own lashes with a lift and a tint, so that the result is always natural.

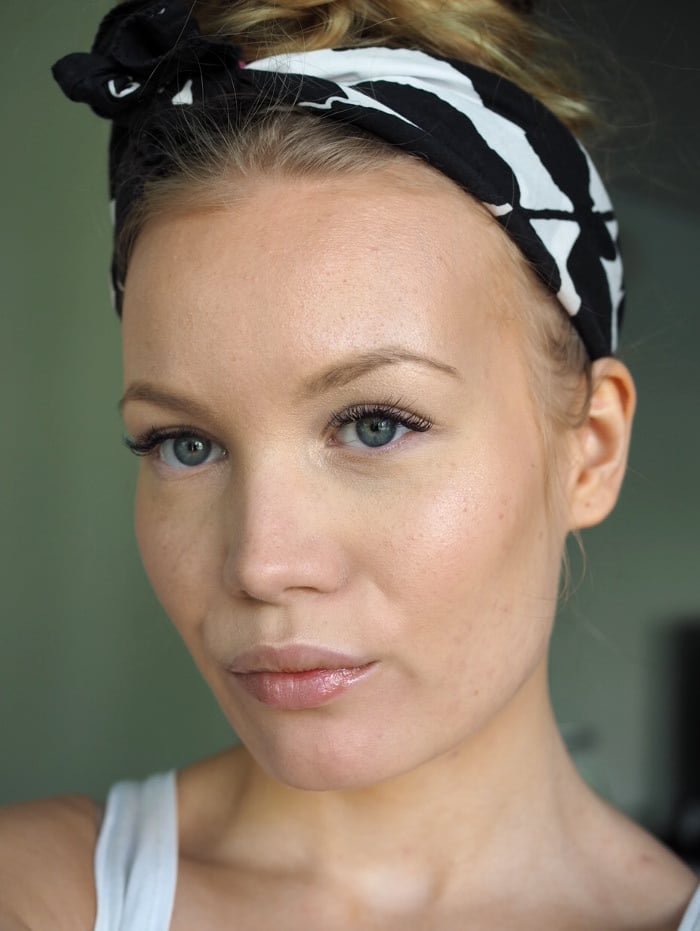
I’ve had lash extensions for six months, but a while back, I turned to this more natural option. And I’m happy that I did. Now that I got my lash extensions removed and got the lash lift instead – I feel whole. I think I missed my natural state a bit. Who knew, that having your lashes semi-permanently lifted made such a difference?

Well, actually I have straight lashes, so I absolutely knew that. But nevertheless – the results were even better than I expected!

lash lift

Yumi lash lift

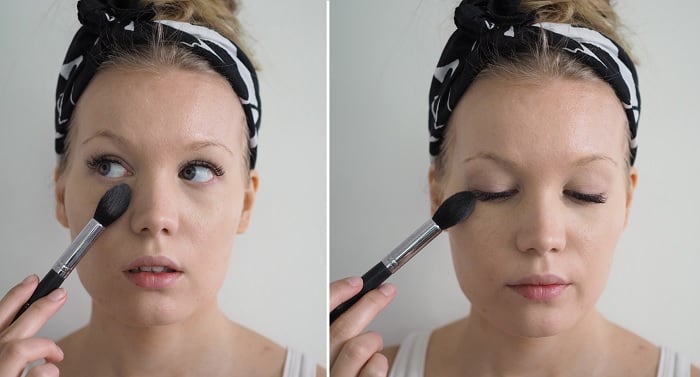
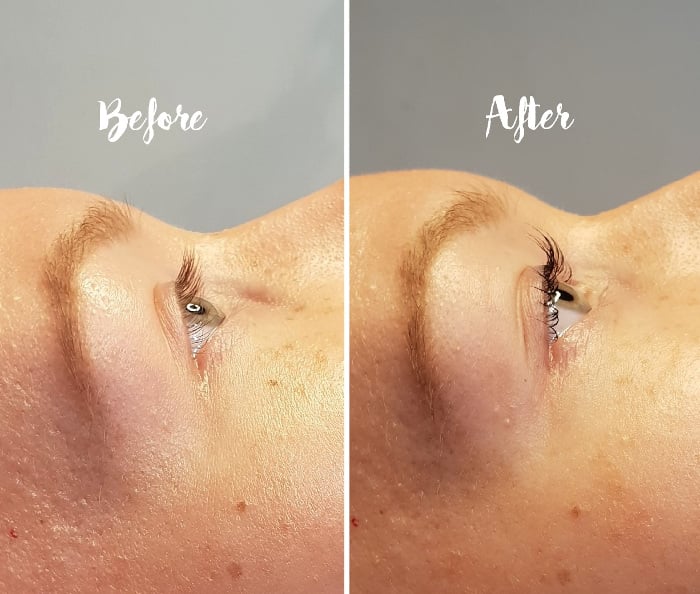
I have naturally transparent and straight lashes, so if you saw me walking on the street without makeup, you might think, that I don’t own lashes. But it just so happens, that I own quite a nice set of lashes, if I say so myself. They are just hidden. And quite stubborn, when it comes to curling and applying mascara on them.

Having them lifted and tinted – has made a small, but a significant difference. When I’m not wearing makeup, you can still see some lashes. And when I’m wearing a mascara: VA-VOOM! I’ve always struggled with lash curlers and mascaras and not many of them seem to keep my lashes that curved. So now that I can just skip that part and apply my mascara – I’m dancing a victory dance. Besides, did I ever tell you about that time, I accidentally ripped the whole lash row off of my eye with a lash curler? Yup, that happened. So I’m quite happy to be leaving my lash curler alone.

Yumi lash lift is awesome, because it’s low-maintenance. You don’t need to take care of your lashes the same way you do of your lash extensions. I can just live my life normally. Wash my face and remove my eye makeup normally. I can go to shower and let the water pour down on my face and on my eyes. (Please tell me you can relate to that? With lash extensions I never went under the shower and I always washed the lashes separately carefully by the sink!)

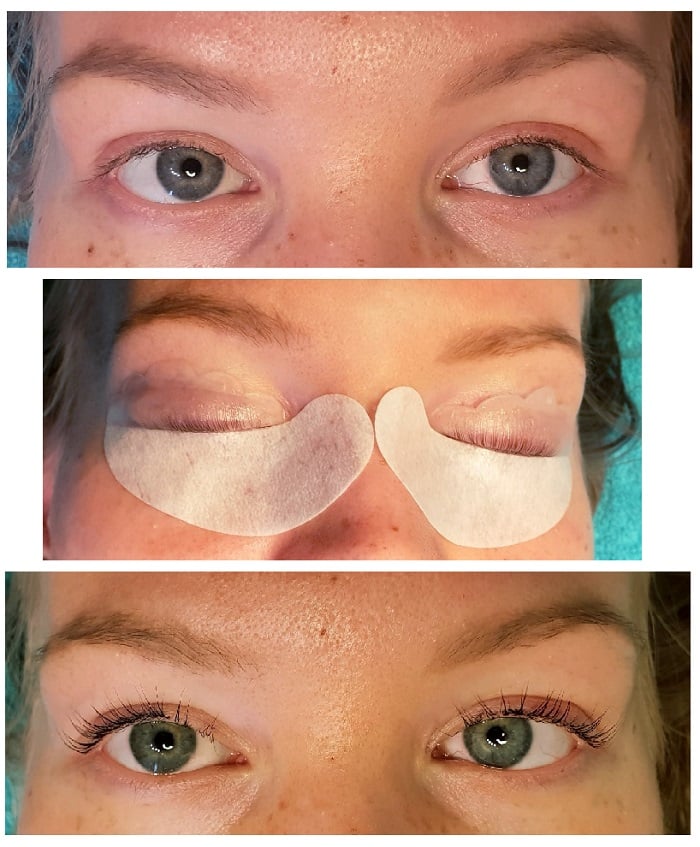
Yumi lash lift treatment is quite quick, and painless. Your lashes are cleaned, lifted on the pad, glued on it, then there are two different pastes added to them and after that, the tint. The only thing you need to remember, is to not wet your lashes for 24 hours. After that, it’s normal (but a bit better, hah) life.

yumi lash lift procedure
Yumi lash lift: Before, during & after.

How long does the procedure take?
It depends on the professional, but it takes somewehere around 1 to 2 hours.

As a professional, I can reveal to you, that what takes the longest time is the glue. It’s important to get the lashes nicely in a neat row (like you see in the picture above, Viivi made a nice neat row!) and sometimes the lashes are stubborn and you need more glue and more time.
The time for the actual process (the perm substances & the tint) isn’t that long.

How long does Yumi Lash lift last?

Your lashes stay lifted for 8-12 weeks, depending on the natural cycle of your lashes. Your lashes will naturally renew – they fall one by one and new lashes are grown back. So here’s another reason, why it’s such a great alternative to lash extensions. When I had extensions I had to fix them every three weeks. Lash lift lasts for two months!

How Yumi lash lift differs from lash perm?

Lash perms are old news, and nowadays it’s all about lash lifts. The difference is in how it’s done. With lash perm, your lashes are curved on a round roll – and there’s the possibility of having curly lashes, yikes. I know this, because I’ve done perms to clients. Successfully, thankfully, but I still think the whole procedure is a hassle. With Yumi lash lift your lashes are simply turned upwards, on a curved soft pad, so they can’t get accidentally too curly. In my opinion, your lashes look longer with Yumi lash lift. And it’s just a safer and an easier procedure.

lash lift

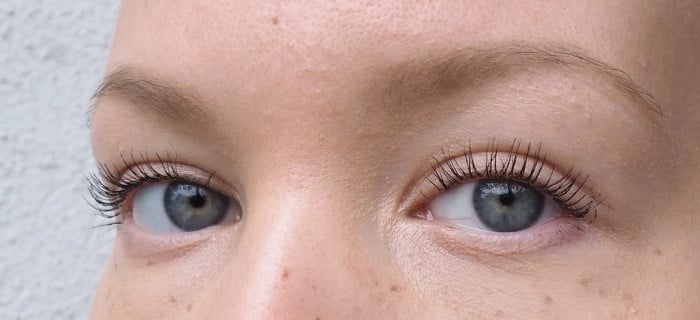
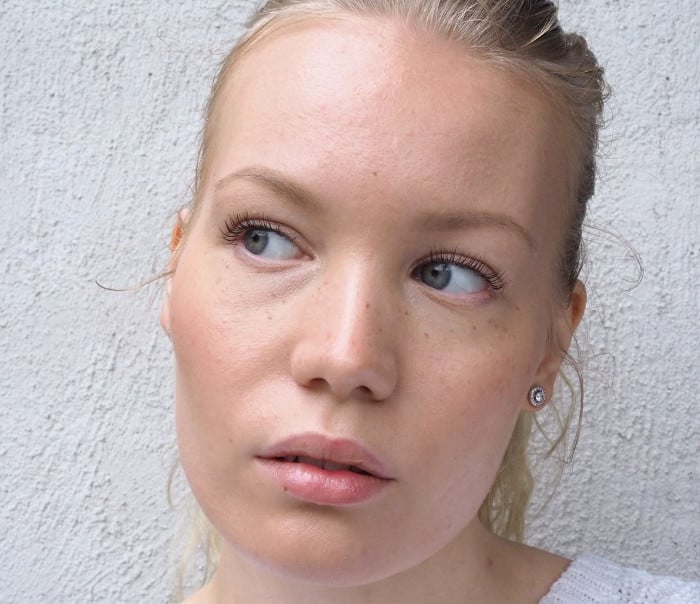
I am so happy once again with my lashes. And I’m afraid, I’m already hooked on this new technique. Yumi lash lift, you’re my new favorite!

And I guess I’ll admit it: I enjoy boosting my so-called natural beauty, so that when I don’t wear makeup, I feel even more fabulous.

yumi lash lift

www.yumilashes.com

Yumi lash lift made by Viivi costs 89€ and it takes about 2 hours.

Book your appointment with Viivi:

Viivin kauneushuone

Nätti Töölö
Topeliuksenkatu 7
00250 Helsinki
@viivin_kauneushuone

Glowy & natural skin makeup tutorial

glowy skin tutorial

Glowy, dewy, radiant and natural. 

That sums up my go-to look for this summer, when it comes to makeup. Who knew, that after all the suffering with acne and oily skin, I would now infatuate with glowy and natural makeup? Suddenly I’m craving for all the products, that promise me a radiant skin. Be it skincare or makeup. Well, I’m not complaining. And now my skin does look radiant, so I think I’m doing something right.

In this post I will show you how to achieve a natural and glowy skin with makeup. Besides the right products, it’s important to choose the right tools, so that your makeup looks dewy and natural – and not too made up.

where to apply contour bronzer blush and highlight

Before we get started, here is a map for color placement. Here you can see where I applied contour, bronzer, blush and highlight.

Dark brown – contour
Orange – bronzer
Pink – blush
White – highlight

Glowy & natural skin – makeup tutorial

glowy face primer

1.Primer

To get a nice, glowy base to your makeup, use a primer, that does not leave you matte. I used Armani’s Maestro UV primer, which is perfect for summer, since it has SPF 50 protection in it. This leaves my skin smooth and glowy.

glowy skin foundation

2. Foundation

Since we’re doing a light makeup, choose a lightweight foundation with light to medium coverage. I used Armani’s Luminous Silk Foundation, which is perfect for this. It’s very lightweight and leaves a luminous finish (but it still stays on the skin really well and isn’t too glowy for my combination skin!). Another important thing is to use a damp makeup sponge! It’s the perfect tool to get that sheer finish, whatever the foundation is.

Read my blog post about the best makeup sponges

glowy skin concealer

3. Concealer

Since you want your face to look radiant, it’s important to hide those dark circles.

Read my post and see my tutorial on hiding dark circles 

glowy face under eye powder

4. Setting the concealer

Even if you were doing a glowy look, you can use powder. And you kinda have to, if you don’t want creasing. The key is to choose the right powder. Here I used Maybelline’s brightening powder, which is perfect for dry areas or dry skin. It’s perfect for setting the concealer under your eyes.

glowy face powder

5. Powder

More powder? Yup, and all over the face, might I add. Especially if you have a tendency to oiliness. But don’t worry – this won’t make you matte! The secret to powdering your face without making it cakey, is to use a big fluffy brush – like the one in the photos. This spreads out the powder evenly and lightly all over the face. And yeah – the other thing is to choose a powder, that’s not too matte. The one I mentioned above is perfect for normal to dry skin. But even if you used a more mattifying powder, when you apply it lightly with a big brush, it can work just fine.

If your face is dry, you can get away with zero powder (but you probably knew that).

glowy skin bronzer

6. Bronzer

This look calls for some bronzing! I don’t necessarily use a bronzer in my everyday makeup, but in Summer and with glowy looks like this, it’s a must. You can use a big brush for this and once you’ve applied the bronzer on your cheeks and temples, and there’s not much product left on the brush, you can lazily go through your whole face with it. Just remember to blend well, so you don’t end up with a bronzer helmet.

A good thing to remember is to apply bronzer, where the sun naturally hits your face.

glowy skin blush

7. Blush

I sound like a broken record, but blush is one of the most important things, when doing your makeup. When you want your makeup to look dewy and radiant, blush is the way to go. It gives you that healthy look, and when you choose a blush with some shimmer in it, it brings some extra glow to your skin. Recently I’ve been wearing my blush a bit differently. I don’t necessarily apply it right in the middle of my cheeks, but more like on the sides of my face and I hit my temples with it as well. Check the first color placement picture, if you’re lost!

glowy skin highlight

8. Highlight

It wouldn’t be a glowy look without some highlighter, right? Recently I’ve been using this highlighting brush by KICKS, which is awesome. It’s small enough, so that you don’t end up with too much product, and it spreads out the product evenly.

Read my post and check out the tutorial on highlighting your face

glowy skin makeup

And that’s it for the natural glowy makeup tutorial! Besides these steps, I did my brows and applied a clear gloss on my lips. What do you think of this look?

glowy skin products

Here are the products I used
*Giorgio Armani Maestro UV Primer & *Giorgio Armani Luminous Silk Foundation, shade 4
Maybelline master fix illuminating powder
*Benefit Hoola Bronzer
Depotted DIY Bronzer (I’ve mixed two products into this bronzer)
Kiko Milano Desert Dunes Blush, Gypsy Pink (it was limited edition)
*MAC Mineralize Skinfinish, Soft & Gentle
*Rose Gold Brush Set

here are some of my current favorites, which give me that radiant skin to begin with.

Scroll to top