2 x perfect nude lips

kicks lip cream swatches review

I hope you’re not too bored of nude lipsticks just yet. I know I’m not. Recently I got some new products to try out (as pr-samples) and I found two new perfect nude lipsticks – or actually lip creams. Swedish brand and store KICKS recently came out with lip creams and the shade range is just beautiful. Perfect colors for everyday wear, from warm tones to cool tones.

I bet you already know I opted for the cool tones. 

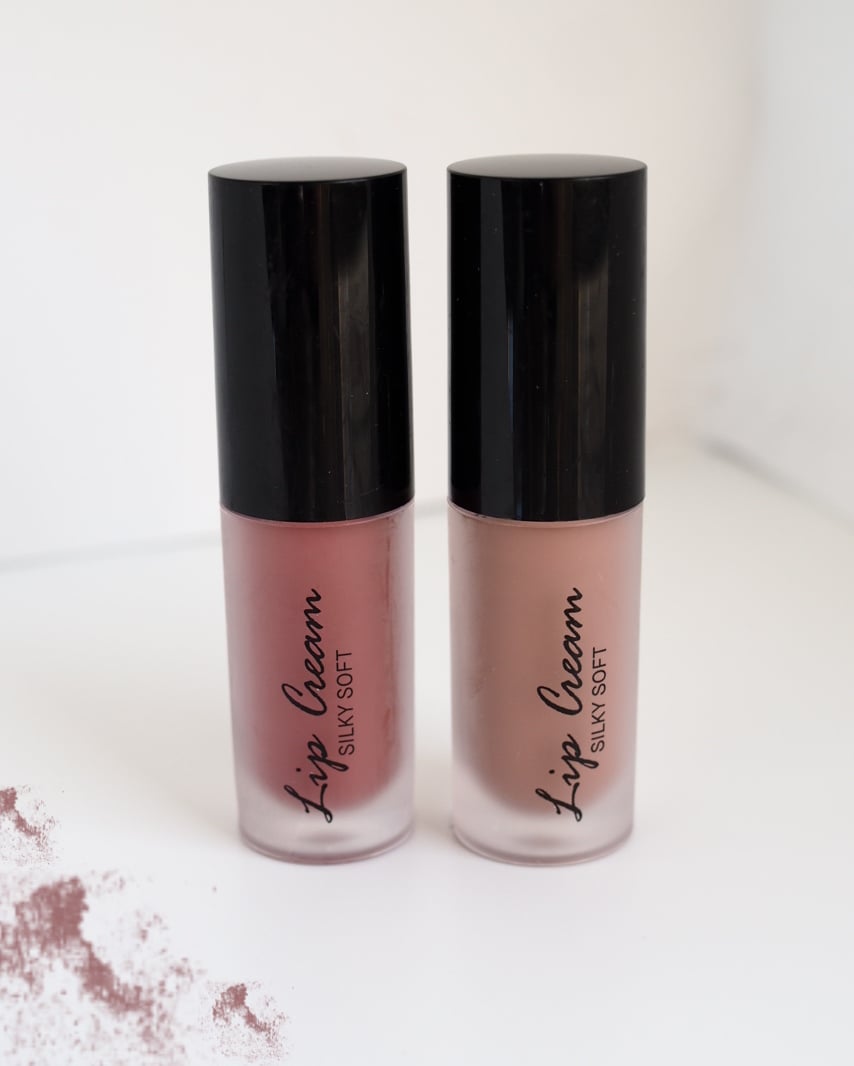
What’s cool about these lip creams is that they’re named after weekdays. There are seven colors all the way from Monday to Sunday. And don’t worry, the Monday color is beautiful too. Somehow I still chose two colors, that are also my favorite weekdays: Thursday and Friday.

charlotta eve lifestyle beauty

kicks lip cream friday

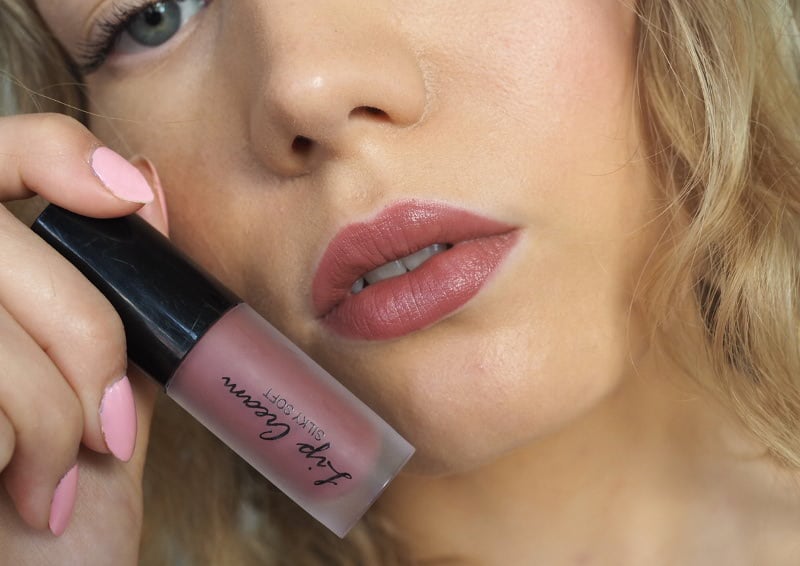
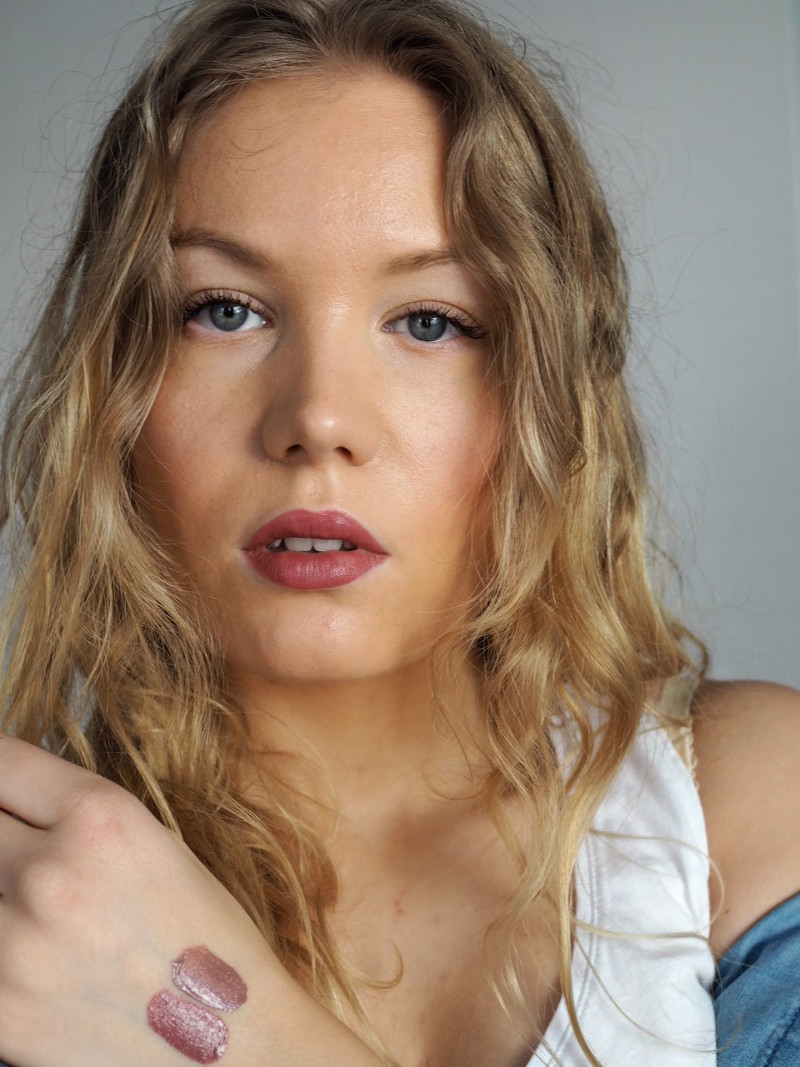
Friday is the obvious choice: more often or not it is the start of the weekend. You’ve worked hard all week and you’re ready to log off. Maybe there’s some parties coming up, or just a cozy evening at home with a pizza and a movie. Be it whatever – the Friday lip cream suits any occasions. It’s a darker nude color with cool purple (but also red?) undertones.

kicks lip cream thursday

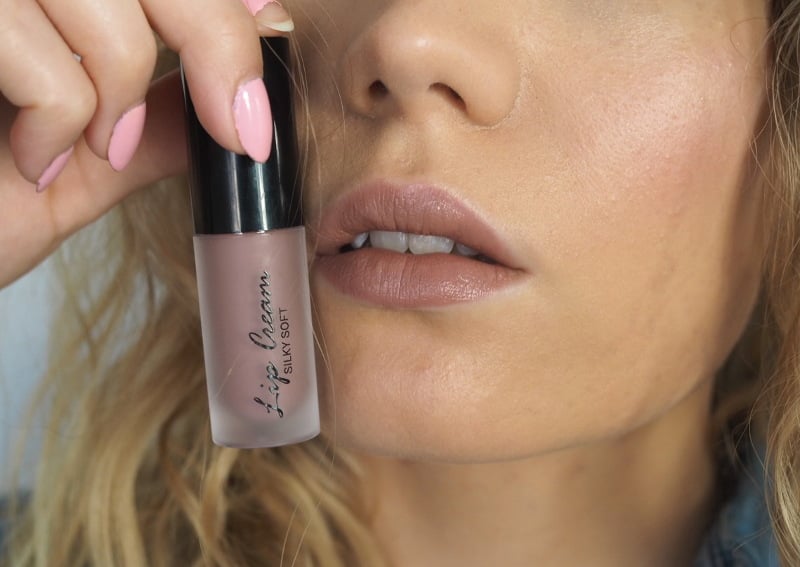
Thursday is possibly my favorite day out of the week. There’s no pressure, as it’s not Friday just yet. It’s the perfect day for a romantic dinner or a coffee date with friends. There’s excitement in the air. Thursday lip cream is just like the day: casual, but nice. It makes your lips look beautiful,without trying too hard. It’s a quite light nude color and very cool-toned, so it’s not everyone. I like it on my lips though.

kicks lip cream swatches thursday friday

KICKS Lip Cream review

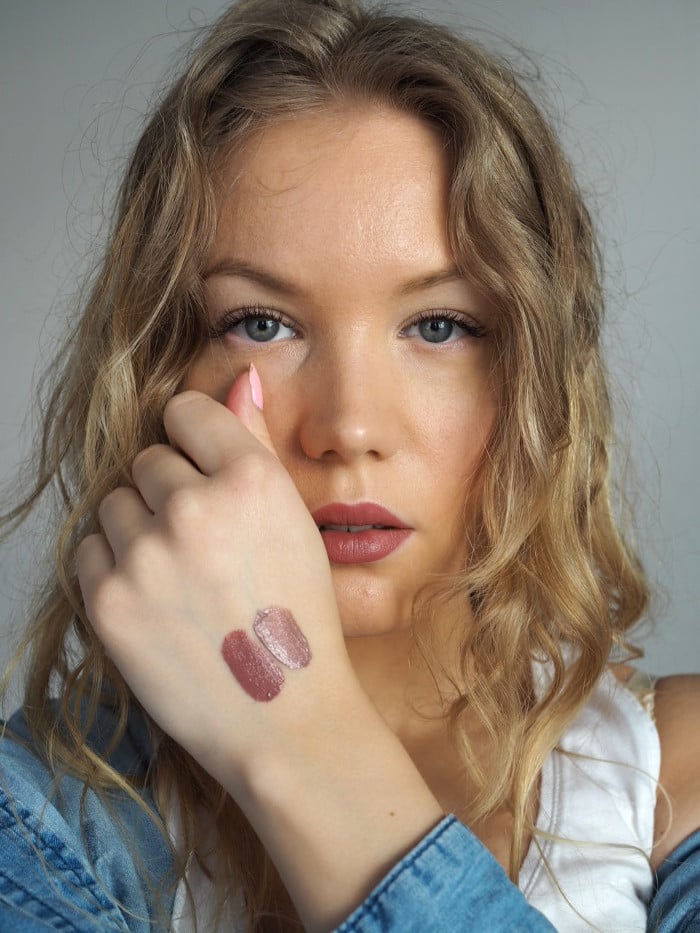
I like the consistency in these. The lip creams are packed with pigment, but they feel smooth and velvety on the lips. The product looks a bit like foam in the tube, but once it touches your lips it turns more watery. These are not matte and they leave a satin finish. That makes them very comfortable on the lips, but also quite long lasting. You may need to fix your makeup after eating, but then again the colors are nude, so they wear off quite naturally.

Even though these are not matte, you don’t necessarily need to line your lips when using these. I don’t use a lip liner with these (and didn’t for the photos either), and I don’t need to. The product doesn’t run to the fine lines, but stays and locks in right where you put it.

The simple packaging is nice – looking at the tube you wouldn’t necessarily know that these are from a very affordable brand.

All in all, it’s no wonder that these quickly became one of my favorite lip products.

Sadly, KICKS doesn’t have an international store. But if you ever visit Sweden, Norway or Finland, make sure to check out their store! It’s one of my favorite places to shop makeup products, as we don’t have a Sephora here in Finland. I still wanted to do this post, as I am Finnish, so I do like to show some of our Nordic brands on my blog too.

What do you think of these colors? And hey – what is your favorite day of the week?

nude lips

Colorful festival makeup tutorial

festival makeup colors tutorial

Spring and summer are full of fun festivities and for me the best part about any party or festival is obviously makeup. Festival makeup can be bold, colorful and different.

In this post I will show you step by step how to create this colorful rainbow on your eyelids. I know it looks complex, but it’s actually very simple and easy to do! Easy? Yes, it really is. Even a beginner can manage this, I dare say. Especially, if you follow my tips on how to blend different colors together and how to pull of a colorful look.

Sidenote: the little unicorn inside me gets very happy, when seeing this many colors.

festival makeup look

colorful festival makeup tutorial

festival makeup tutorial

Colorful festival makeup tutorial

  1. Prime your eyelids and set the primer.
  2. Contour the eye just a little bit using a light shade, that is close to your own skin color. I used a light peachy shade. This also gives a nice base to all the colors and makes them look like they fade gradually towards the brow.
  3. Start applying the colors one by one. Use tapping motions and let those taps do the blending for you. The only color you’re really gonna blend is the very first one: orange. You want to make the ‘tail’ of your eyeshadow nice and smooth, so go ahead and blend it to the shape that you want.
  4. When you’re done with all the colors (on your lower lashline as well!), go ahead and make a black liner. You can make it sharp, or smoky, as I did here. Apply your mascara and lashes and you are done!

I paired this eye look with orange lips. You could go for nude lips, but choosing a color from the eye makeup looks very nice! Additional glitter won’t hurt you either.

colorful eyeshadow tutorial

Color placement.
The lightest shade right below the brow bone is the transition color. I used a light peachy shade. It gives some definition to the eye and a nice base for all the colors. Then my main colors were: orange, pink, blue and yellow. I used the tiniest amount of rose gold between the orange and the pink, just to make them blend together even more seamlessly. I also applied a tiny amount of lavender between pink and blue. On hindsight, I should have applied some green between blue and yellow too.

Using these ‘additional’ colors between the ‘main’ colors, makes them blend together more seamlessly, since the additional color already contains both of those colors a little. For example rose gold already has some pink and some orange in it. Obviously you could just blend these colors together too, but this way you get more control over the colors and how they act.

colorful eye makeup

How to blend different colors together, when doing a colorful look?

When you’re doing a colorful look, there are just a few things you should keep in mind.

First of all: don’t blend too much. I know it’s usually all about blending and swiping and windshield motions and what not. But this time I will say to you: don’t blend! If you blend all these crazy colors together, they might look muddy and messy. Especially if they don’t naturally fit together. Instead – do small tapping motions and let those taps do the blending for you. In this look I did a very minimal blending job by tapping my brush gently.

So do this: take some color to your brush and start applying it right where you want the color to be most pigmented (right next to the lashline).Then once your brush only has some color left in it, start to move towards the edges.

Second: use black. Black eyeshadow or black liner is meant for saving any colorful look. You can use all the colors of the rainbow, as long as you pull the look together using black. It somehow makes all the difference in the world and even in this tutorial you can see how big of a difference a black liner and black lashes make.

Third: every color needs it’s own brush. Don’t even think about getting away with just one or two brushes! In this makeup look I used a new brush for every color: so seven altogether! Or actually eight, if you count the brush I used to blend the light peach base color, before starting to apply the actual colors.

colorful festival makeup

Thank you sister for being my model! Do you see the resemblance in us?

Btw, if you haven’t already participated, check out the giveaway I have going on right now – it’s international and all you need to do is comment on the blog post.

If this makeup is too bold for you, check out my other tutorials including this ‘Colorful, but wearable makeup tutorial’. There’s also one for blue eyes, where I used brown and gold tones, so it’s definitely wearable as well: Makeup for blue eyes.

Scroll to top