When it comes to blogging, photos are everything. A part of me wants to argue that they’re not, but let’s face it: the first thing people look at when they stumble upon your blog are photos. Not everyone even reads the text. One might just scroll through the photos and read a sentence here and there.
Luckily taking good photos even as a beginner is easy. You just need good lighting, a bit of practice and an eye for aesthetic.
*adlink
Photography tips for beauty bloggers & beginners
In this post I will share my photography tips for beauty bloggers and beginners. This post answers the question “How do I take photos for my beauty blog?”. Hopefully after reading this post you know what equipment to use, how to take beautiful photos and how to edit them!
First things first: what equipment do you need for taking beautiful photos?
Beginner’s tools for blog photography
CAMERA
You can just use your phone camera (most phones have a good camera these days) or you can use a digital camera. I use both, but mainly my digital camera, because that takes the best high quality photos and it just feels more natural to me.
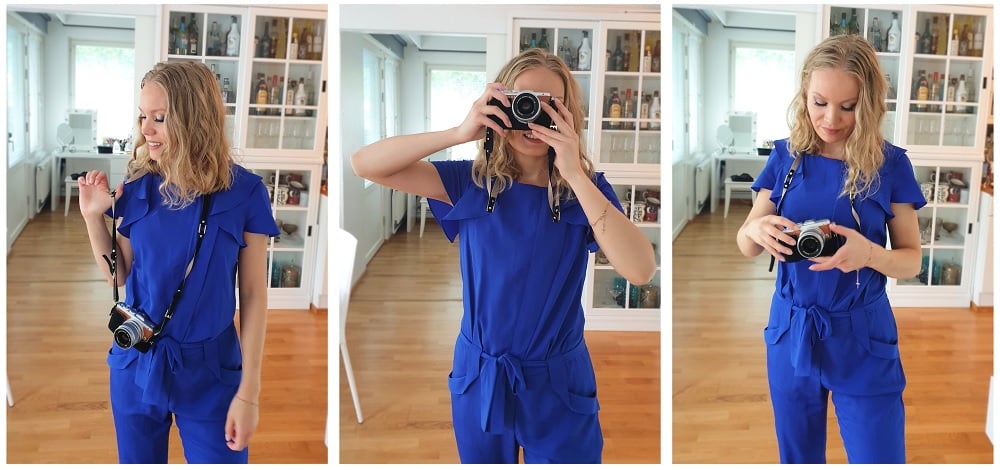
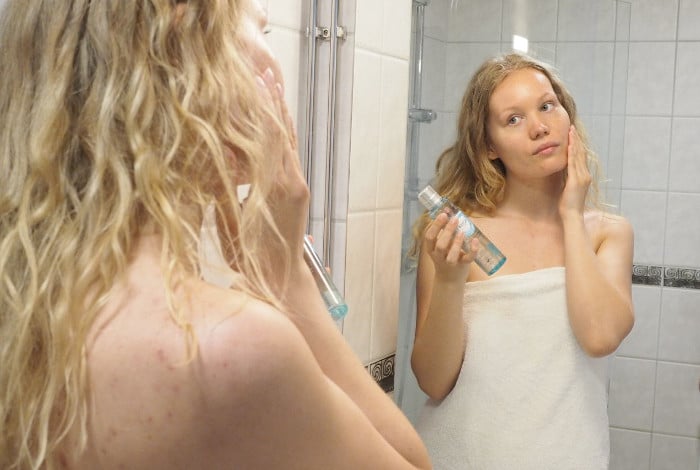
Olympus Pen camera is awesome, because it’s easy to use, it’s quite lightweight, small and good for travel too. It has a flip screen, which is crucial for beauty bloggers. That’s my secret for getting good makeup photos. I’ve been using Olympus PEN camera for all my blogging career and it honestly has all that a beginner needs. And there’s still room for improvement too – the camera comes with different filters and settings you can play with to bring your photography to the next level. (Scroll a bit lower to learn more about using Olympus PEN E-PL8 – the one I currently have.)
Samsung S9+ is the perfect phone for me because of its high-quality camera. I’m not always carrying my digital camera, so it’s a must have for me. It’s also handy when I’m travelling with light luggage. The camera in the phone also has some nice “pro” settings as well, so I can change the light settings, white balance etc. in the photo. All my travel photos are taken with this and a lot of my Instagram photos. I also film makeup videos to my Instagram Story with it.
*Samsung S9+
*Olympus Pen E-PL9 Kit (newest PEN camera)
I also have *a tripod/camera stand that I use when I don’t have somebody to help me take photos. Which is, often. When I do that, I usually connect my phone to my camera so that I can see what I’m doing and I get a great photo.
– LIGHTS
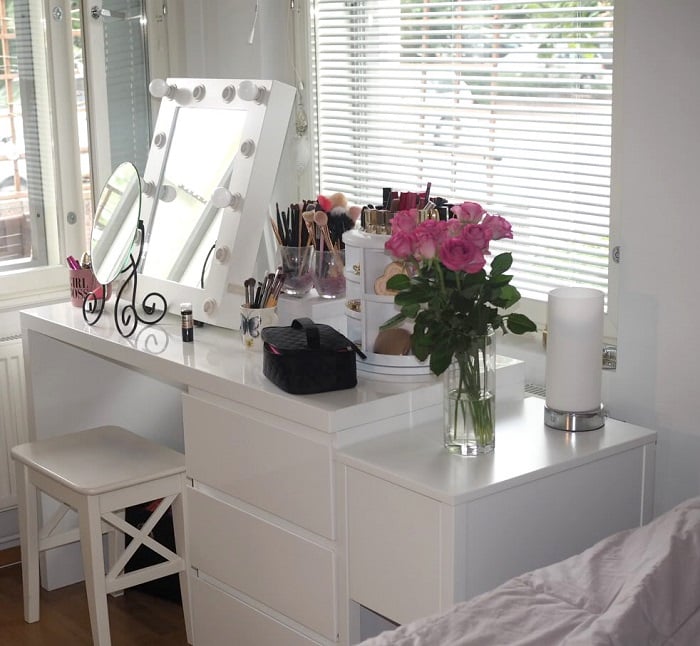
Natural light is the best for any type of photography, but as someone living in Finland, artificial lights are a lifesaver for me. And chances are, that’s the case with you too. Or perhaps you like to work in the evening? Lights give you freedom to work wherever you need to and for product photos, studio lighting actually works really well. I use my soft box for product photos and for any photos that I take at home. It’s so much better than just turning on the regular lights we have at home (though in winter those are obviously on as well. It gets dark, man).
And as for makeup photos, ring lights are awesome. Ring light gives a softer and more even light to the face.
You can get a good deal from amazon and I have bought all my lights from there. They are also handy since they come in reasonable sized bags. Since I don’t have a studio at home, I need to pack my lights away whenever I don’t use them and they fit in my closet.
I also sometimes use my *lighted makeup mirror for photos.
– REFLECTORS
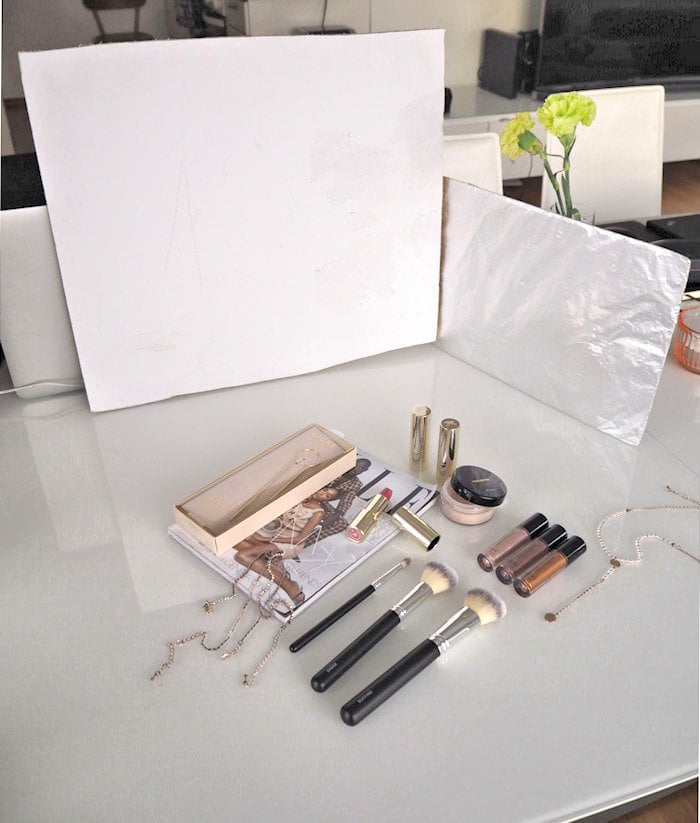
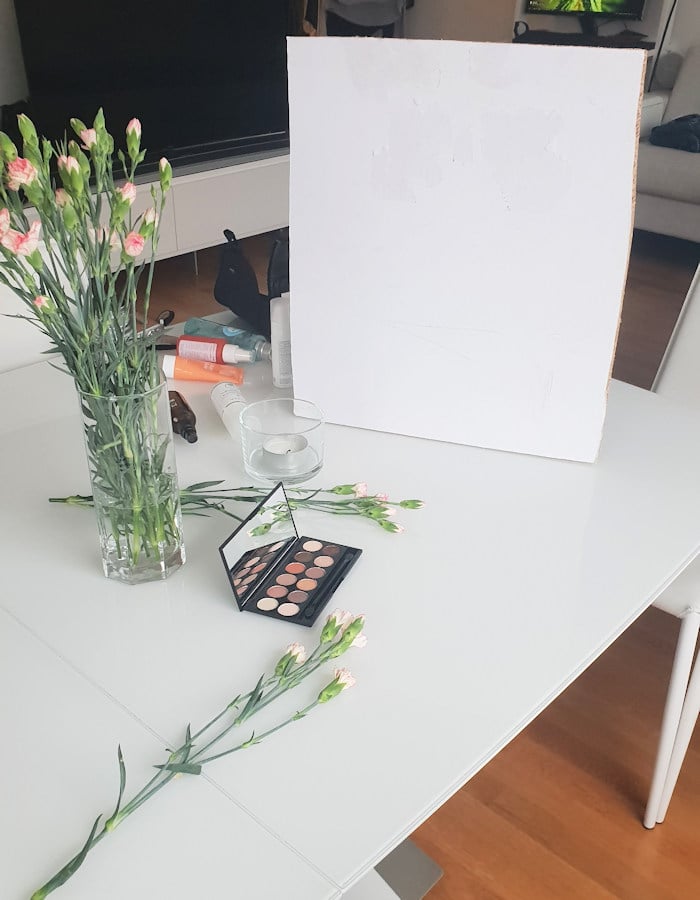
One of the cool things about light is that you can bend it. You just need a reflector for that. Anything white or reflective such as a mirror or foil works. I actually just use foil and white cardboards. I like to create a box with white walls and trap the light in – then I have a little studio for my products and I can get beautiful well-lighted photos. You don’t need that many soft boxes when you use reflectors. It’s genius.
White cardboard
Foil
*Reflector
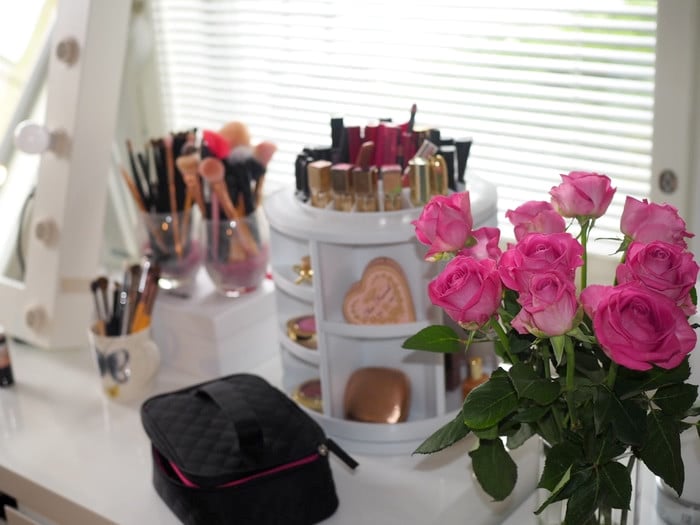
– PROPS
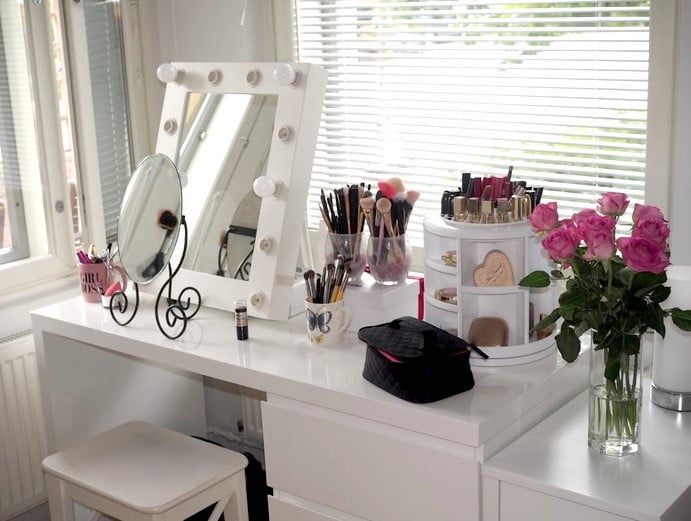
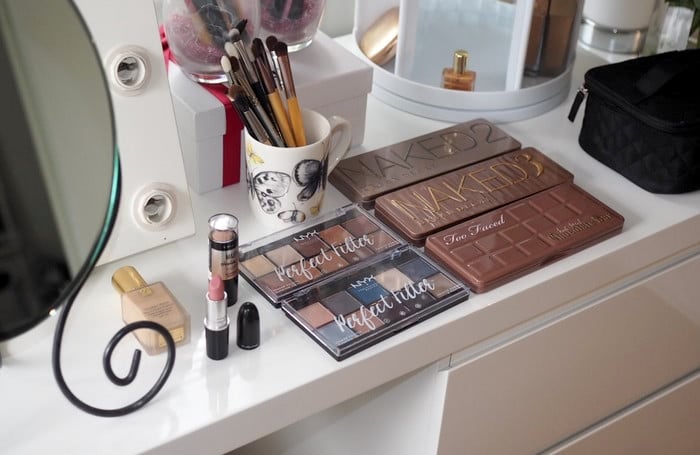
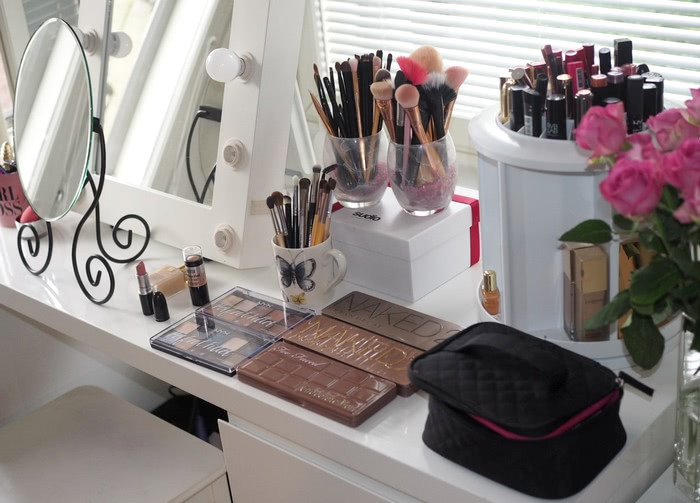
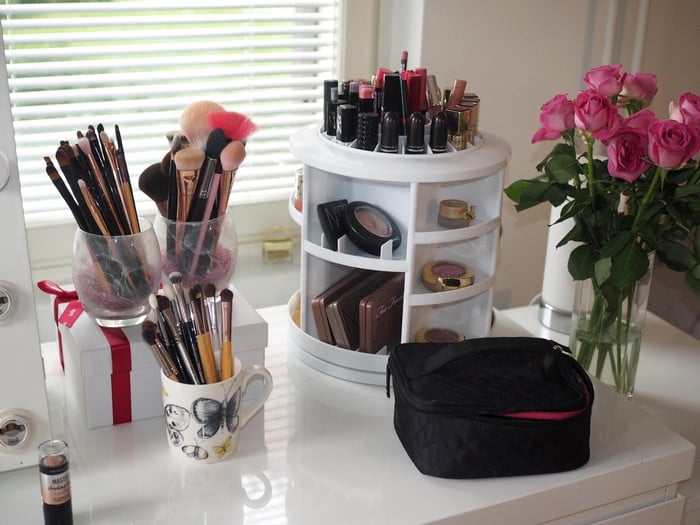
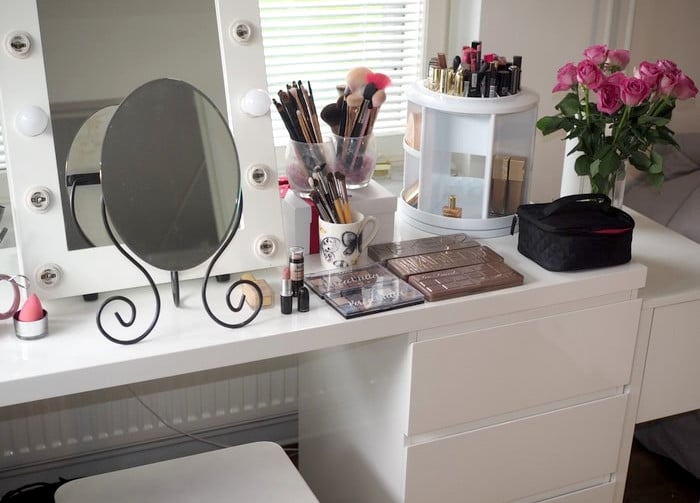
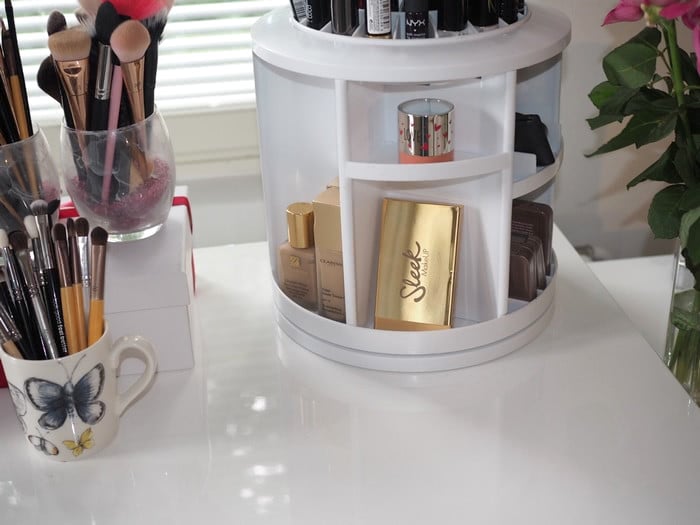
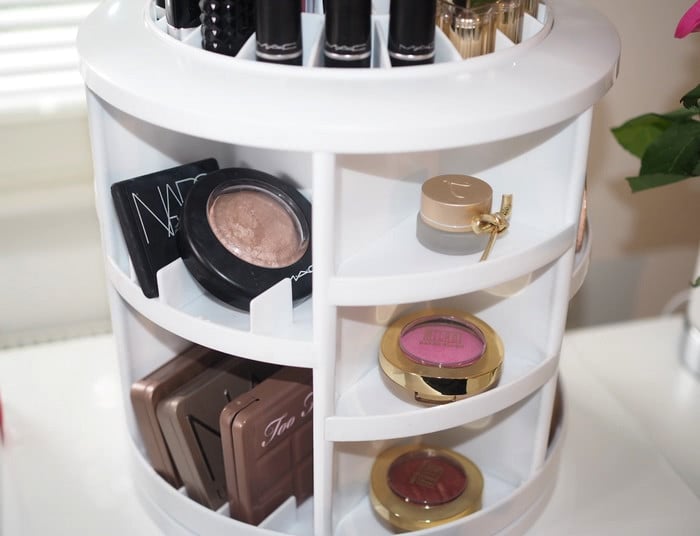
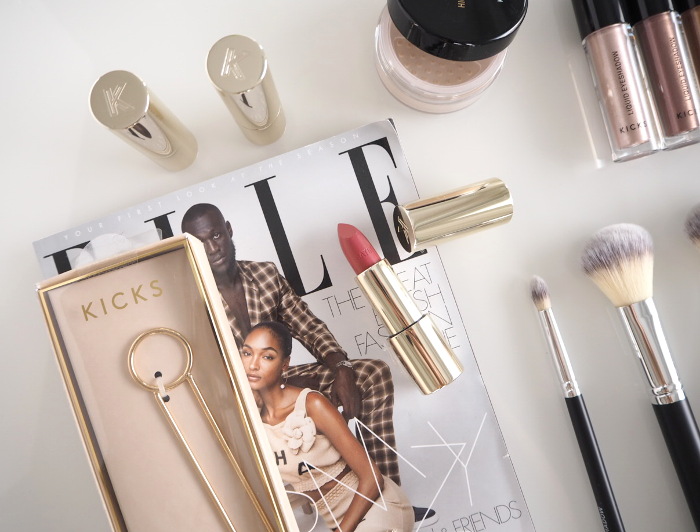
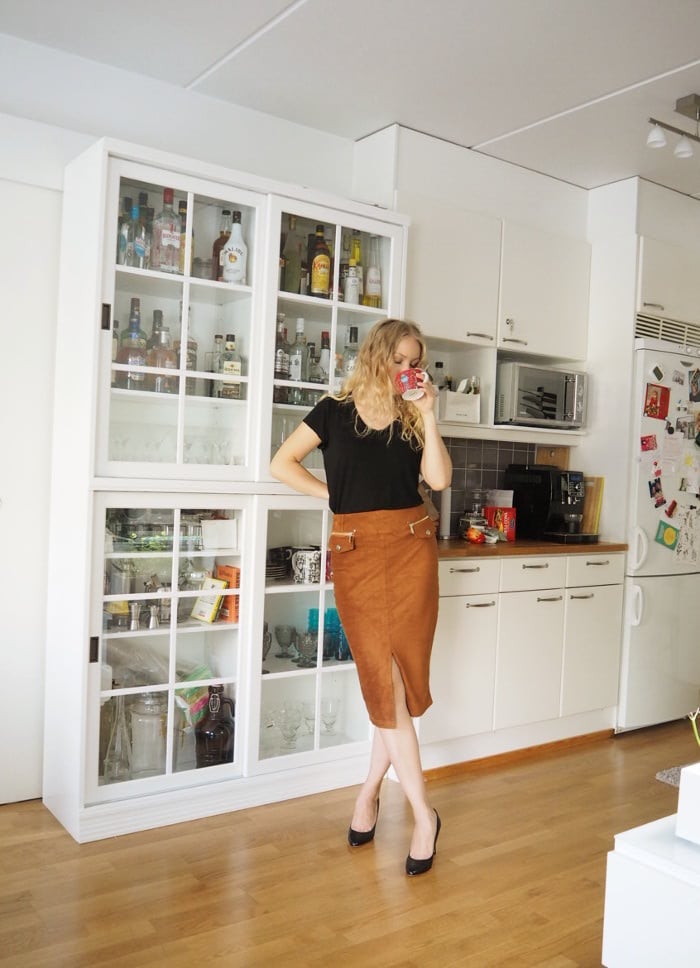
Props make the photos interesting and give them character. Your character. I like to style my photos with flowers, magazines, coffee beans, jewellery or some decorations I happen to have at hand. Just make sure to not over-style it. If there’s too much happening, the photo can end up looking messy and the actual products don’t stand out as they should. Styling your photos is something you need to practice. Try different set ups and different angles.
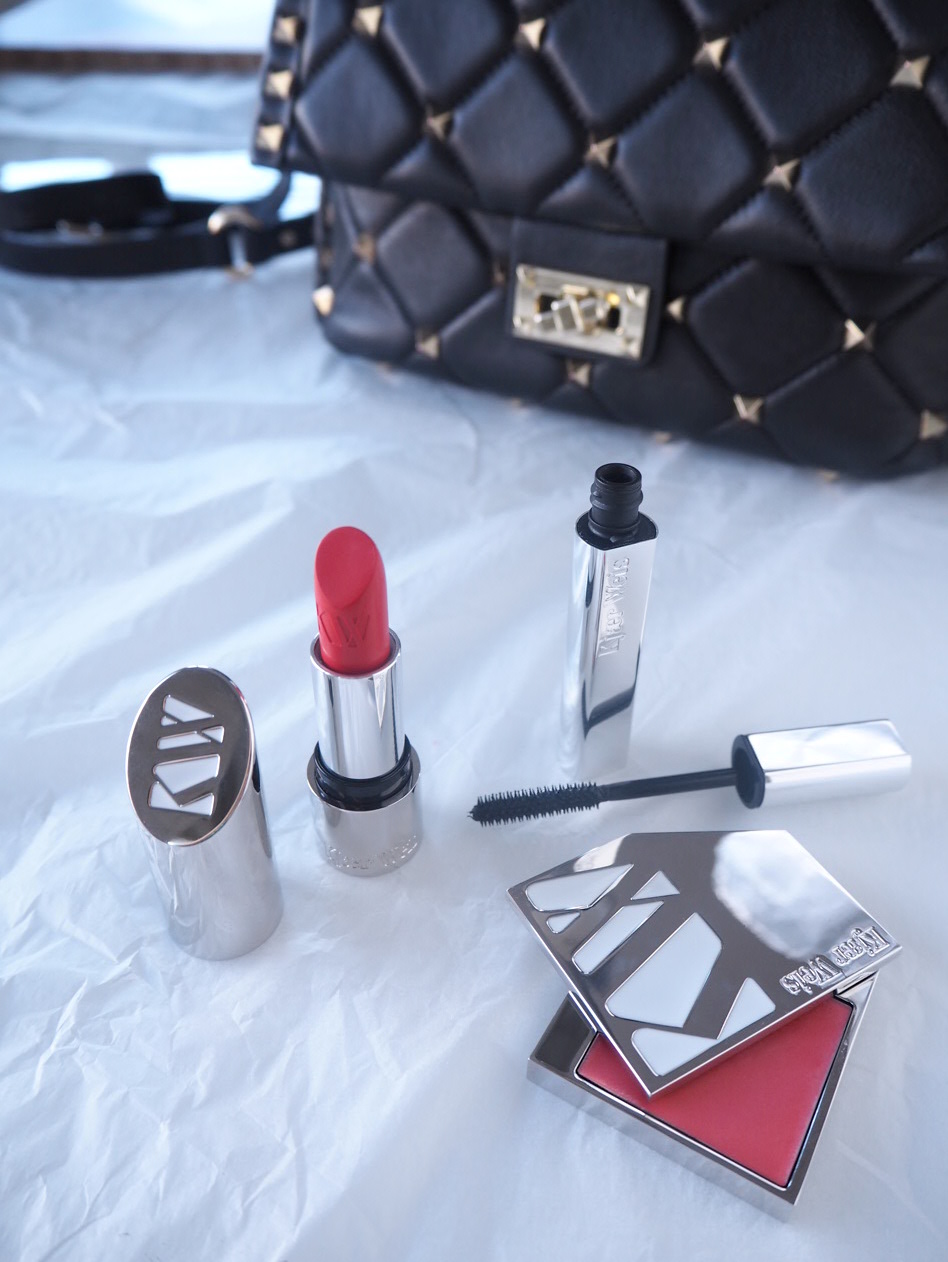
Photography tip: think about what it is you want to say with the photo. How do you want to portray the products you’re photographing? For example, a while back I photographed some luxury makeup products. I wanted to showcase the luxurious feel they have, so I photographed them with a glamorous bag and kept it simple.
How to use your digital camera – what settings to use?
Using Olympys PEN E-PL8 for blog photography
You don’t need to be a professional photographer in order to take beautiful blog photos. A good camera helps. There are so many settings and options in digital camera, you might feel overwhelmed at first. As a beginner you might just want to stick with auto. Auto setting can work for many photos, but you should also learn some basic things.
I usually take my photos with P or A settings. With those I always set my white balance. I also sometimes use macro, document or portrait mode.
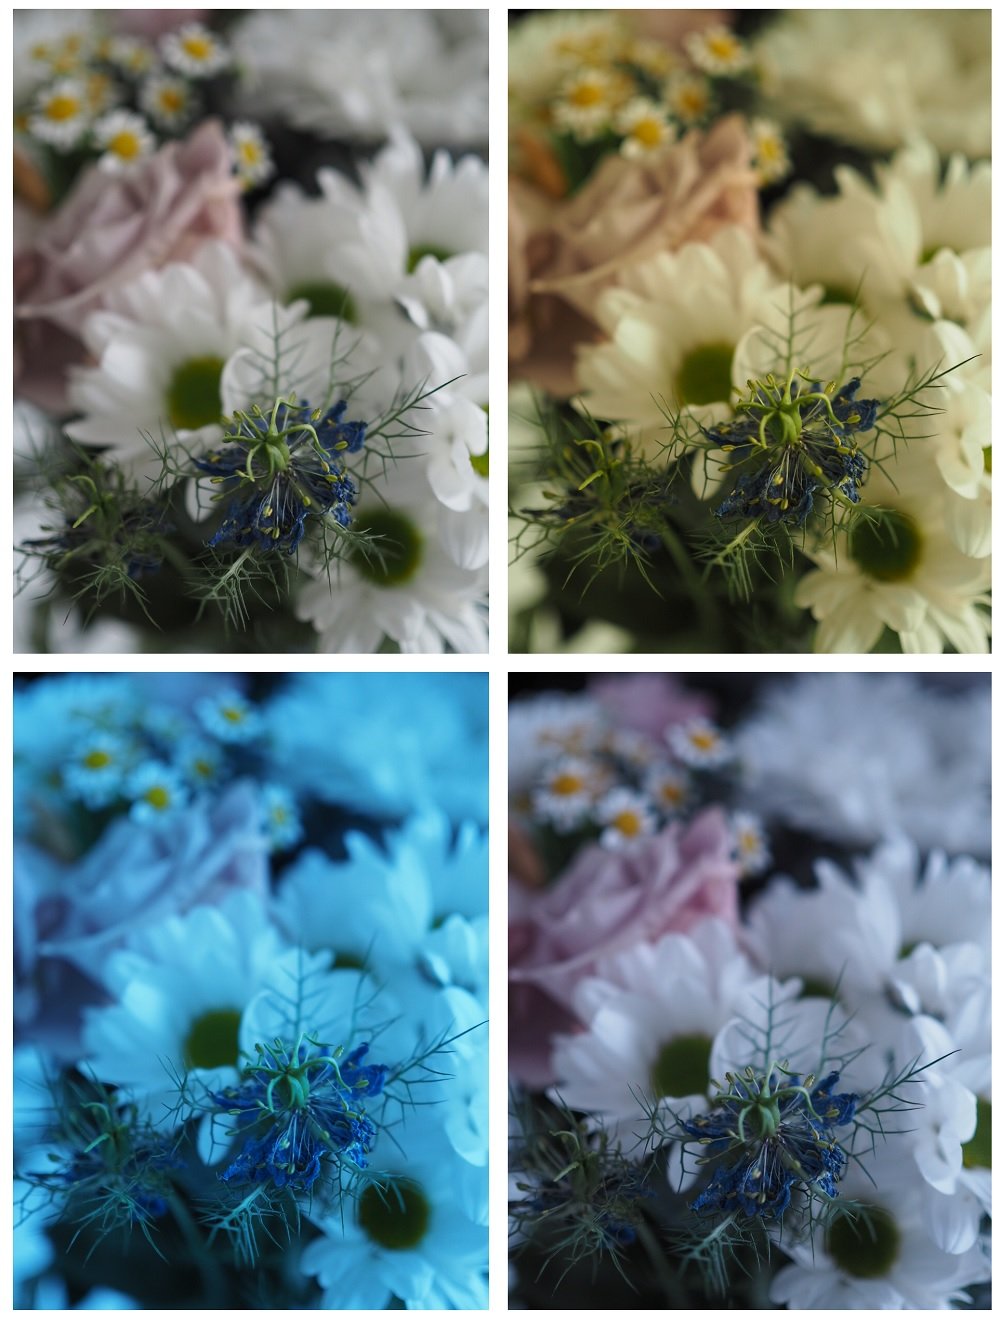
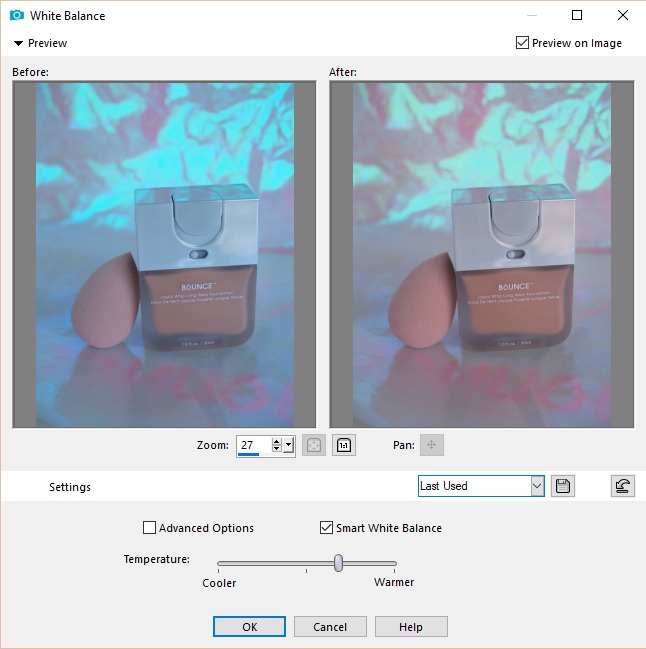
White balance AKA getting the colors right
It’s important that the colors in your photo look right and that’s where white balance comes in. It basically means that you can set the white balance to match your surroundings in a way, that the white color actually looks white. Not yellow or blue, which can happen in indoor lighting sometimes. This way your photos look fresh and clean and you can decide just how cool or warm you want your photos to get.
In Olympus there are already different white balance settings for a sunny or cloudy weather, for green, incandescent lighting and more. You can also set the white balance manually by taking a picture of a white wall or paper in the lighting you want to use. Here are some more instructions on that: https://www.olympusamerica.com/crm/oneoffpages/crm_whitebalance.asp
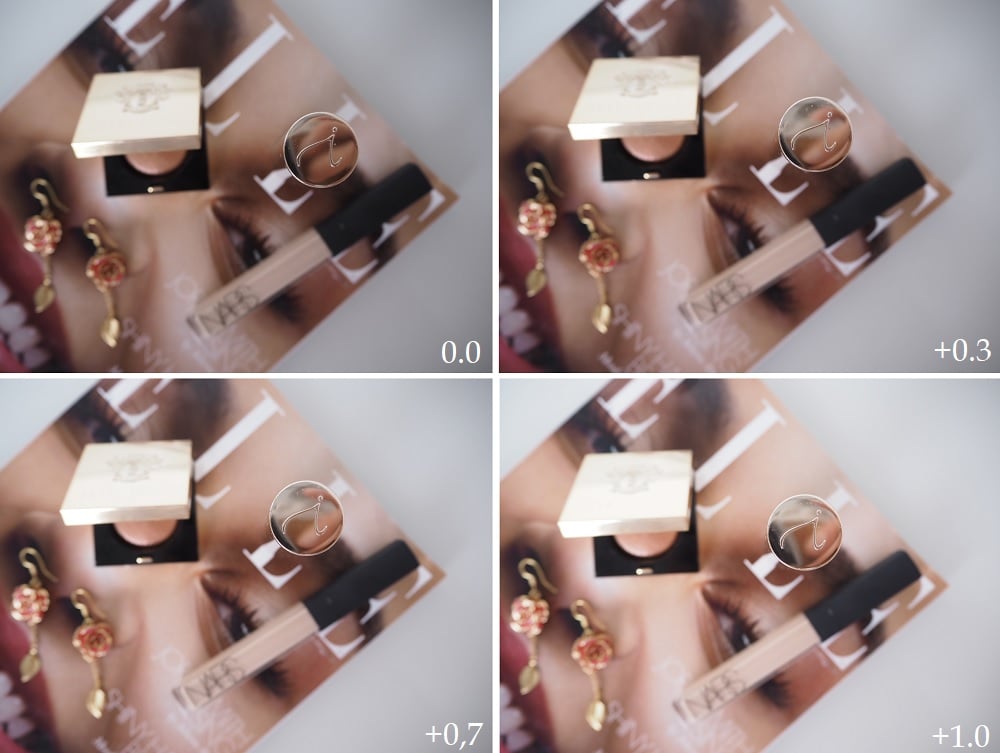
P-setting
P-setting is so nice, because I can add or remove lightness already while taking the photo. I usually film with +0.7 or +1.0.
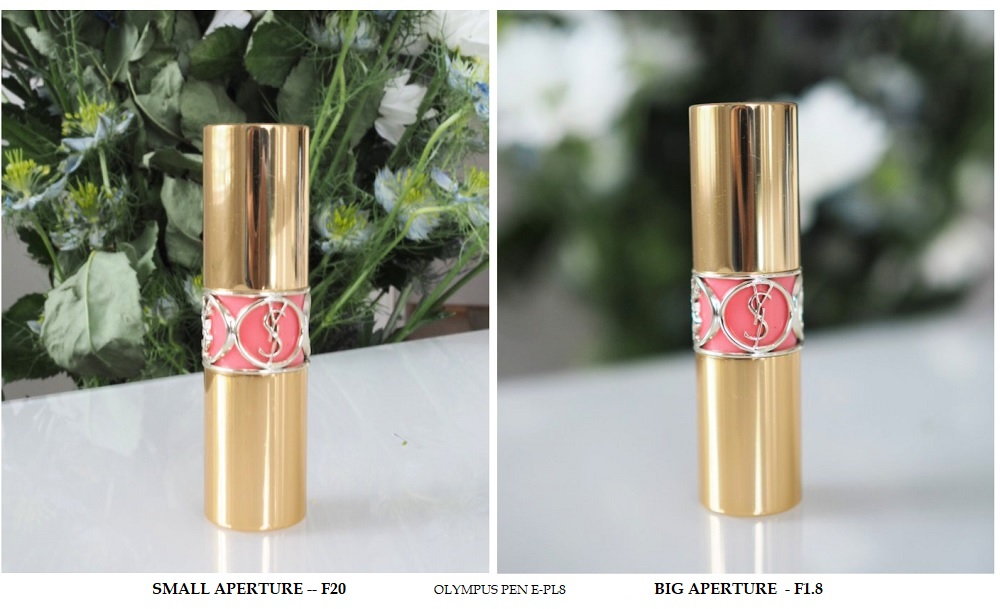
Aperture AKA how to get that blurry background
A-setting
With product photography you usually want the product to look sharp and the background somewhat soft. A blurred soft background looks nice and brings some depth to the image. You can achieve a blurry background by using big aperture (small F number), which means that the camera focuses on the subject you choose and the background is not focused. You can also achieve this by editing and simply blurring the background, but it’s just less work this way.
If I want just a small part of my image focused (such as a lipstick), I choose big aperture, meaning a small aperture number on my camera. If I take a big flat lay with lots of products and want all the products to be sharp, I choose small aperture, meaning a big number on my camera.
This article was very helpful in understanding aperture: https://www.olympusamerica.com/crm/oneoffpages/crm_e_aperture.asp
Digital camera is also handy, because it comes with scene modes. They are good to use!
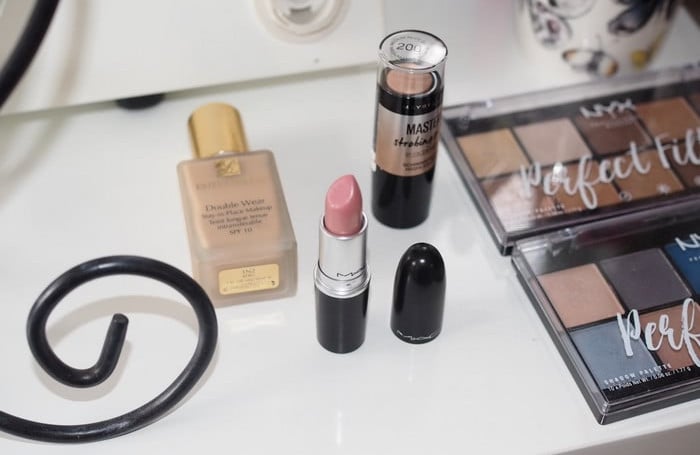
Macro mode
Handy for any detail photos, such as product photos or makeup detail photos.
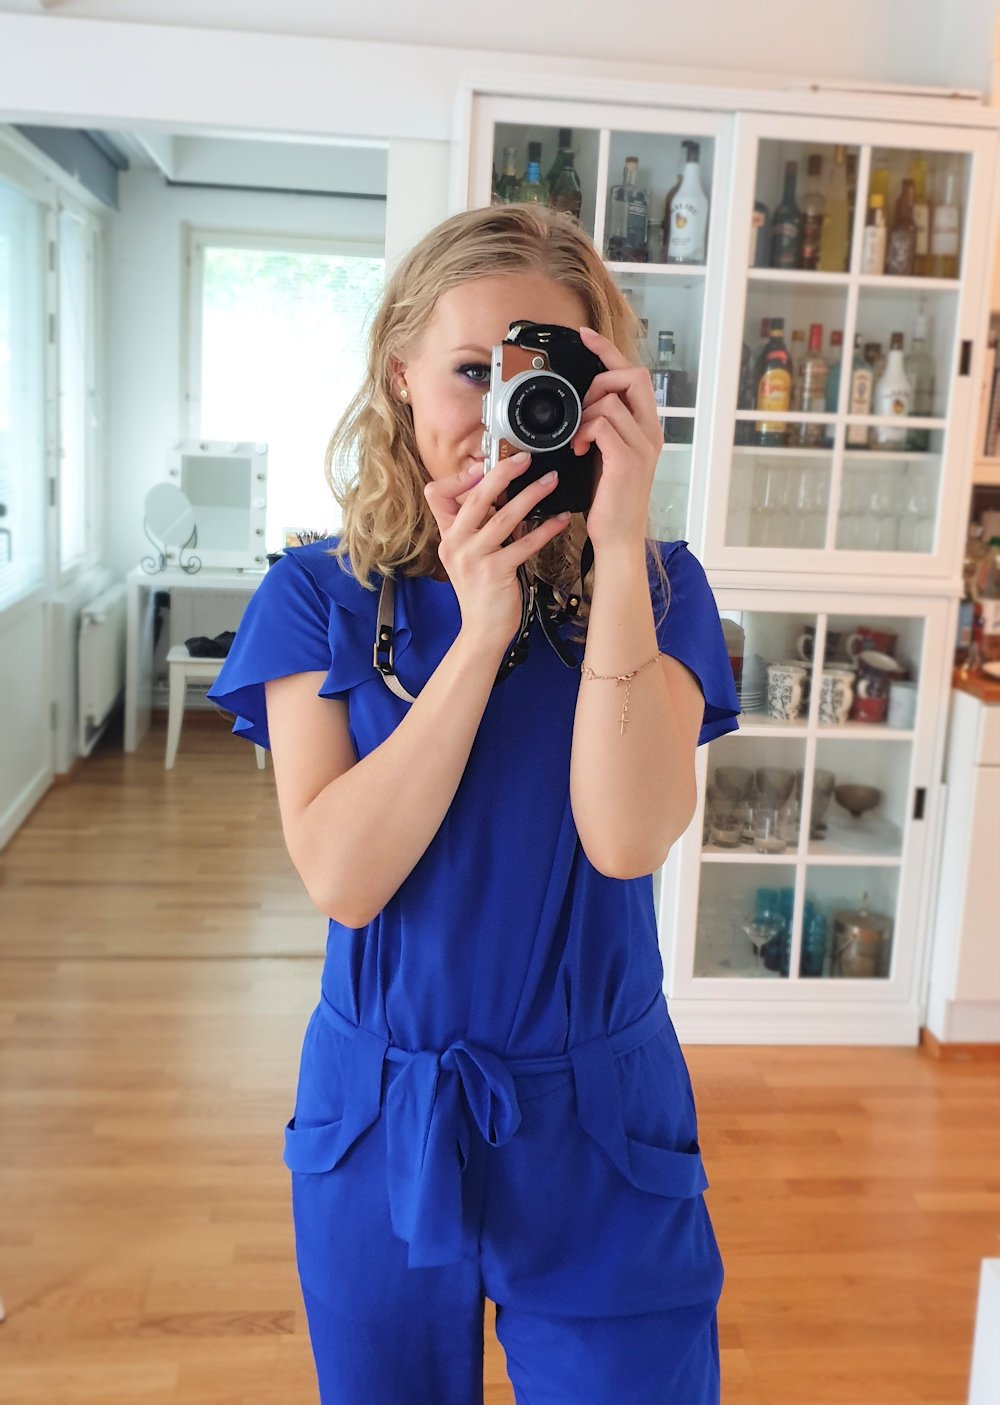
Portrait mode
I’m not sure what this mode does exactly, but it makes a nice selfie.
Documents mode
This mode actually works nicely for flat lays. It makes the products and the text in the products sharp. A lot of my photos, especially from a few years ago, are taken with this mode.
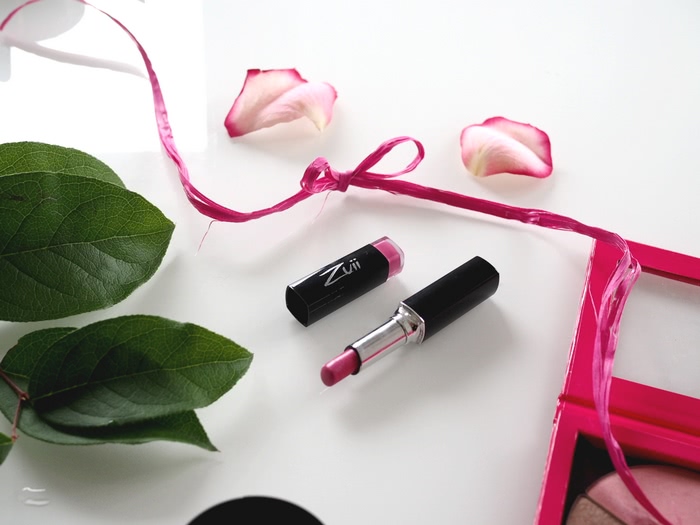
Photo editing programs for bloggers (that are easy to use)
I use *Paintshop Pro for editing my photos.
Paintshop Pro is awesome and worth the small investment. It doesn’t require monthly or yearly payment like Lightroom does. You just have to buy it once and I think that’s a fair deal. It’s also super easy to use. You can use the ‘Essentials’ workspace that is very beginner-friendly or the ‘Complete’ workspace, that is better for pros. I use the Essentials mode and it has everything I need.
It’s easy to play with lights and colors with Paintshop Pro. I can easily fix white balance, make dark photos light or make blurry photos sharp. And there are some really handy presets, that I use quite often. Paintshop Pro comes with some great beauty tools as well, for when you need to remove a pimple, make your skin look more tanned or smooth the skin. I personally try and edit my makeup photos very minimally, but I might still remove a monster-sized pimple from my skin or fix my skintone.
If you want a free option, GIMP is also quite easy to use. It doesn’t come with as handy settings as Photoshop Pro though.
*Paintshop pro now on sale
GIMP
Okay, then let’s get to some details. The three most important things in editing photos are 1. light 2. colors and 3. size. Actually, it might even be in reverse order – because size really really matters, if you want your blog to succeed.
Light – Brightness and Contrast
I would say the lighter the better – just don’t over-expose the photo. A moody dark photo might be a nice contrast every now and then, but all in all, people like to look clean, fresh light photos. But just how light should the photo be? Well, it’s up to you. Editing photos is personal. It’s almost like your trademark. Some people take really soft, super light photos. Others prefer more contrast.
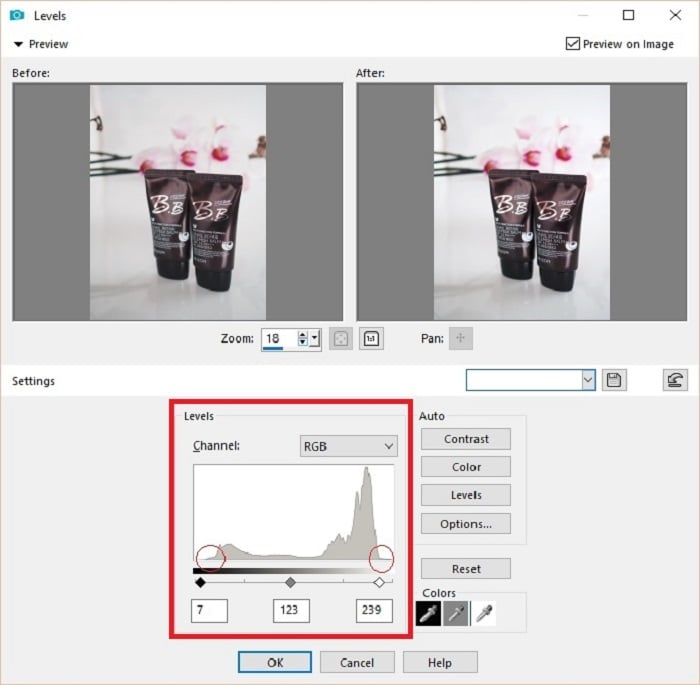
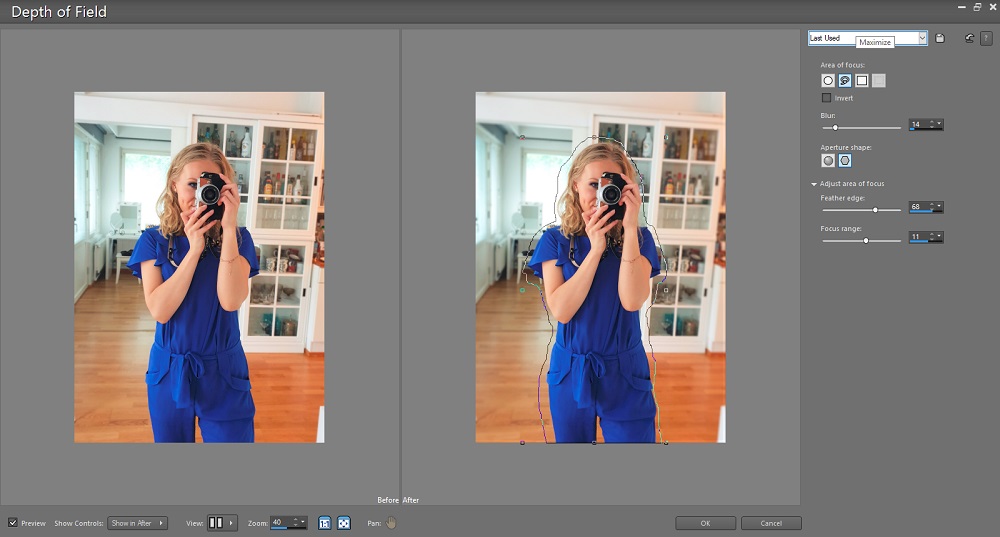
A simple tool to edit lights are Levels. It shows you the guidelines so you know where to add light and where to add shadow. I usually just drag it to where the guidelines AKA those grey mountains show me. The right slider will bring light to the light areas, the left slider will darken shadows and the middle part lightens the midtones. If I want to add more lightness overall to the photo, I drag the middle part. This is hard to explain, but I circled the things in the photo to show you what I’m talking about!
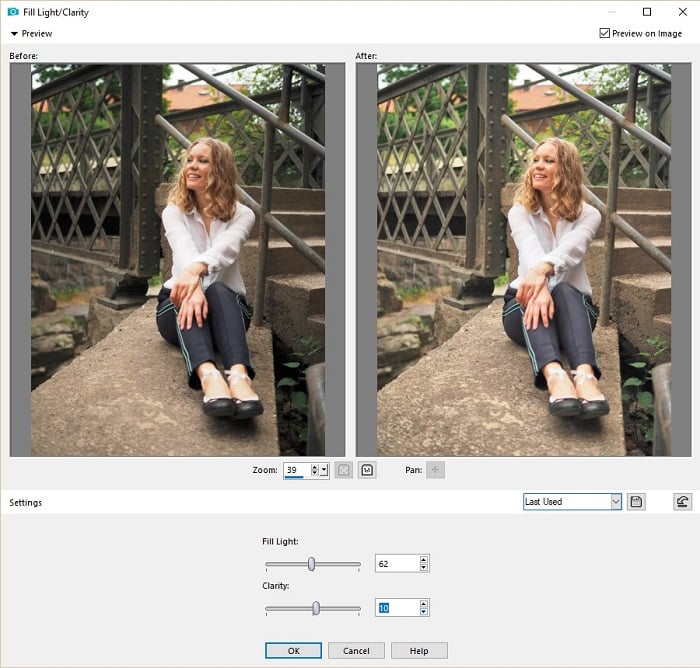
In *PaintShop Pro I also use Fill Light/Clarity, which is awesome for when my lighting is a bit off and has some darker shadows. Highlight/Midtone/Shadow is also awesome for overall lightness, because you have control over everything, basically.
Colors
When it comes to colors, it’s even more personal. Do you want the colors to be very bright or a bit toned down? It’s up to you. You can create your own theme for the photos by playing with colors. You can also choose one color or tint as a theme to all of the photos on your blog. That way the whole blog looks very harmonious, since all of the photos on the site have the same color theme. For product photography and makeup photos though, you usually want the colors to be quite bright and realistic. The camera does ‘eat’ some of that color, you see. I might add saturation or vibrancy to my photos. Again, it’s very easy in Photoshop Pro. You can actually change up the color completely, if you so wish, and even create your own presets.
Friday Faye is one of those famous bloggers, who has a pink theme to their photos. It has become her trademark. Her blog and photos are so inspiring! She also shared her tips on flat lay photography here.
Getting that blurry background in Paintshop Pro
It’s easy to just film with F1.8 to get that blurry background, but you can obviously also just edit that. There are many ways to do that in Paintshop Pro, but Depth of Field is one of the easiest. Here I just did a quick selection to make the background blurry.
Size
Ah, size. The biggest mistake I see even big bloggers make. I feel like a lot of people think that the bigger the size, the better. But do you want to know a secret? My photos are usually 700-1000 pixels wide. And my blog automatically packs my photos and makes them smaller. Why? So that the site works better! This way my blog loads very quickly and you can see all the photos when you open up some post. How many times have you visited some blog and waited forever for the photos to load? My point exactly. Do yourself a favor and resize your photos. Another secret: I actually have changed the settings in my camera, so that it takes small photos (1280×960) instead of large (4608×3456) photos. This way the quality stays good, because I don’t have to downsize it that much.
There – now I feel like I have covered all the basics. A lot goes behind the scenes!
And as a final note I want to come back to the whole ‘photos are everything’ statement. Yes, obviously writing is also important. I might click the beautiful photos, but as a reader, I stay for the content. I love words. Luckily I’ve learned to enjoy photography as well, but writing is the winner for me. But maybe that’s not the case with you? Which is more important, photos or text? I would love to hear your thoughts on this in the comment box.
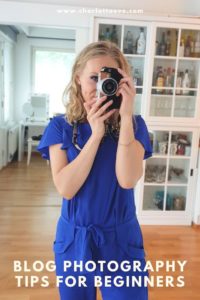
Pin it!