A manicure was one of the hardest things to learn at beauty school.
It wasn’t so much about it being actually that hard to learn, it was just hard to fathom that a manicure is really that simple and easy. Like – can we actually charge for that?
Okay, now that I really think of it -it just felt so easy after all the other harder things we learned and studied. Still, it’s pretty simple, so I’m going to teach you to do it yourself!
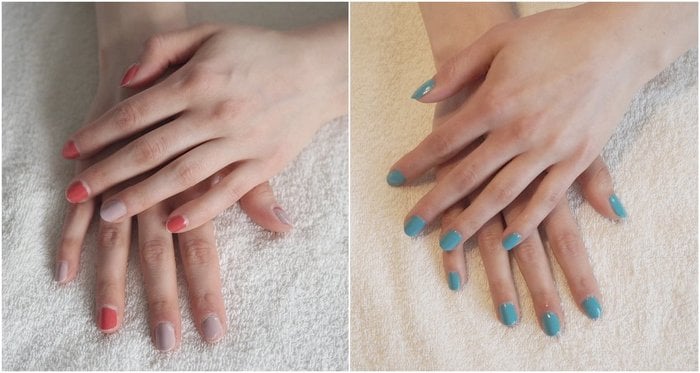
How to do a professional manicure at home – Step by step
- Wash your hands and use a disinfectant. Just to start things off fresh and clean.
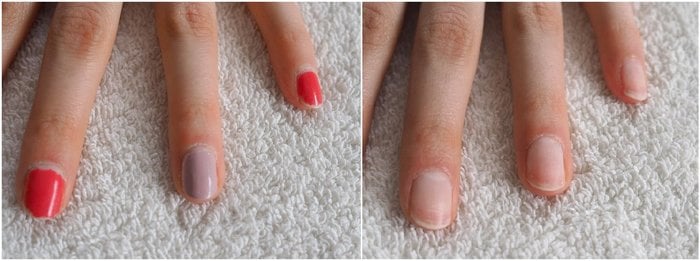
- Remove the old nail polish, if there is any.
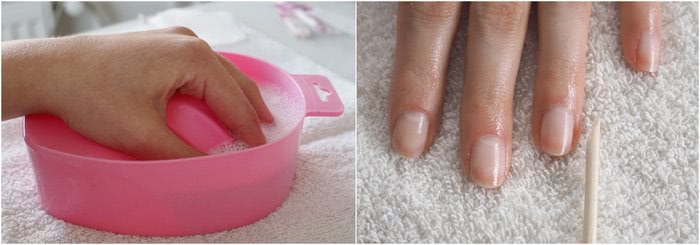
- Give your nails and hands a warm bath. I usually use a moisturizing shower gel, foam or a shower oil for the bath. Bathe for about 5-10 minutes. This helps to soften your cuticles and nails and it also feels nice and relaxing.
+ If you’re feeling extra, you can also exfoliate your hands. A body exfoliator will work just fine. Exfoliating gets rid of dead skin cells and makes your cream absorb better. - Push your cuticles using a cuticle pusher tool. Be gentle – this shouldn’t hurt. (If you absolutely need to, here is where you would cut your cuticles. But do it only if they’re really grown out or sticking out.)
- Shape your nails with a nail file. I strongly recommend getting a glass file, because it’s more gentle to your nails. With a glass file you can file back and forth without breaking the layers on your nails.

- Clean your nails with a nail polish remover. This is to remove any dirt and oils from the surface so that the nail polish lasts longer.
- Apply your nail polish. I recommend doing it in three phases: a base coat, two layers of color polish and a top coat. Let the nail polish dry in-between layers. A base coat is super important, because it protects your nails. There are different types of base coats – hardening, ridge-filling, moisturizing etc. Pick a base coat suitable for your needs. You can also use a 2-in-1 clear polish that can be used as a top coat as well. There are different types of top coats as well: quick drying or hardening.
- Add a hand cream to your hands and cuticles. A cuticle treatment is recommended too. I like using just coconut oil. Your nail polish should be dry before adding the oil. If you’re worried about messing up the nail polish, let it dry before adding a hand cream.
And that’s it! A good old manicure. The order of these steps may vary but this is the very basic routine.
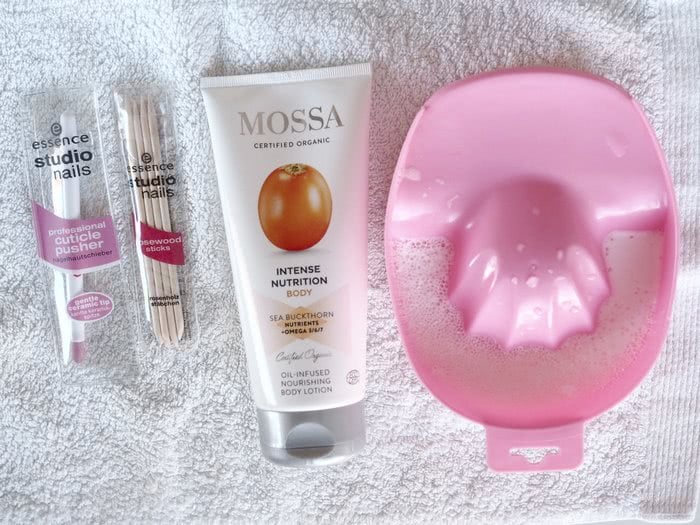
What you need for a home manicure:
*Professional Nail Spa Bowl Manicure
*Cuticle pusher & cutter, metallic
Base coat, color nail polish & top coat (Check out some brand recommendations from below)
Hand or body lotion
My favorite nail polishes for a home manicure
I like Essie’s nail polishes. I especially like their *all in one base coat + top coat + strengthener
For color polish, I like Isadora and *Mavala. We actually used Mavala at school too. I love their small sizes, because they don’t dry out and I get to use all the product. Isadora’s nail polishes I’ve used for several years and sometimes I even skip top coat with them, because they dry so quickly and have a good shine.
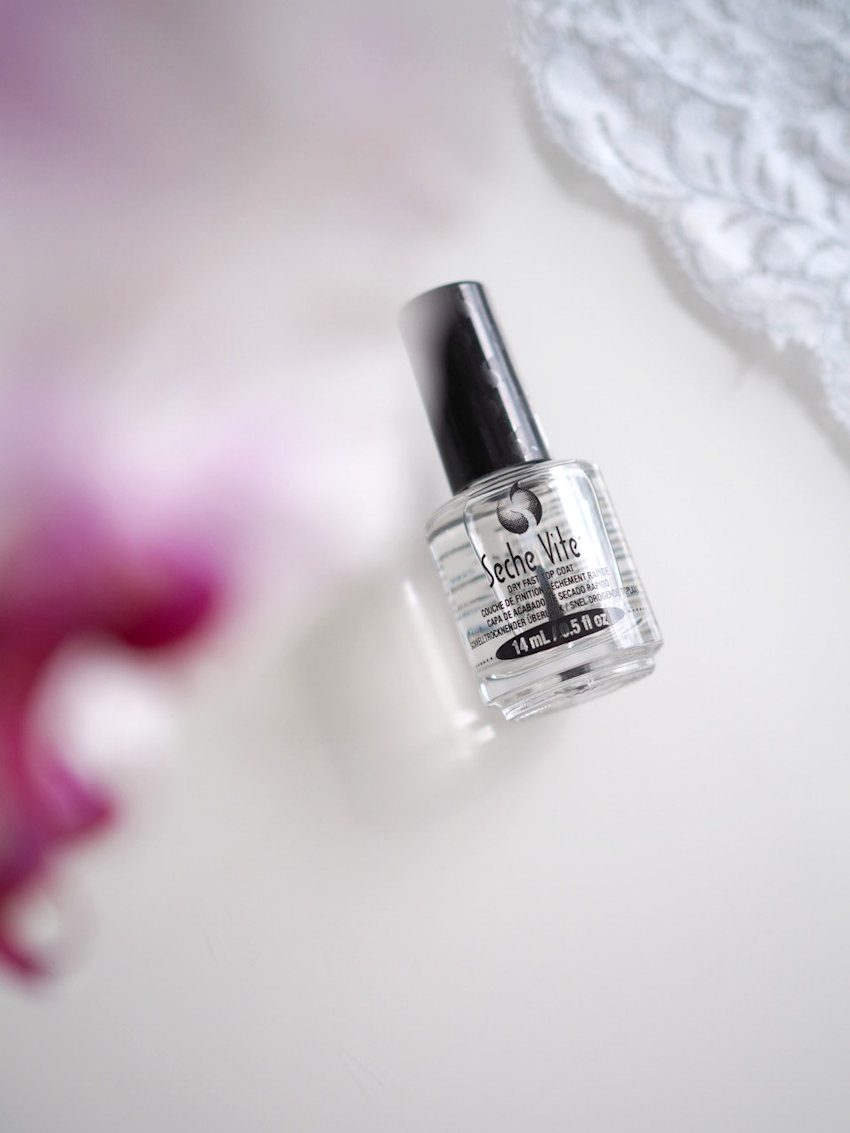
My absolute favorite top coat is *Seche Vite Fast Dry Top Coat. That has actually changed the whole game for me. Check out my full review and demo on it here.
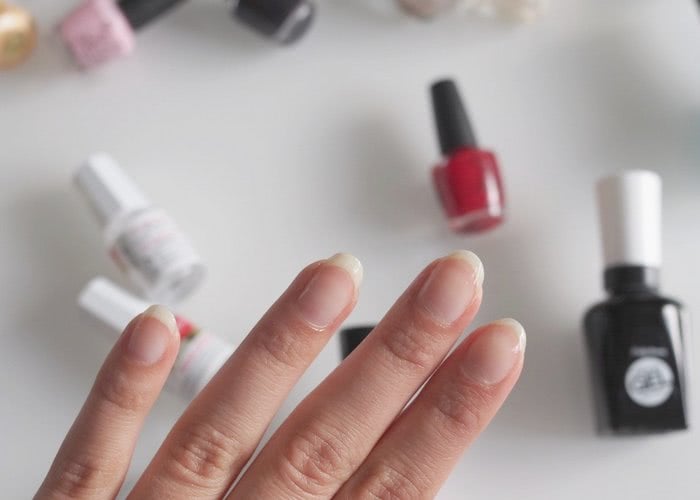
When was the last time you treated yourself to a manicure?

