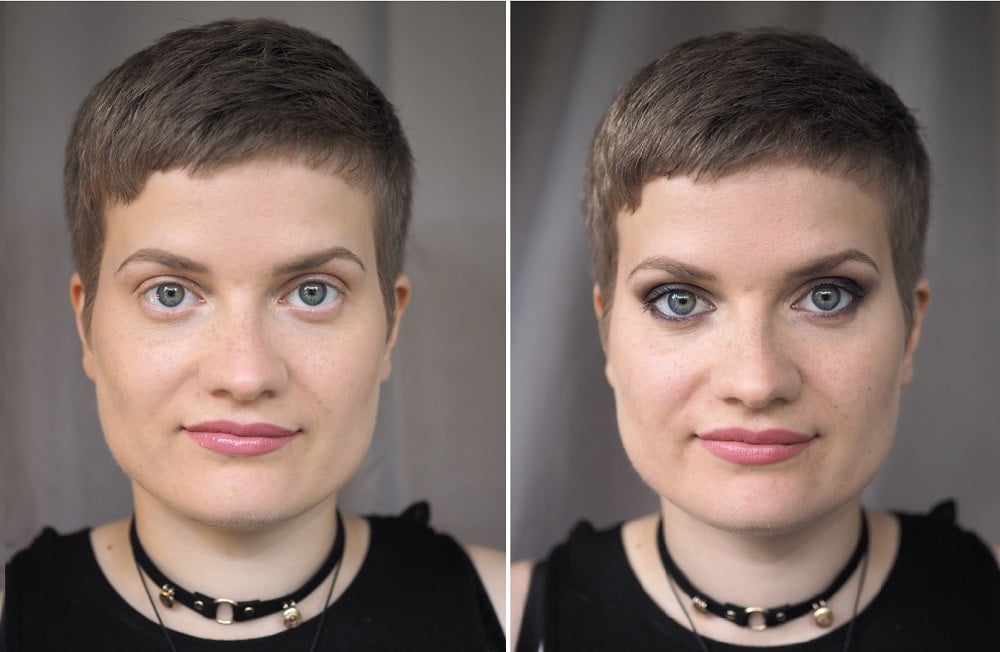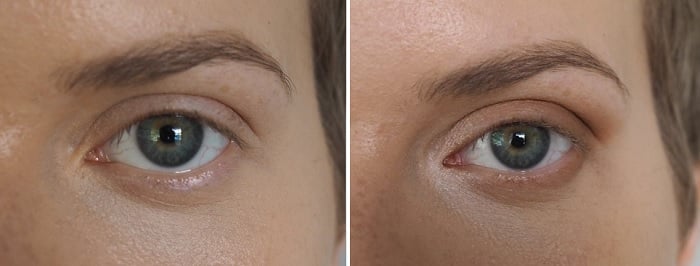
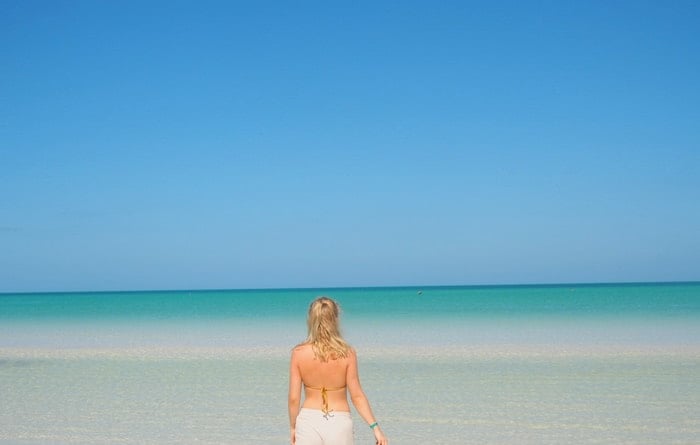
Often I find myself complaining about vain things, such as body hair. Am I the only one, who could absolutely live without them? (Except hair, lashes and brows – which could be thicker!) I doubt that I am.
Luckily life is made quite easy nowadays and there are great solutions to problems – even for hair removal. The next sentence is my own personal opinion, that has been molded by years of experience: sugaring is the best hair removing method. Whether it’s your shins, thighs, armpits, face or bikini-line. Sugaring is great for the whole body – from head to toes (I’ve literally removed hair from people’s toes as well as eyebrows).
Sugaring is becoming more popular, but it’s still a bit unknown to many. I promise you, that it beats even waxing, easily! In this post I want to tell you what actually happens in sugaring and why it’s so good for you. I also want to make it clear, why you should go to a professional, and what makes a quality sugar.
This post is a collaboration with MirTa’s Cosmetics – the importer of my favorite sugaring brand.
What is sugaring?
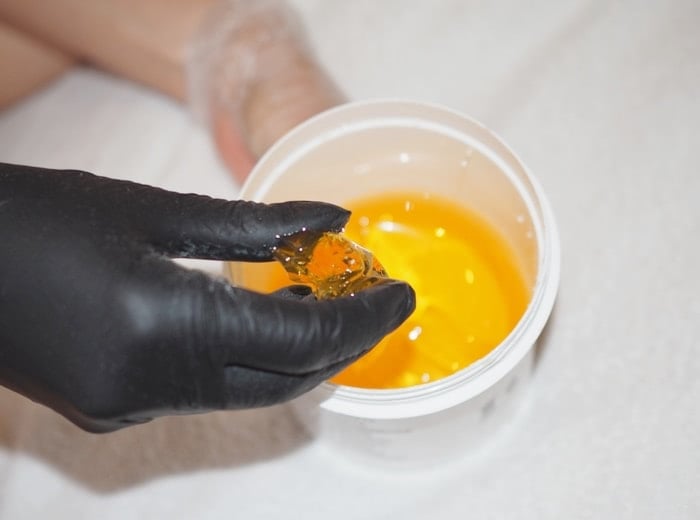
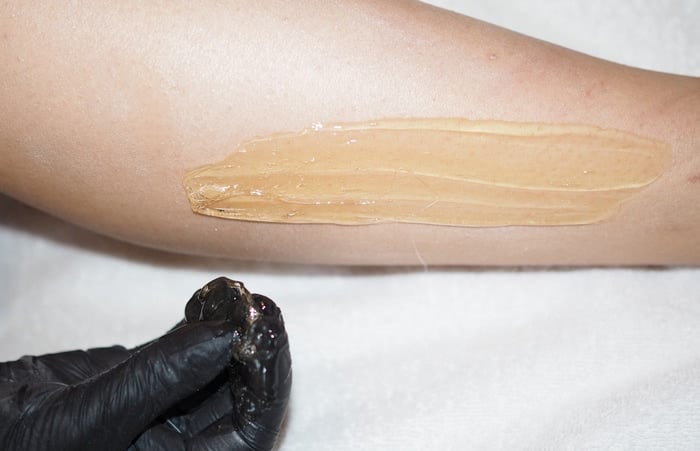
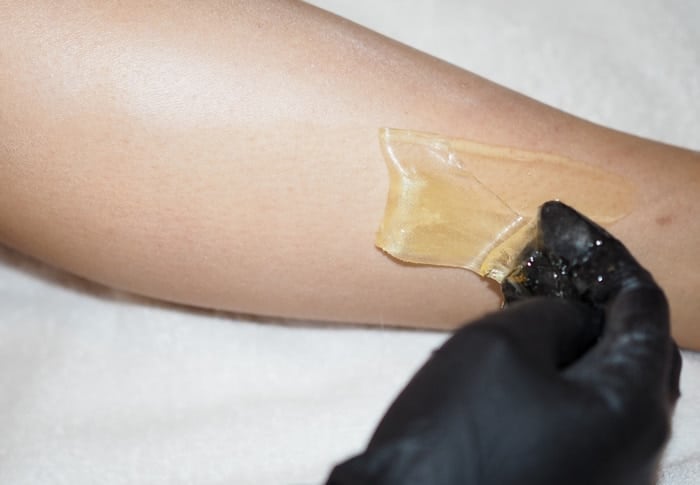
Sugar is made from sugar and other natural ingredients. Pandhy’s sugar consists of only glucose and water. That means its hypoallergenic and it can be used on sensitive skin too. Sugaring is done using a special technique using only the sugar paste. It’s applied on the skin and then ripped off with a light movement of the wrist and then applied on the skin again. One small sugar ball is enough for the whole legs – and you don’t need to use waxing sheets (and create additional waste by doing so).
Sugaring differs from waxing, because in sugaring you remove the hair in the natural direction of growth. That way the hair comes off easily right from the root without breaking. One of the biggest problems with waxing is the breaking of the hairs when the strip is ripped against the direction of hair growth. Sugar paste is applied against the direction of hair growth, so that the hair is attached to the sugar right from the root – but it’s ripped off in the natural direction of growth. So at the end of the operation the only thing going to the trash is the sugar ball with unwanted hairs in it (and the gloves). So sugaring is the more ecological option.
Sugaring is particularly good for the skin, because it exfoliates the skin gently while removing the hair. Sugar only grabs the dead skin cells, so you can go over the same area a few times if necessary. With waxing that is not the case – you can only apply the wax once to a certain spot, and if there are some hairs left, you need to remove them by some other way. Besides you can remove even the short hair with sugar – especially if your previous hair removal was done by sugaring: the process of sugaring loosens the hair follicle, which makes the hair come off easier the next time. So it’s recommended to do sugaring regularly.
Sugar is applied warm – never hot – onto the skin, so it feels comfortable and there’s no risk of burning. The professional applying the sugar always determines the correct temperature for the sugar, which is dependant on both the external and body temperature. The sugar types also vary from really soft to really hard. In addition to determining the proper temperature, the professional chooses the correct softness level for the customer’s hair type and if necessary, does it by mixing two different sugars.
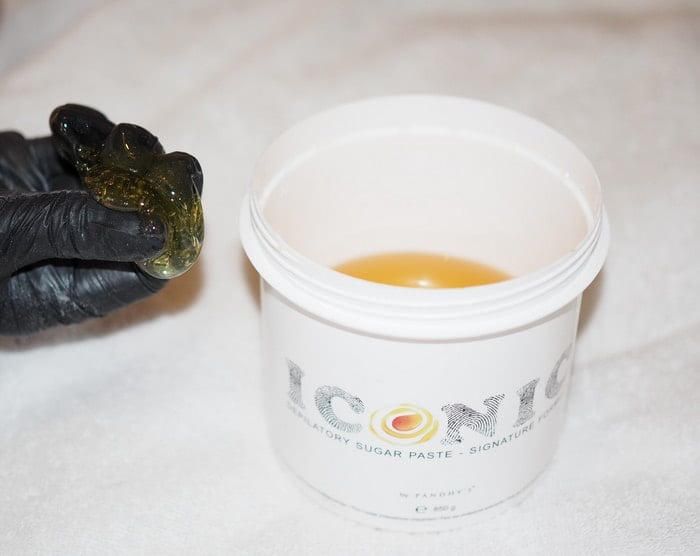
Back when I did a lot of sugaring at a salon, I liked to use the softest sugar. My favorites from Pandhy’s are ICONIC and ULTRA SOFT. As a professional I want to note, that I’ve tried other sugar brands, but according to my personal experience, these are the best ones so far, and they keep their consistency even during a long treatment (say, whole legs, for example). On the site it actually says about ICONIC that “It is not only a very soft sugar, but exceptionally elastic, and the greatest thing about it is that it is a very stable one, that means it hardly – if at all – changes its consistency during the course of work. It does not get hard, nor does it melt down during the course of work.” Handling a soft sugar might be harder at first, but it’s lighter for your hands. You can find info on all the different sugars on Pandhy’s website.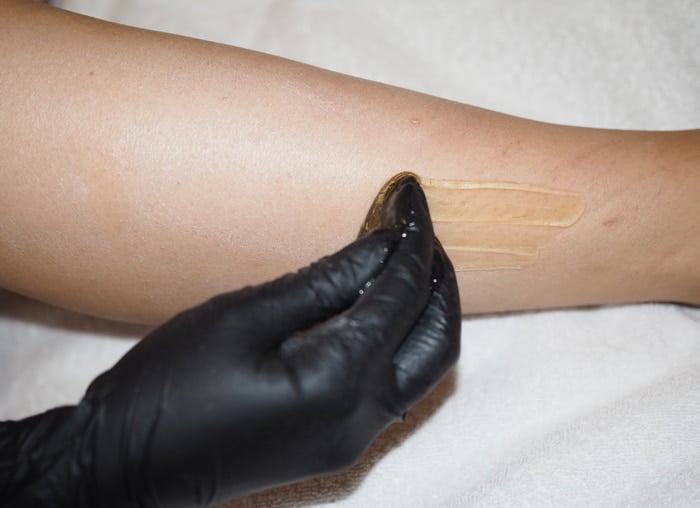
Why is sugaring good for you? And bad for your body hair, in a good way.
Sugaring can be done on the whole body and for all skin types. It removes the hair efficiently, but gently with the root. It makes the skin soft, because it exfoliates the skin at the same time. It can be used to remove even short, 1-2mm hair from the body, so you don’t have to wait to grow your hair long to get it done. Since the hair is removed by it’s root, it grows back softer and lighter. I always hear about people being scared of their hair coming back darker and thicker – that is definitely not the case.
Many have found sugaring as the solution for sensitive areas such as armpits or bikini line. For example, my skin is so sensitive, that sugaring is the best and the only option for those areas. I also favour brazilian sugaring, which I have done a ton for customers as well. Bikini line is a problem area for many when it comes to body hair and I’ve only heard good things since they’ve moved on to sugaring. But talking about brazilian sugaring we get to the next question, which is:
Does sugaring hurt?
I would like to answer shortly, that no. But we all experience pain differently, and I can’t say, that pulling the hair from the root doesn’t hurt one bit without lying. I can still honestly say, that sugaring hurts less than you’d think. It also depends on the area that is handled.
While on the subject of pain, it’s good to talk about the brazilian sugaring. I’ve done hundreds of them, and besides regular customers, I’ve done a lot of the so called first times. I haven’t even once had to stop the sugaring. The customer has always ‘survived’ through the whole thing. I don’t remember anyone ever having regrets afterwards. They’ve always been happy and most of them have come back again. So it’s really not as painful as you think. Not even the brazilian. Besides, the pain is very short-termed and your skin isn’t sore afterwards.
Don’t try this at home! Why you should go to a professional
Sugaring done by an amateur hurts and that’s a fact. When you don’t know the technique, the sugar paste can become stuck and at worst you can cause bruises trying to rip it off. I got to experience this when I was in school learning the technique – as an amateur and as a test customer. Ouch!
Learning the right technique requires a lot of patience, schooling and lots of practice. Sugaring might look easy and lightweight in a salon, but I never recommend trying it at home.
Sugaring done by a professional leaves your skin feeling hairless, soft and depending on the area, maybe only a little reddish. After home sugaring? I’ve seen bruises, super red skin and ingrown hairs.
And even though sugar consists only of glucose and water – it’s consistency is still polished to make it as perfect to work with as possible. DIY-sugar at worst ruins your kitchen and wastes your time.
I can just warmly recommend booking a sugaring appointment – I’m sure it’s worth the money. It’s quick and efficient. I do warn you though – you might get hooked on it!
What do you need to know before going to a sugaring appointment?
You don’t need to be that prepared for the appointment. But there are a few things, you should know. For the first appointment you should let your hair grow for about 5mm long or longer. And it’s good to exfoliate the skin a few days before.
You might feel nervous coming to your appointment and that’s perfectly natural, as it’s an intimate situation. I sound like a broken record, but honestly a professional is used to seeing skin and hair removal as just one of the many routine treatments. It’s done just like any other treatment: the customer is welcomed in, instructions are given (about the treatment etc.) and then the treatment is done, tailored for every customer. Sugaring is done on a bed, that is comfortable to lay or sit on. Skin is cleaned, talc is applied and then the sugar. At the end, the skin is cleaned again and probably some lotion is applied on the skin. I can say from my experience, that usually sugaring is a fun catch up between the customer and the beautician. In facials the room is quite quiet and focused on the relaxation, but with sugaring you usually talk about everything from movies to heartaches and you chitchat. Talking about nice things makes you forget the pain! Altogether I have to say, that sugaring is seriously a short session and a nice one. You don’t have to be nervous about it.
You usually get home care instructions from the salon, and of course you can always ask any questions that might come to mind, when you’re booking the appointment. I will also gladly answer any questions in the comments below!
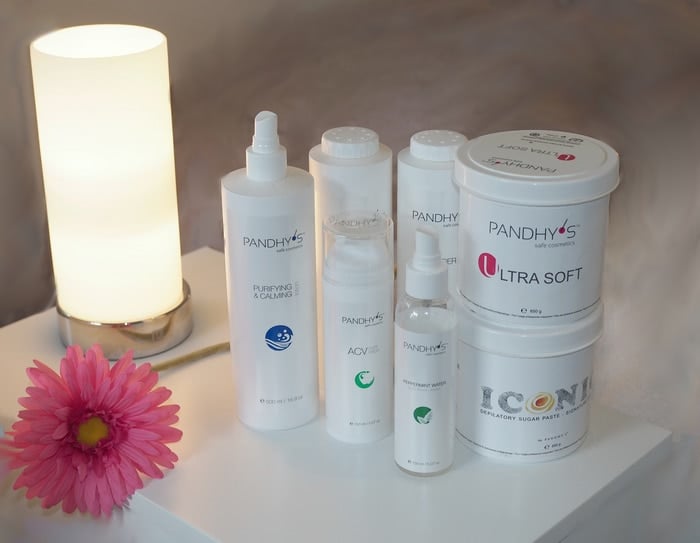
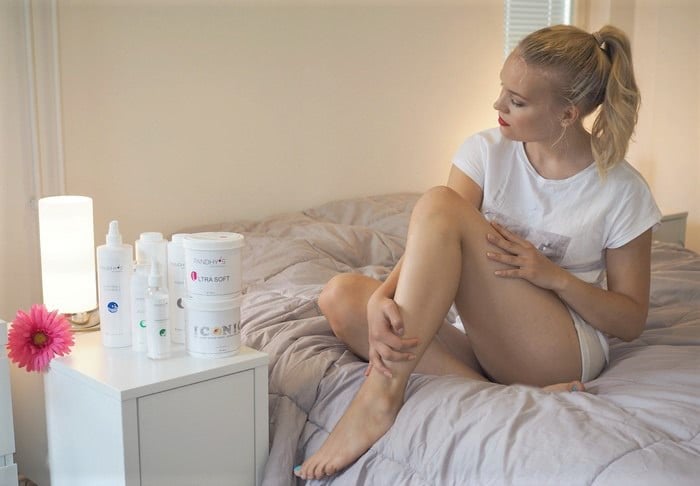
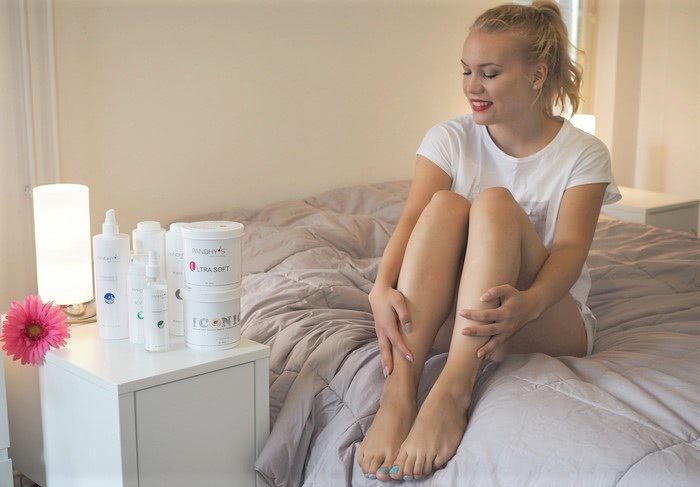
Pandhy’s products
Depending on the salon and the beautician, there are some other products that are used beside the sugar paste.
PANDHY’S™ sugars are completely hygienic. Sugar is one of the best natural preservatives as it does not allow bacteria to grow and will provide an indefinite shelf life for the paste.
Pandhy’s Purifying&Calming Lotion can be used to clean the skin before sugaring. The lotion is suitable for body and face. It contains camomile, which soothes the skin and antibacterial silver.
Pandhy’s PrePeDeel is a new product for the professionals. It’s an enzymatic exfoliator, which can be done right before sugaring. It exfoliates and cleans the skin, so that the hair removal is even quicker and more efficient.
Pandhy’s Peppermint water can be used after sugaring and it’s also great for a homecare product. It cleans and removes any stickiness from the skin and cools the skin. It can be used for face and even as a mouthwash. I like to use this for the face during the day to freshen up!
Pandhy’s ACV-cream is a great lotion to be used after sugaring and you can also buy it for home. It includes apple cider vinegar, silver and mint. It’s anti-inflammatory, soothing and good for problematic skin too, such as acne.
You can book your appointment to Pandhy’s sugaring from the salon nearest to you here. (Pandhy’s is available for about 40 countries now.)
Sponsored by MirTa's Cosmetics.
Read also:
The most common mistakes in skincare