Joskus innostun niin paljon jostain uudesta brändistä, että olen jo etukäteen varma sen sopivuudesta iholleni. Täytyy tosin myöntää, että tätä ei tapahdu usein. Yleensä en usko hypetykseen ja haluankin aina muodostaa itse oman mielipiteeni tuotteista ja brändeistä.
Vähän aikaa sitten innostuin kuitenkin kovasti brändistä. Ja tuo brändi on Kora Organics. Tiedättehän, sen upean supermallin perustama brändi, jonka osa ehkä muistaa Victoria’s Secret näytöksistä? Miranda Kerr. Jos olisi pienintäkään mahdollisuutta saada hippunen supermalliutta hänen tuotteistaan, olen messissä!
Vakavasti puhuen tosin, brändissä ihastutti se, että se on luonnonkosmetiikkaa eikä kyse ole ainoastaan ulkoisesta kauneudesta, vaan hyvinvoinnista noin niin kuin muutenkin. Pidän myös tuotteiden pakkauksista. Mainittava vain, että en usko kristallien maagisiin voimiin. Ne ovat tosin ihan hauska ja uniikki lisä tuotteisiin.
Kokeilin siis Kora Organicsin Daily Ritual Kit -pakettia, mutta jouduin pettymään. Suurin osa tuotteista ei vain sopinut iholleni.
Ajattelin kuitenkin jakaa kokemukseni. Koska sellaista sattuu. Jokainen testiin saamani tuote ei toimi. Eikä jokainen tuote siksi päädykään blogiin. En yleensä bloggaa tuotteista, joita en rakasta. Mutta ajattelin, että ehkä voisin tehdä poikkeuksen.
Koska – ja tämä on tärkeää – en usko, että nämä ovat välttämättä huonoja tuotteita. Ne ovat vain erilaiselle iholle. Mikä ei toimi minulle, voi toimia jollekin toiselle.
Tuotteet saatu pr-näytteinä
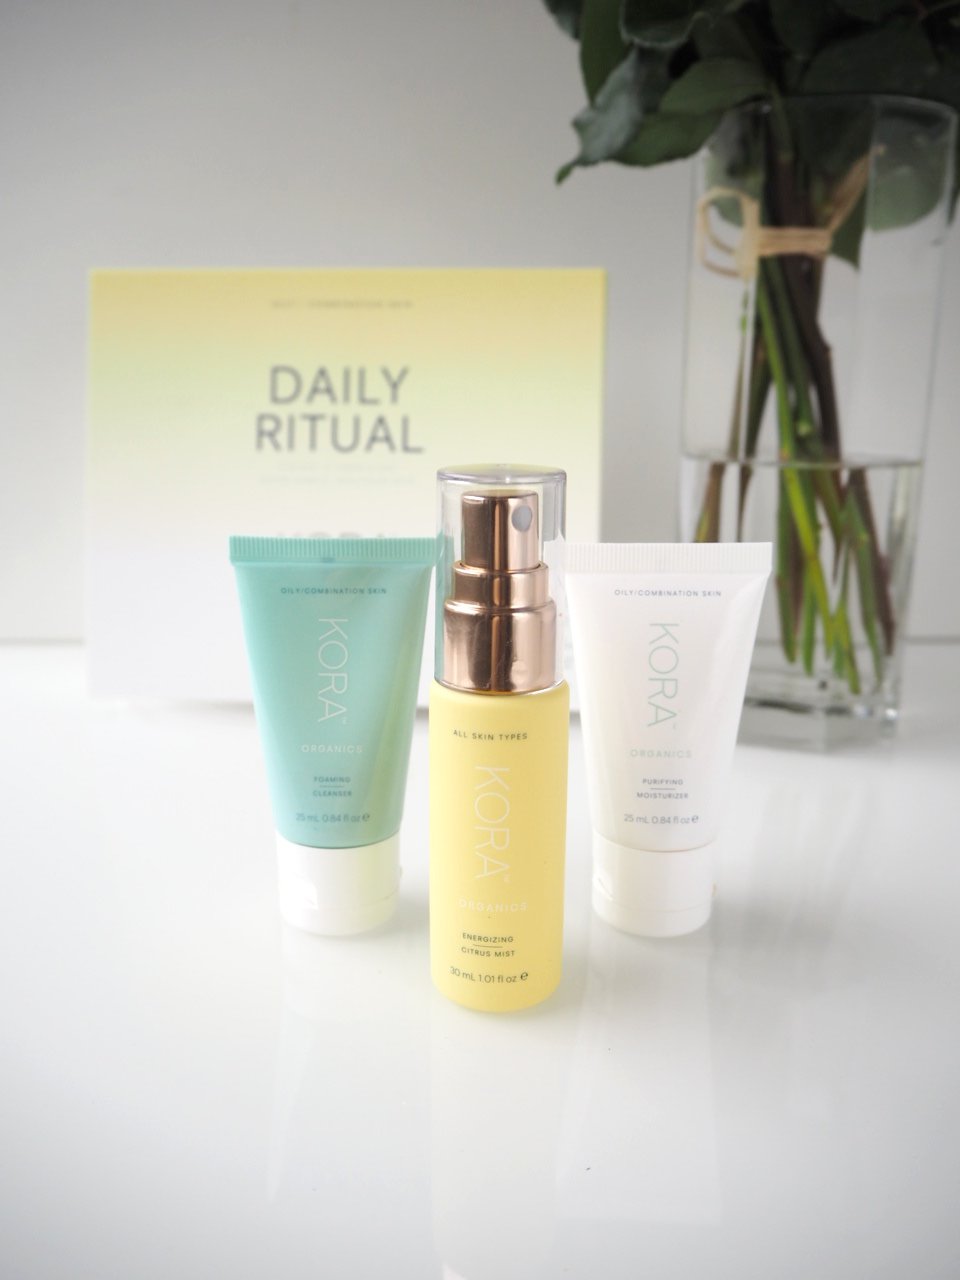
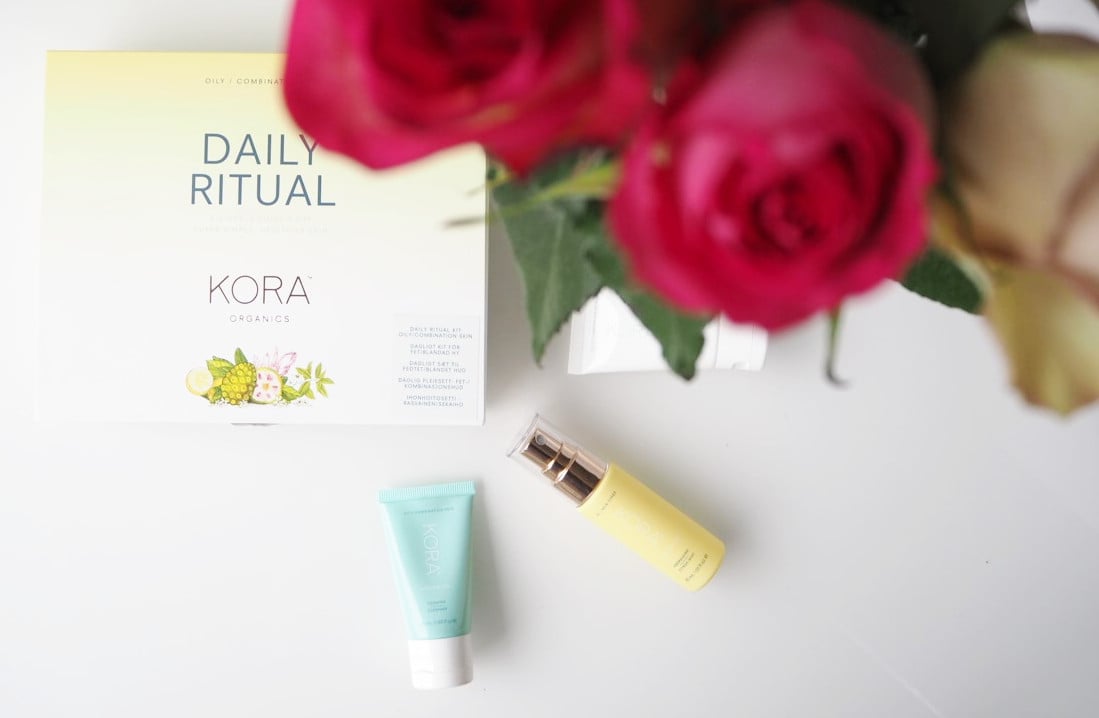
KORA ORGANICS DAILY RITUAL KIT, COMBINATION/OILY SKIN arvio & kokemuksia
Daily Ritual Kit sisältää tärkeimmät ihonhoitotuotteet: puhdistusaine, kasvovesi sekä kosteusvoide. Oma kittini oli sekaiholle ja rasvoittuvalle iholle tarkoitettu ja sisälsi Foaming Cleanser putsarin, Energizing Citrus Mist suihkeen sekä Purifying Moisturizer kosteusvoiteen. Ne kestivät käytössä noin kolme viikkoa. Tai siis, puhdistusaine loppui ja muita tuotteita jäi vähän.
Aloitetaan tuotteella, josta oikeastaan pidin.Ja joka tuntui toimivankin iholleni. Kyseessä on Foaming Clenser. Pidän vaahtoavista putsareista. Tämä vaahtoaa, mutta ei paljon. Oikeastaan sen vaahtoavuus on todella minimaalista. Se on enemmänkin geeli, joka vaahtoaa ihan vähän. Nimi voi siis olla vähän harhaanjohtava. Se tuntui tehokkaalta, mutta hellävaraiselta, eikä se jättänyt ihoa kuivan tuntuiseksi. Käytin sitä puhdistuksen toisena vaiheena, poistettuani ensin meikit jollain toisella tuotteella. En suosittelisi tätä meikin poistoon, ellei meikki ole todella minimaalinen. Käytin tätä aamuin ja illoin.
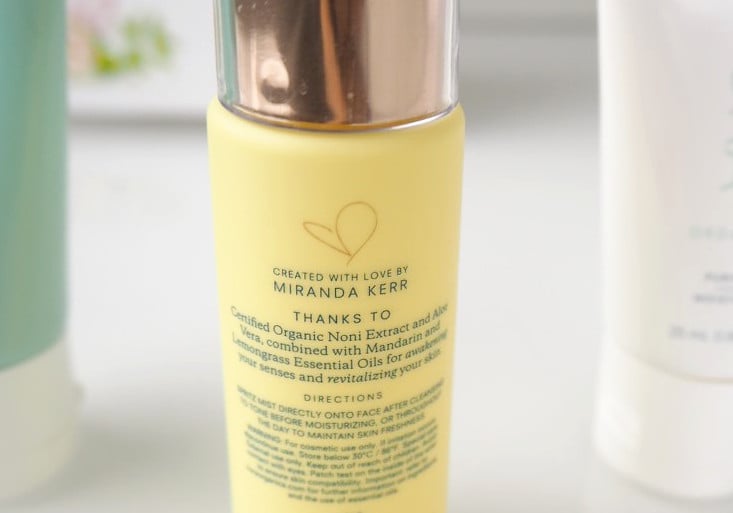
Pidin myös Energizing Citrus Mist suihkeesta – aluksi. Pidän sen tuoksusta. Se on sopivan raikas, mutta ei liian sitruksinen, mitä vähän pelkäsin. Huomasin kuitenkin hetken sitä käytettyäni, että se jätti ihon tahmeaksi. Ja se ei ole sellainen juttu, josta pidän. Etsin aina tuotteita, jotka imeytyvät hyvin ihoon ja ovat kevyitä. Kun omistaa sekaihon, jolla on enemmän tai vähemmän taipumusta rasvaisuuteen, ovat kevyet tuotteet se juttu. Ehkä tämä voisi toimia talvella, kun iho on kuivempi? En tiedä. Mutta on hämmentävää, että kasvosuihke, jonka olettaisi olevan kevyt, saa ihon tuntumaan tahmaisen rasvaiselta.
Samaan ongelmaan törmäsin Purifying Moisturizer kosteusvoiteen kanssa, mikä on vähän outoa. Se on kuitenkin rasvoittuvalle ja sekaiholle tarkoitettu voide. Jostain syystä sen koostumus tai ainesosat eivät kuitenkaan toimineet iholleni. Huomasin, että voide ei imeytynyt ihoon hyvin ja se jätti sen tahmeaksi. Ihan niin kuin suihkekin.
Suihke ja voide olivat siis molemmat liian raskaita iholleni. Liian kosteuttavia, kenties? Mikä taas antaa ynmärtää, että ehkä ne sopisivat paremmin normaalille ihotyypille. Tai iholle, jolla on taipumusta kuivuuteen. Mikä taas on hieman outoa, kun kyse on seka/rasvoittuvan ihon linjasta.
Joka tapauksessa – siinä oli rehellinen kokemukseni tuotteista. Valitettavasti olin hieman pettynyt. Tuotteissa oli etukäteen niin paljon juttuja, joista pidin. Olihan kyseessä luonnonkosmetiikabrändi, joka on cruelty-free, suurimmaksi osaksi vegaanista, joka on kauniisti paketoitu ja jossa on ripaus supermallia. Kuitenkaan tuotteiden lupaukset eivät ihan vastanneet odotuksia eivätkä koostumukset ihan vastanneet sitä tasoa, mitä tältä hintaluokalta odottaisi. (Itse asiassa tulin katsoneeksi vasta nyt hintoja ja täytyy myöntää, että ne vähän yllättivät.)
Tuotteita voi ostaa mm. Stockmanneilta sekä esimerkiksi KICKSistä, jonne alla vielä linkit.
Daily Ritual Kit* 39€ (nyt alennuksessa 31,20€)
Foaming Cleanser* 29€ (nyt 23,20€)
Energizing Citrus Mist* 29€ (nyt 31,20€)
Purifying Moisturizer* 55€ (nyt 44€)
Oletko kokeillut Kora Organicsin tuotteita? Tuleeko mieleen joku tuote, jolle minun kannattaisi vielä antaa mahdollisuus? Ainakin Rose Quartz Luminizer vaikutti hyvältä. Kokeilin sitä nopeasti toimistolla ja se vaikutti sellaiselta hennon luonnollisen kuullon antavalta tuotteelta.
Olisi myös kiva kuulla palautetta tästä postauksesta, kun se ei ole tavallista tyyliäni!

Ja hei, jos ihosi on samantyyppinen kuin omani, tsekkaa nämä postaukset:
Uusia ihonhoitosuosikkeja – näistä tuotteista putsaria on jo meneillään kolmas tuubi
Kuinka rasvoittuvaa ihoa kosteutetaan? – täällä on lista rasvoittuvalle iholle sopivista voiteista